
Ever asked yourself, “How many coats of primer on new drywall?” The answer might surprise you.
You might be ready to settle for one coat, but have you considered what an extra layer of primer could do for your finish? Possibly the difference between an average outcome and an awe-inspiring result, and it could be done within the day! Intriguing, isn’t it?
So how many primer coats do you need to apply to new drywall?
Typically, new drywall requires one well-covered coat of primer for adequate sealing and paint adhesion. However, a second coat may be necessary for a more uniform surface, especially if the drywall has visible patches or seams. The choice between one or two coats depends on the drywall’s condition and the desired quality of the paint job.
But hold on, we’re just getting started. In this article, we’ll also answer crucial questions like:
How does the type of drywall affect the primer’s application?
Is an oil-based or a latex primer better?
What’s the role of cleaning in priming new drywall?
And, is a tinted primer a game-changer?
- Number of Coats of Primer: Generally, one well-covered coat of primer is adequate for new drywall. However, applying two coats can lead to better results, providing a more uniform surface especially if there are visible patches or seams.
- Type of Primer: The choice between oil-based and water-based (latex) primers can significantly impact the outcome. Oil-based primers offer excellent adhesion and stain-blocking properties but emit strong fumes and take longer to dry. Latex primers, on the other hand, have lower odor levels and dry faster.
- Cleaning before Priming: Thoroughly cleaning the drywall surface before primer application is essential for optimal paint adhesion. It helps in removing dust and debris that may interfere with the adhesion process.
- Primer for Color Transition: Depending on the drastic change in color, you might need more primer coats. Lighter colors over darker ones often require at least two coats of primer for proper coverage.
- Quality of Primer: The quality of primer can significantly influence the final paint job’s look and durability. High-quality primers from reputable brands are often recommended.
- Using Paint-and-Primer-in-One Products: These products offer better coverage and efficiency, but may not provide the same level of stain-blocking performance as standalone primers.
- Professional Help: For large projects or optimal results, consider hiring a professional contractor who has the experience and skills to ensure a well-executed painting job.
We’re covering all these questions and more, so let’s get started.
Importance of Primer on New Drywall
When you have new drywall to paint, you might wonder about the importance of the primer coat. In my experience, applying primer to unfinished drywall is a critical step that shouldn’t be skipped. It will not only enhance the paint’s durability, but also make your walls lust-worthy. Let’s explore the reasons behind using a primer and the ideal number of coats for new drywall.
New drywall is quite porous, meaning it can absorb and release excessive moisture quite faithfully. This calls for the use of primer, as it helps seal these porous surfaces and creates a consistent, even surface for the paint to adhere to. A quality primer coat also helps prevent nasty surprises such as peeling or blistering paint down the road. Oil-based primers are particularly effective for new drywall as they offer a layer of dense pigments for better adhesion.
When it comes to the number of coats of primer, the short answer is – it depends. For a flawless finish, you should generally opt for two coats of primer, especially if the drywall has visible patches or seams. However, in some cases, a single coat might suffice to achieve a uniform and consistent surface. Always ensure that you properly clean the drywall surface before primer application, including removing dust and debris.
The choice of primer is another vital consideration. As mentioned earlier, oil-based primers are a popular choice for new drywall; however, they emit strong fumes and take longer to dry. Another contender is latex-based primer, which is water-soluble and has a milder odor. It is also known for its faster drying time. While both primer options have their pros and cons, the ultimate decision should be based on your specific project requirements and personal preferences.
Remember, a little extra effort during the primer application process on your new drywall can translate into a beautiful finish that will stand the test of time. Don’t underestimate the importance of this foundational step – your walls will thank you!
Choosing the Right Primer
You’re ready to paint your new drywall, but before you apply that first coat of color, it’s essential to prime the surface. In my experience, selecting the right primer for your project doesn’t have to be rocket science. By understanding the characteristics of various primers and how they interact with drywall, you’ll be able to make an educated decision without a worry.
One important factor in selecting a primer is the type of primer you’re using. There are primarily two types to consider: oil-based primer and water-based primer. Oil-based primers, also known as alkyd primers, offer excellent adhesion and stain-blocking properties. However, they tend to emit stronger odors and require more time to dry. On the other hand, water-based latex primers dry quickly and have lower odor levels but may not be as effective at blocking stains as oil-based primers.
Another primer option worth considering is polyvinyl acetate, a type of water-based primer that helps improve adhesion between your drywall and paint. It’s especially useful if you’re dealing with porous surfaces or surfaces that have been previously painted.
When it comes to the number of coats you should apply, remember that more is not always better. While oil-based primers may require two coats if you’re dealing with severe stains, water-based primers often need just one thick coat to work effectively. Still, always pay attention to the manufacturer’s guidelines on your chosen product.
Self-priming paints are another option worth exploring for new drywall projects. These products combine paint and primer into one formula, eliminating the need to apply a separate coat of primer. However, it’s essential to understand that self-priming paints may not always provide the same level of stain-blocking performance as standalone primers.
To sum it up, understanding the various primer types – oil-based, water-based, polyvinyl acetate, and self-priming paint – allows you to choose the best one for your new drywall. You now have the knowledge to select the right primer for your project, ensuring a durable, long-lasting, and beautiful paint job. Happy painting!
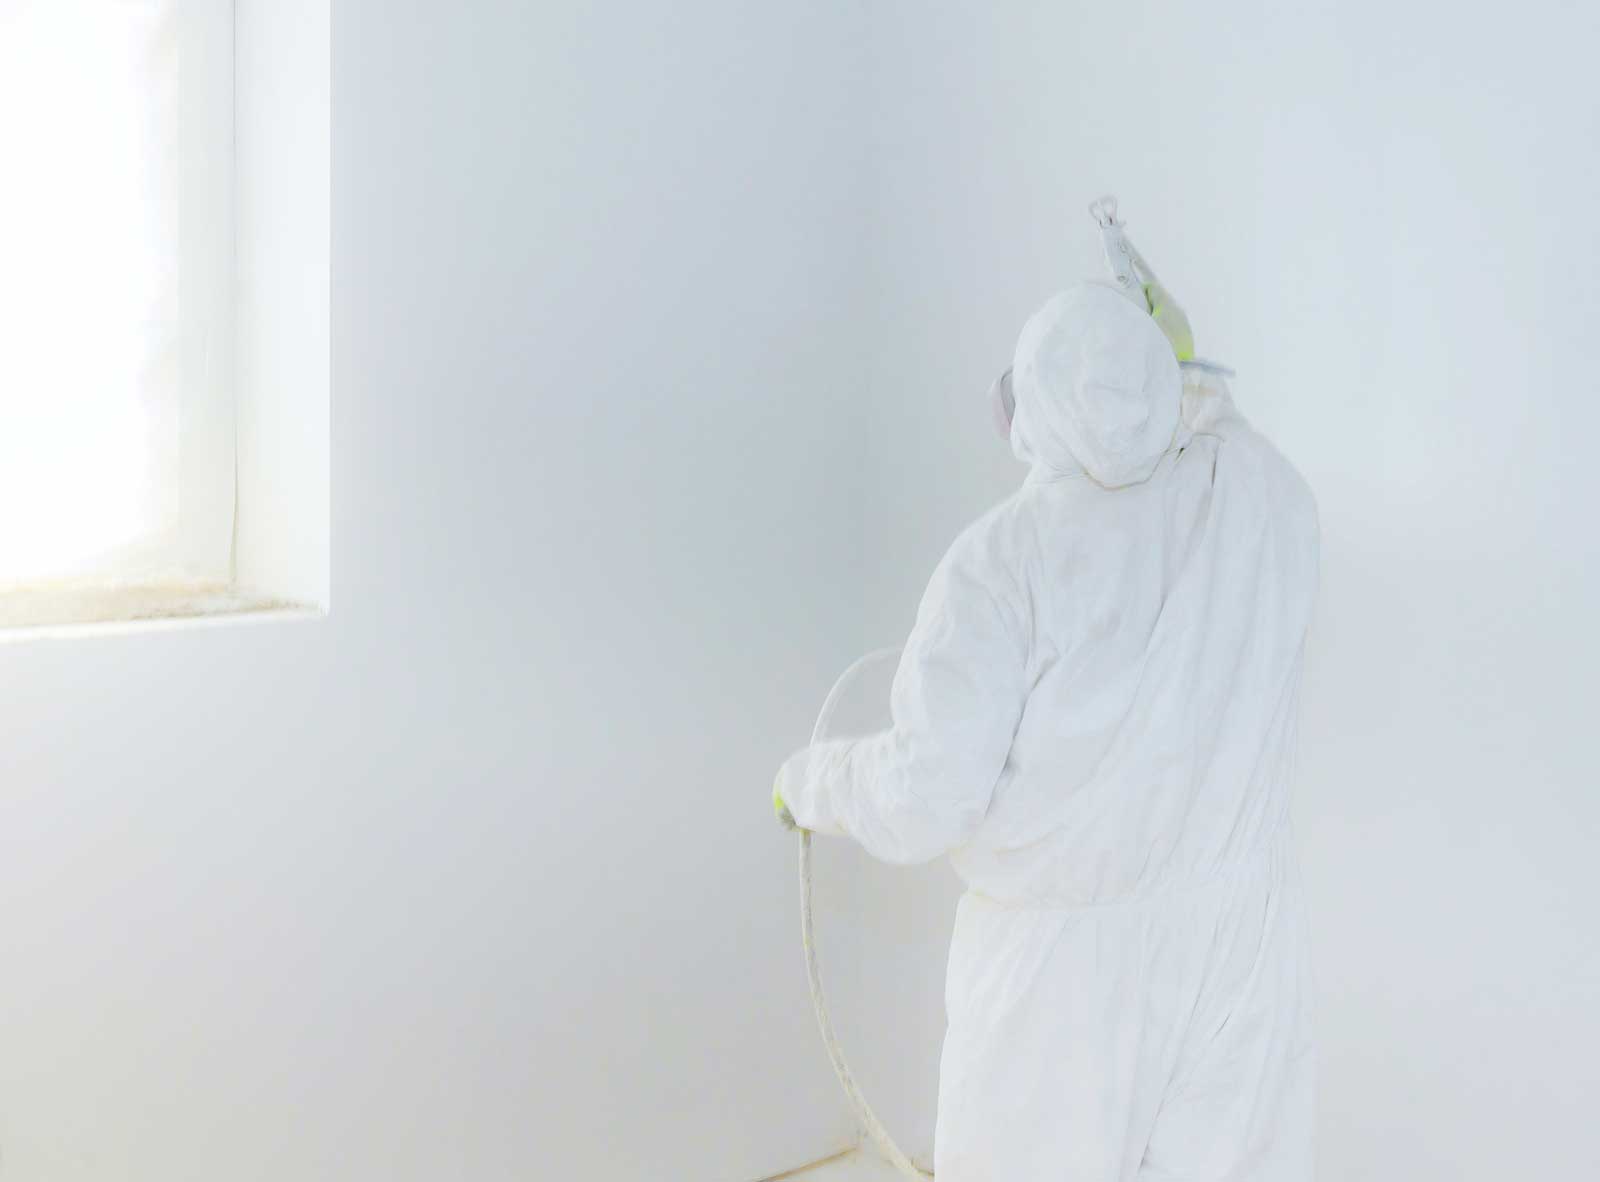
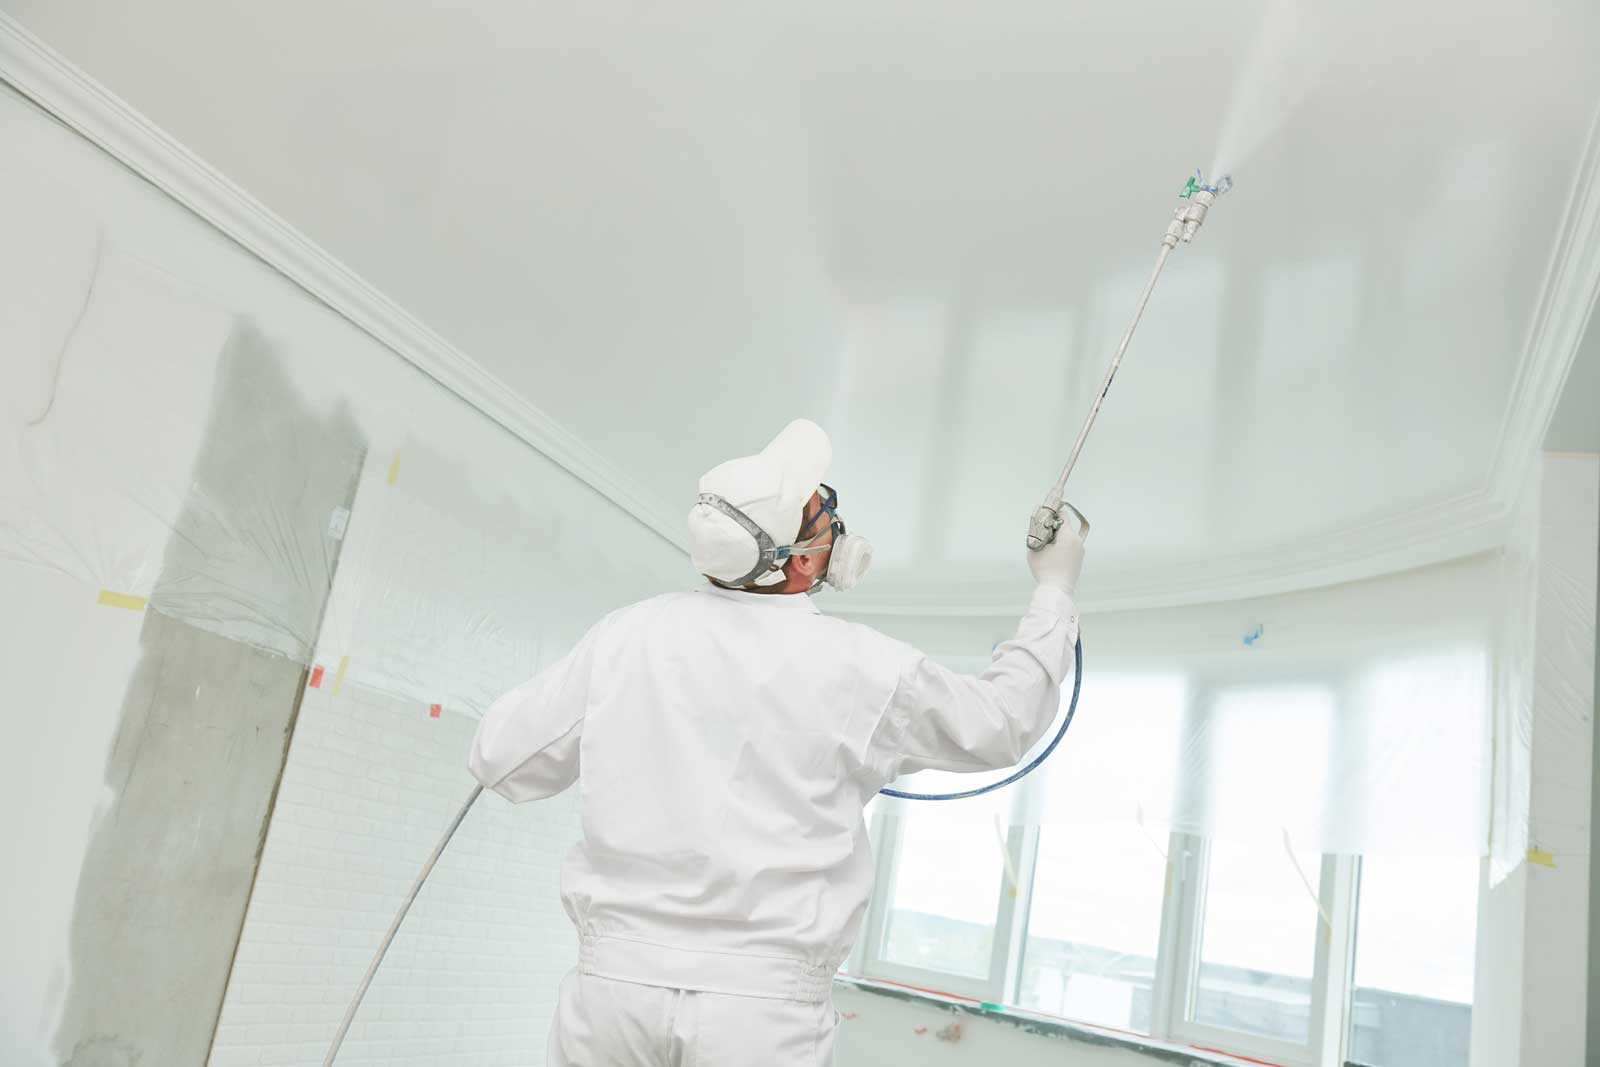
Applying Primer on Bare Drywall
You’ve got a fresh new drywall up and ready, and it’s time to give it just the right look. The first step in painting any drywall surface is to apply a primer. It’s essential to know how many coats of primer you’ll need, and what kind of primer to use1. We’ll walk you through the whole process, and soon, you’ll be a drywall priming pro.
One coat of primer is often sufficient for new drywall, but in some cases, two coats might be required. It depends on the drywall’s texture and the paint you plan to use. A high build drywall sealer can help provide a smoother surface, while a regular primer might still show some texture.
Start by ensuring your bare drywall is clean and free of any dust or debris2. Apply the first coat of primer using a paint roller or brush. Focus on any areas where joint compound or drywall mud has been used, as these areas will absorb the primer more readily3. Allow the first coat to dry according to the manufacturer’s instructions4.
Once your initial coat of primer is dry, it’s time to evaluate the results. If the surface appears smooth and uniform, you’re likely good to go with just one coat. However, if you notice any uneven spots, it’s worth applying a second coat for a better finish. Keep in mind that some high-quality primers are designed to cover defects in just one coat5. In my experience, choosing the right primer can make a big difference in the final appearance.
Overall, it’s essential to carefully prepare your drywall surface and choose the right primer for your needs6. By following these simple steps, you’ll be well on your way to a beautifully primed and painted wall. So grab your paint roller and get ready to make that new drywall shine!
Footnotes
- Applying primer ensures better adhesion of the paint, improving coverage and extending the life of your paint job. ↩
- Clean your drywall by wiping it down with a damp cloth or using a vacuum to remove any dust particles. ↩
- The joint compound used to fill gaps and seams in the drywall has a different texture and porosity compared to the surrounding areas, making it essential to prime these areas properly. ↩
- Drying times for primer can vary, so be sure to check the manufacturer’s recommendations for proper drying time. ↩
- High-quality primers can reduce the need for multiple coats and save you time and effort in the long run. ↩
- Properly preparing your drywall surface helps ensure a successful paint job that looks professional and lasts a long time. ↩
Tinted Primer vs White Primer
You’re about to discover the secret behind choosing the perfect primer for your new drywall. Are you tired of struggling with color inconsistencies and poor paint coverage? Well, look no further! Let’s dive into the world of tinted and white primers and how they can create the perfect canvas for your paint job.
When it comes to new drywall, selecting the right primer can make all the difference. While both tinted primer and white primer serve the same purpose – to seal the porous surface of the drywall and create a uniform base for the paint – they each offer unique advantages depending on your specific needs.
If you’re painting with a light color, white primer is the way to go. It effectively hides any imperfections while providing a bright, clean base that allows light tones to shine through. On the other hand, if you’ve chosen a dark color for your walls, a tinted primer may be your best bet. By adding a dose of pigment to match your final color, tinted prime eliminates the need for multiple coats of paint, ultimately saving you time and money.
In my experience, I’ve witnessed the incredible power of tinted primer when working with bold hues. Once, while helping a friend paint their living room a dark forest green, we quickly realized that our initial choice of white primer was taking us nowhere. After switching to a tinted primer that complemented the green, we noticed a remarkable difference: the color went on smoothly and evenly, and we required fewer coats to achieve full coverage.
But wait, there’s more! Don’t make the mistake of assuming that tinted primer is only for dark colors. It can also work wonders with mid-tones by intensifying the richness of the final shade. Just remember to be cautious; selecting a primer tint that is too dark may result in the final color appearing darker than intended. Consult with a paint or hardware store professional if you’re unsure about your primer choice.
Now, armed with this newfound knowledge about the differences between tinted and white primer, go forth and conquer your new drywall paint project. Whether you opt for a light or dark color, you can count on a perfectly primed surface as the foundation for your impeccable paint job. So, go on – show those walls who’s boss!
Ideal Number of Primer Coats
So you’ve got new drywall and you’re ready to prime it, but how many coats should you apply? The answer isn’t always straightforward, but don’t worry – I’ve done the research to help you achieve perfect primer coverage. Let’s dive in!
When it comes to priming new drywall, the general rule of thumb is to apply one well-covered coat of primer. According to r/HomeImprovement on Reddit, one coat is typically enough as long as you have good coverage. However, if you’re not satisfied with the outcome and want to ensure a more uniform surface, applying a second coat won’t hurt.
It’s essential to choose the right primer for new drywall. Look for PVA Primer or Drywall Sealer, as these products are designed specifically for fresh drywall and are usually more affordable than all-purpose primers (source). Using the right product makes the process more efficient and helps you achieve your desired results.
Remember, the important factor is the coverage, not the number of coats. One person’s heavy coat may be equivalent to 1.5 to 2 coats of another person’s. As long as the drywall is well-covered with your chosen primer, it should suffice. Proper primer coverage ensures a solid base for your paint, so be mindful of your application technique and product choice.
In my experience, I noticed that when I applied a single coat of PVA primer on new drywall, the final paint outcome was more consistent and had better adherence compared to when I skipped the primer or chose a different type. The right primer can give you a professional-looking finish that won’t disappoint.
In summary, one well-covered coat of primer should be adequate for new drywall. However, if you seek an even more uniform surface, go ahead and apply a second coat. Ultimately, the goal is to achieve the best coverage to ensure your paint adheres correctly and looks stunning.
Improving Finish and Coverage
Achieving a perfect finish and good coverage on your new drywall may seem like a daunting task, but with the right approach, it can be easier than you think. In my experience, using the appropriate number of coats and proper techniques can make all the difference. Let’s dive into some practical tips for getting that smooth surface and even finish you’re after.
First things first, the question that often comes to mind is how many coats of primer do you need on new drywall? Generally, one coat of primer should suffice for good coverage, but in some cases, a second coat may be necessary to create a smoother and more even surface. A second coat can help address issues caused by drywall mud and paper absorption, ensuring a consistent base for your finish coat.
When applying primer, it’s crucial to use a quality product and the proper technique. Be sure to follow the manufacturer’s instructions for application and drying time. Don’t rush the process, as this could lead to an uneven finish or poor coverage. It’s also a good idea to use a roller with an appropriate nap size to match the texture of your drywall. This will help avoid lap marks and promote a smooth surface.
In addition to primer, the finish coat you choose will also play a key role in achieving your desired result. Consider using a paint-and-primer-in-one product for a streamlined process and better coverage. However, keep in mind that using a separate primer and finish coat may offer more control over your end result and potentially provide a higher quality finish.
When faced with challenging areas, such as corners or edges, pay close attention to your technique. Use a brush to carefully cut in and create a crisp, clean line. This attention to detail will ensure that your finish coat appears professional and precise.
To further ensure a smooth surface and even finish, consider investing in some professional tools, such as a paint sprayer or a carpet removal tool that can help make your job easier. Just remember, the key to success lies in proper preparation, attention to detail, and using quality products and tools.
By following these tips, you’ll be well on your way to achieving that perfect finish and coverage on your new drywall. So don’t be afraid to give it a try – the results will be worth the effort.
Transitioning Between Colors
You may be wondering how to properly transition between colors when priming new drywall. Worry no more! I’m here to help you master this technique. In this section, we will discuss tips for making a smooth transition between your old color and the new one you’ve chosen, whether it’s a dark color to a light color, or a lighter color to a darker one.
When you’re priming new drywall for a darker color over a lighter one, it’s generally easier to cover the old color. One coat of primer should suffice, but if you’re unsure, test a small area first. If the darker color shows through the primer, one more coat should do the trick. Remember, it’s important to be patient and let the primer dry completely between coats.
Now, if you’re going from a dark color to a lighter one, things can get a little more complicated. But no need to panic! Just follow these simple steps to ensure a seamless transition. First, apply a coat of primer to the new drywall and let it dry completely. If the old color still shows through, add a second coat of primer to ensure proper coverage. Once both coats are dry, you can apply your lighter paint color.
In my experience, color transitions are smoother when I use a high-quality primer to properly cover the old color. This makes it less likely for the previous color to bleed through the new paint. A good primer will also improve adhesion, reducing the risk of peeling or flaking down the road.
Don’t forget about the standard curtain sizes when choosing your new color. They play an essential role in the overall appearance of your room, so ensure that they blend well with both your old and new colors.
During the process of transitioning between colors, always pay attention to details, and take your time to ensure you achieve the best result possible. With these tips and techniques in mind, you’re now ready to embark on your color transformation journey with confidence and great results!
Selecting the Best Paint Type
So, you’re ready to apply primer on your new drywall, but you’re not sure which paint type to choose? Don’t worry, I’ve got you covered. In this section, we’ll examine the different paint types available, and how to pick the perfect match for that fresh and flawless finish on your walls.
First things first, let’s talk about the two major types of paint: latex and oil-based. Each comes with its own set of pros and cons, and selecting the right one for your project is crucial for achieving that perfect result.
Latex paint is water-based and is generally the go-to choice for interior walls. It dries quickly, has low odor, and is easy to clean up with soap and water. Moreover, it offers excellent adhesion and color retention. On the other hand, latex paint may not be the best choice for high-traffic areas, as it can be less durable than its oil-based counterpart.
Oil-based paint is known for its durability and rich finish. It provides a smooth surface and takes longer to dry, allowing for more working time and a better, even finish. However, it has a strong odor and requires solvents like paint thinner for clean up. Plus, oil-based paint can be less environmentally friendly, as it releases higher levels of volatile organic compounds (VOCs).
When working with new drywall, it’s important to consider the primer portion of the process as well. As a rule of thumb, a stain-blocking primer is recommended to prevent potential bleeding from existing stains or severe odors, like smoke. These primers can be found in both oil-based and water-based versions, allowing you the flexibility to choose based on your paint preference.
In my experience, it’s best to assess your project’s needs, the room’s usage, the desired finish, and your own personal preferences before selecting a paint type. While latex paints are often easier to work with and more environmentally friendly, oil-based options offer a durability that can withstand high-traffic areas with ease.
So, now that you’re armed with this knowledge, go ahead and make an informed decision on the best paint type for your new drywall project. Remember, the right choice can make all the difference in achieving the desired outcome, ensuring that your walls look stunning for years to come. Good luck!
Preparing for a Painting Project
When it comes to your painting project, getting the right foundation is crucial to ensure a smooth and even finish. That’s where priming comes into play, and it’s something you don’t want to skip. In this section, let’s talk about the significance of primer, how many coats of primer you need for new drywall, and what to consider when preparing for a painting project.
As a foundational layer, primer helps to seal the porous surface of your new drywall, allowing the paint to adhere properly. Additionally, a well-applied coat of primer can help minimize the appearance of seams and indentations. Generally, one coat of primer is usually sufficient for new drywall; however, in some cases, you may need two coats of primer. This is especially true if your new drywall has any heavy stains or is made from tannin-rich wood that could bleed through the paint.
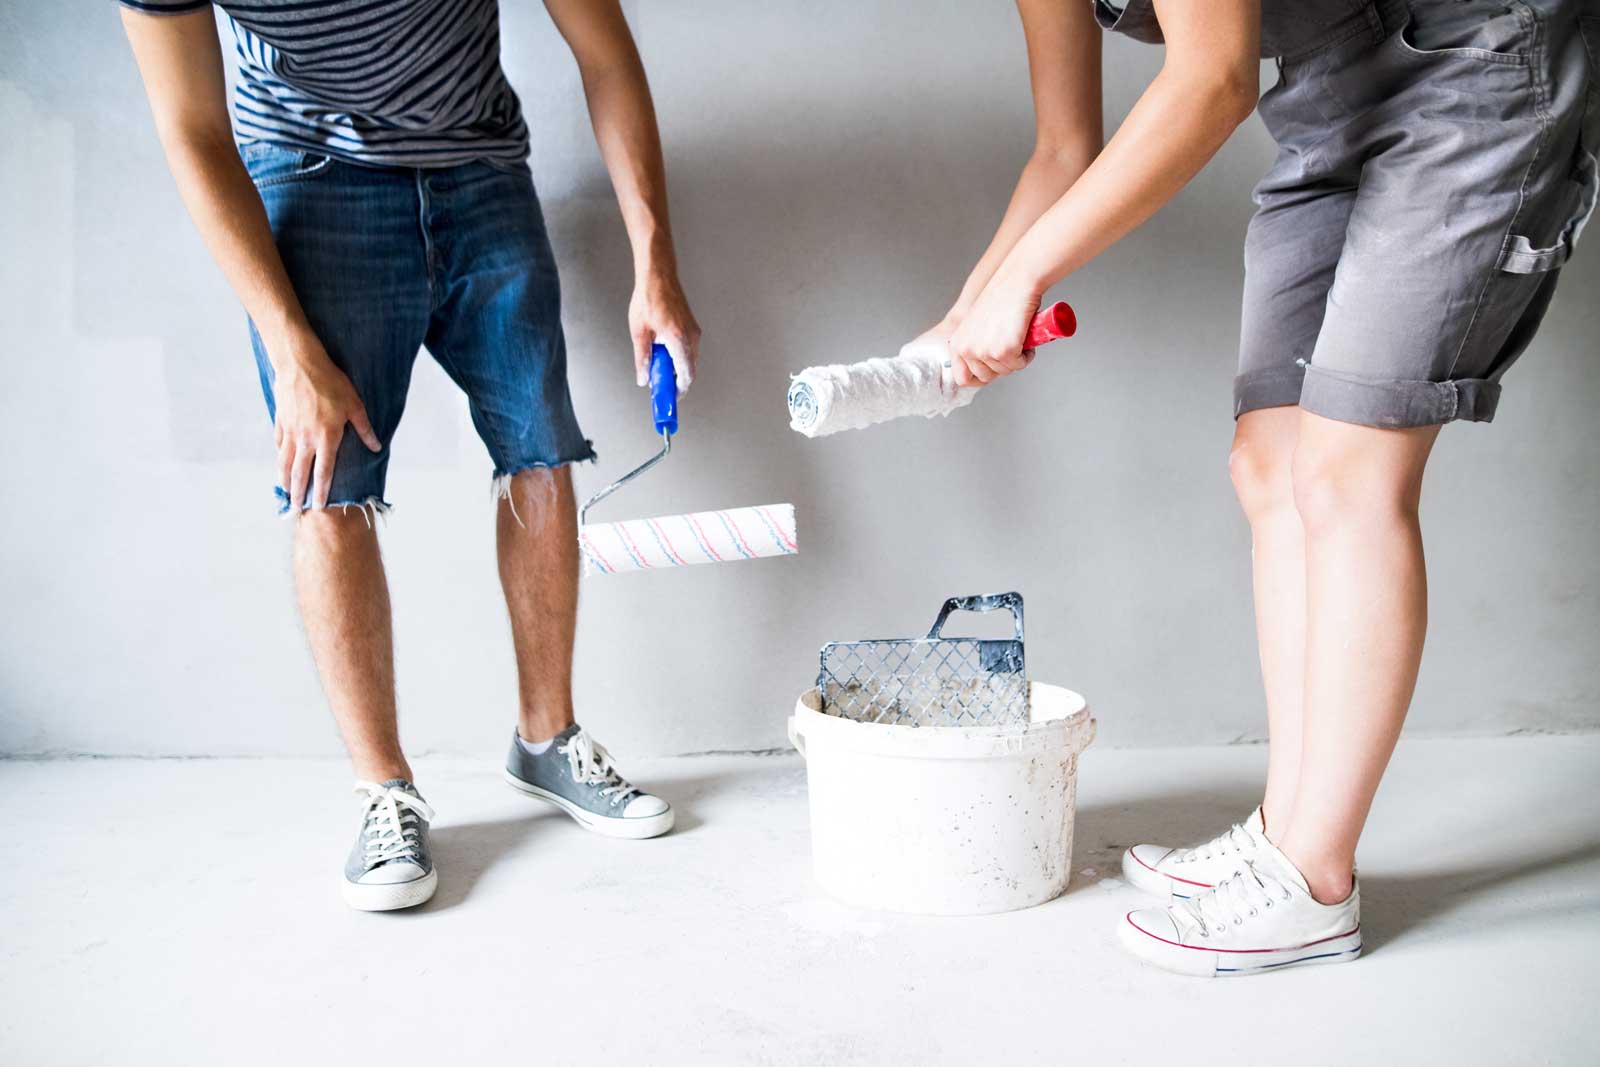
To get started with your painting project, make a plan and gather your supplies. Start by measuring the area you’ll be painting, so you can purchase the correct amount of primer and paint needed. Then visit a reputable paint store to select the best materials for your project. This includes brushes, rollers, and drop cloths to protect your floors and furniture. If you’re not sure which specific products to choose, don’t hesitate to ask the paint store staff for recommendations.
Next, consider if you’ll be taking on this project yourself or if you’ll be hiring a contractor to do the job. If you choose to hire a professional, you may still want to prepare the space by moving furniture, covering floors, and taking down wall decorations. This helps to prevent any accidents, such as paint spills, and makes it easier for the contractor to start working. In my experience, moving out some items also provides a clearer visual of the space, making it easier to decide on the final look you desire.
Keep in mind that keeping your house clean during a painting project is important, as it ensures a better final result. It also prevents any health or safety hazards that may occur during the process. Be sure to sweep or vacuum the area regularly to remove any dust or debris, and use appropriate ventilation to manage any paint fumes.
Preparing for your painting project requires a balance of proper planning, selecting quality materials, and creating a clean, safe work environment. Get it right from the beginning, and you’ll be well on your way to enjoying a beautifully painted space that you can be proud of.
Additional Tips and Recommendations
When it comes to priming new drywall, you might be wondering if there’s a best way to achieve professional-looking results. The good news is that, with some expert advice and a few insider tips, you can transform your new drywall into a surface that’s primed and ready for painting. In this section, we’ll guide you through the process, offering recommendations for products and techniques that can lead to better results.
Firstly, it’s important to choose a high-quality primer. Top brands like Sherwin Williams and Benjamin Moore are renowned for offering reliable, effective primers that provide excellent coverage and durability. By investing in a reputable primer, you’re ensuring that the final paint job will look smooth and professional – and that’s definitely a good idea.
In my experience, applying two coats of primer can yield significantly better results compared to using just one coat – especially when it comes to new drywall. This is because the first coat of primer absorbs into the porous drywall surface, helping to seal it and create a more uniform surface for the second coat – and ultimately, the paint – to adhere to.
To ensure the best possible outcome, follow a few simple steps:
- Thoroughly clean the drywall surface, removing any dust and debris.
- Apply the first coat of primer, using a roller for large areas and a brush for edges and corners. Allow it to dry completely.
- Inspect for any uneven areas or imperfections, and lightly sand if necessary. Wipe away any dust.
- Apply the second coat of primer, again allowing it to dry completely before proceeding with paint.
By following these steps, you’ll be laying the groundwork for a flawless paint job, as the primer creates a smooth, even surface for the finish coat to adhere to. And don’t forget, using a quality power strip and proper surge protection while working on your DIY project can help keep your valuable tools and equipment safe from potential electrical hazards.
So, with these additional tips and recommendations in mind, you’re well-equipped to tackle your new drywall priming job like a pro.
Next Steps
Want to join others who are creating the most amazing home redesigns & renovations and get more tips, tricks and hacks on how to make your home the best it can be?
Join my brand new free private Facebook group, Remodel Reality to connect with other people like you to make your space the best!


