
Ever wondered what sets apart an impeccable paint job from a disastrous one? The secret lies in understanding the nuances of painting over primer. But don’t worry – we’ve got you covered!
In this comprehensive guide, we’ll reveal the best practices for painting over primer that will take your DIY projects to a whole new level.
From mastering the art of drying to achieving the perfect surface, we’ll share expert insights that will make your next painting endeavor a true masterpiece. So, are you ready to unlock the secrets and become a paint pro? Let’s dive in!
By the way – before we get too far along here, if you want to connect with other homeowners, DIYers, and builders and get more great ideas for your home to make your space the best join my free private Facebook group, Remodel Reality here.
 What Happens if You Paint Over Primer Too Soon?
Here’s the brutal truth about painting: If you want to achieve a smooth, long-lasting finish, applying primer is a must. (I know it did for me)
But wait, there’s more!
It’s not just about slapping on the primer and immediately painting over it. The real magic happens when you wait for the primer to dry completely before applying the paint.
So, what happens if you paint over primer too soon? Let me explain why it’s a bad idea.
In my experience, painting over primer before it’s fully dry can lead to several issues that can ultimately ruin your paint job (and we don’t want that, do we?).
First and foremost, when you don’t give the primer enough time to dry, it can cause the paint to peel or bubble. And as if that is not enough, it can also lead to an uneven paint finish, making your wall or surface look patchy and unprofessional (subtle or not-so-subtle).
The best part? Avoiding these issues is simple. All you need to do is give the primer enough time to dry before applying the paint. How cool is that?!?
However, the question is: How long should you wait? Well, that depends on factors like the type of primer you’re using, the humidity levels, and the temperature.
Generally, it’s safe to say that waiting at least a few hours or even overnight is a good rule of thumb.
But, let’s dig a little deeper. When it comes to oil-based primers, you might need to wait up to 24 hours for the primer to dry completely. On the other hand, water-based primers usually dry faster and can be ready for painting within a couple of hours.
Remember, it’s always better to err on the side of caution and wait a little longer than to paint over wet primer (Thankfully, he didn’t ask me to do it for him).
Here’s the bottom line:
If you want to achieve a professional-looking paint job, make sure you give your primer enough time to dry before applying the paint. It’s that simple.
With a little patience and attention to detail, you’ll avoid those pesky paint problems and enjoy a beautiful, long-lasting finish on your walls or surfaces.
 Primer and Paint Interaction
Primer plays a crucial role in preparing a surface for paint, ensuring optimal adhesion. (Who knew, right?) However, it contains solvents that need to evaporate during the drying process.
Here’s why it’s important: If you rush to paint over primer before it’s fully dry, the solvents in the paint can mix with those in the primer, causing undesirable outcomes.
The Consequences of Painting Over Primer Too Soon:
- Bubbling: The mixture of solvents from the paint and primer can result in paint bubbles, which mar the smoothness of your paint job. (Just imagine a bubbly mess!)
- Cracking: An uneven distribution of solvents can cause the paint to crack over time, spoiling the appearance of the surface. Think about it: nobody wants their walls to look like a dried-up riverbed.
- Peeling: Prematurely applying paint over primer can lead to peeling, ultimately requiring a redo of the entire paint job. Let’s face it: that’s a huge hassle!
To avoid these issues, always allow the primer to dry completely before painting. (Patience is a virtue!)
So, what’s the takeaway? By doing so, you’ll achieve a smooth, even, and long-lasting finish that you can be proud of. And as a bonus, you’ll save yourself from the headache of dealing with paint problems in the future. How cool is that?!?
Poor Adhesion
Let’s face it: patience is key when it comes to painting. One crucial aspect is waiting for the primer to dry completely before applying paint. Why? Let me explain:
The Problem: Poor Adhesion
When you apply paint over wet or tacky primer, it can cause the primer to pull away from the surface. As a result, the paint struggles to stick properly to the surface.
The Consequences:
- Streaky appearance: Your paint may look uneven and streaky, ruining the visual appeal of the painted surface. (Nobody wants that!)
- Flaky texture: The paint can become flaky, giving an unprofessional and unsightly finish. In other words, not the result you were hoping for.
- Peeling or chipping: Over time, the paint may start to peel or chip due to the weak bond between the paint and the surface. Talk about a frustrating situation!
Peeling and Cracking
Patience is a virtue, especially when it comes to painting. Waiting for the primer to dry completely is a crucial step in achieving a flawless paint job. Let’s dive into the consequences of painting over wet primer.
The Issue: Inadequate Adhesion
If you paint over primer that is not dry, the paint may not adhere correctly, leading to issues like peeling and cracking. This occurs because the paint is unable to bond to the surface, causing it to separate from the primer layer.
The Consequences:
- Peeling paint: When the paint doesn’t adhere properly, it can start to peel away from the surface, creating an unsightly mess. (Nobody wants that!)
- Cracking paint: Similarly, the paint may crack, compromising the visual appeal and integrity of the painted surface.
- Challenging fixes: Once the paint starts to peel or crack, it can be difficult to fix, and you may need to start over from scratch. Talk about a frustrating and time-consuming situation!
Uneven Finish
When it comes to painting, waiting for the primer to dry completely is essential. If you rush this step, you may end up with an uneven finish. Let’s explore the consequences of painting over wet primer.
The Problem: Uneven Finish
Painting over primer that is not dry can lead to an uneven finish. The paint may dry in some areas faster than others, resulting in a patchy and inconsistent appearance. This can be especially noticeable with darker colors or in areas with high levels of natural light.
The Solution: Patience and Proper Timing
Overall, it’s crucial to wait until the primer is completely dry before applying paint. It’s recommended to wait at least 24 hours after applying primer before painting. This will ensure that the primer has had enough time to dry and cure properly, allowing the paint to adhere correctly and create a smooth and long-lasting finish.
 Factors Affecting Drying Time
When it comes to painting, understanding the factors that affect primer drying time is essential.
Let’s face it:
You don’t want to make the mistake of painting over wet primer, which can lead to bubbling and poor adhesion. Below, we’ll explore the factors that can influence primer drying time:
1. Type of Primer
Different primers have varying drying times. For instance, oil-based primers typically take longer to dry than water-based ones. Some oil-based primers can take up to 24 hours to dry, while water-based primers may dry within three hours. So, choose the right primer for your project and wait for it to dry completely before painting.
2. Type of Paint
The paint you plan to use can also affect primer drying time.
Here’s the deal:
Oil-based paints tend to dry slower than water-based ones. If you opt for oil-based paint, use an oil-based primer and allow it to dry thoroughly.
3. Humidity Levels
Humidity plays a significant role in primer drying time. High humidity slows down the process, while low humidity speeds it up. According to Prudent Reviews, you should wait at least 60 minutes before painting over primer. However, with high humidity levels, you may need to wait longer.
4. Temperature
The room temperature can also impact primer drying time.
Here’s the truth:
Higher temperatures speed up the process, while lower temperatures slow it down. Improve Wood suggests that the ideal temperature for primer drying is around 70°F (21°C). So, ensure the room you’re painting is at the right temperature for optimal results.
5. Air Circulation
Proper air circulation can help the primer dry faster, while poor circulation slows it down.
Here’s the bottom line:
Make sure there’s adequate ventilation in the room to promote quicker drying.
Takeaway: Understanding these factors can help you avoid painting over primer too soon and achieve a professional-looking finish. Choose the right primer and paint, monitor humidity levels and temperature, and ensure proper air circulation. By doing so, you’ll prevent paint issues and enjoy a smooth, long-lasting paint job. Now, let’s get painting and master the art of timing!
 Best Practices for Painting Over Primer
Understanding the best practices for painting over primer is essential for achieving a professional and long-lasting result. Below, we’ll walk you through crucial steps, from allowing the primer to dry to ensuring proper ventilation, that will help you create a stunning paint job that stands the test of time.
1. Allow Primer to Dry
Here’s the bottom line: You must wait for the primer to dry completely before painting over it. If you don’t, the paint might not adhere properly, leading to peeling or chipping. Keep reading to learn how to let your primer dry properly.
2. Apply Thin Coats of Paint
Think about it: Thinner coats of paint over primer ensure better adhesion, more even drying, and a faster painting process. In other words, thin coats result in a smoother and more even finish.
3. Ensure a Smooth Surface
Let’s face it: A smooth surface is essential for proper paint adhesion. Remove any bumps, ridges, or imperfections, and lightly sand the surface before painting for a flawless finish. Truth is, a smooth surface is key to a perfect paint job.
4. Check Primer Condition
Here’s the truth: A damaged primer can ruin your entire painting project. Make sure the primer is crack-free, not peeling, and in good condition before painting. And as if that’s not enough, if the primer is damaged, you may need to start over from scratch.
5. Choose the Right Weather Conditions
Let me explain why: Ideal weather conditions are crucial for a successful paint job. High humidity, extreme temperatures, and direct sunlight can impact paint drying and adhesion. The question is, can you find a day with temperatures between 50 and 85 degrees Fahrenheit and low humidity?
6. Provide Proper Ventilation
Here’s how: Ensure proper ventilation when painting to prevent fume buildup. Open windows, use fans to circulate the air, and wear a mask to avoid inhaling potentially harmful chemicals. The best part? You’ll have a safer and more pleasant painting experience.
Mastering Primer Application Techniques
For an impeccable paint job, mastering the application techniques for primers is absolutely vital. By understanding these techniques, you can take your painting game to the next level and achieve outstanding results every time.
The Critical Role of Primer Coats for Top-notch Results
Think about it: A high-quality primer coat is essential for achieving a professional-looking, long-lasting paint job. It ensures proper adhesion, evens out porous surfaces, and creates a solid foundation for the paint. In a nutshell, a primer coat sets the stage for the best results.
Knowing When to Apply a Second Coat of Primer
So, you’ve applied the first coat of primer, but when should you apply the second one? Here’s the bottom line: Applying a second coat of primer can be necessary when covering highly porous surfaces, bold colors, or uneven textures. Keep in mind that waiting for the first coat to dry completely and following the manufacturer’s instructions are crucial for success.
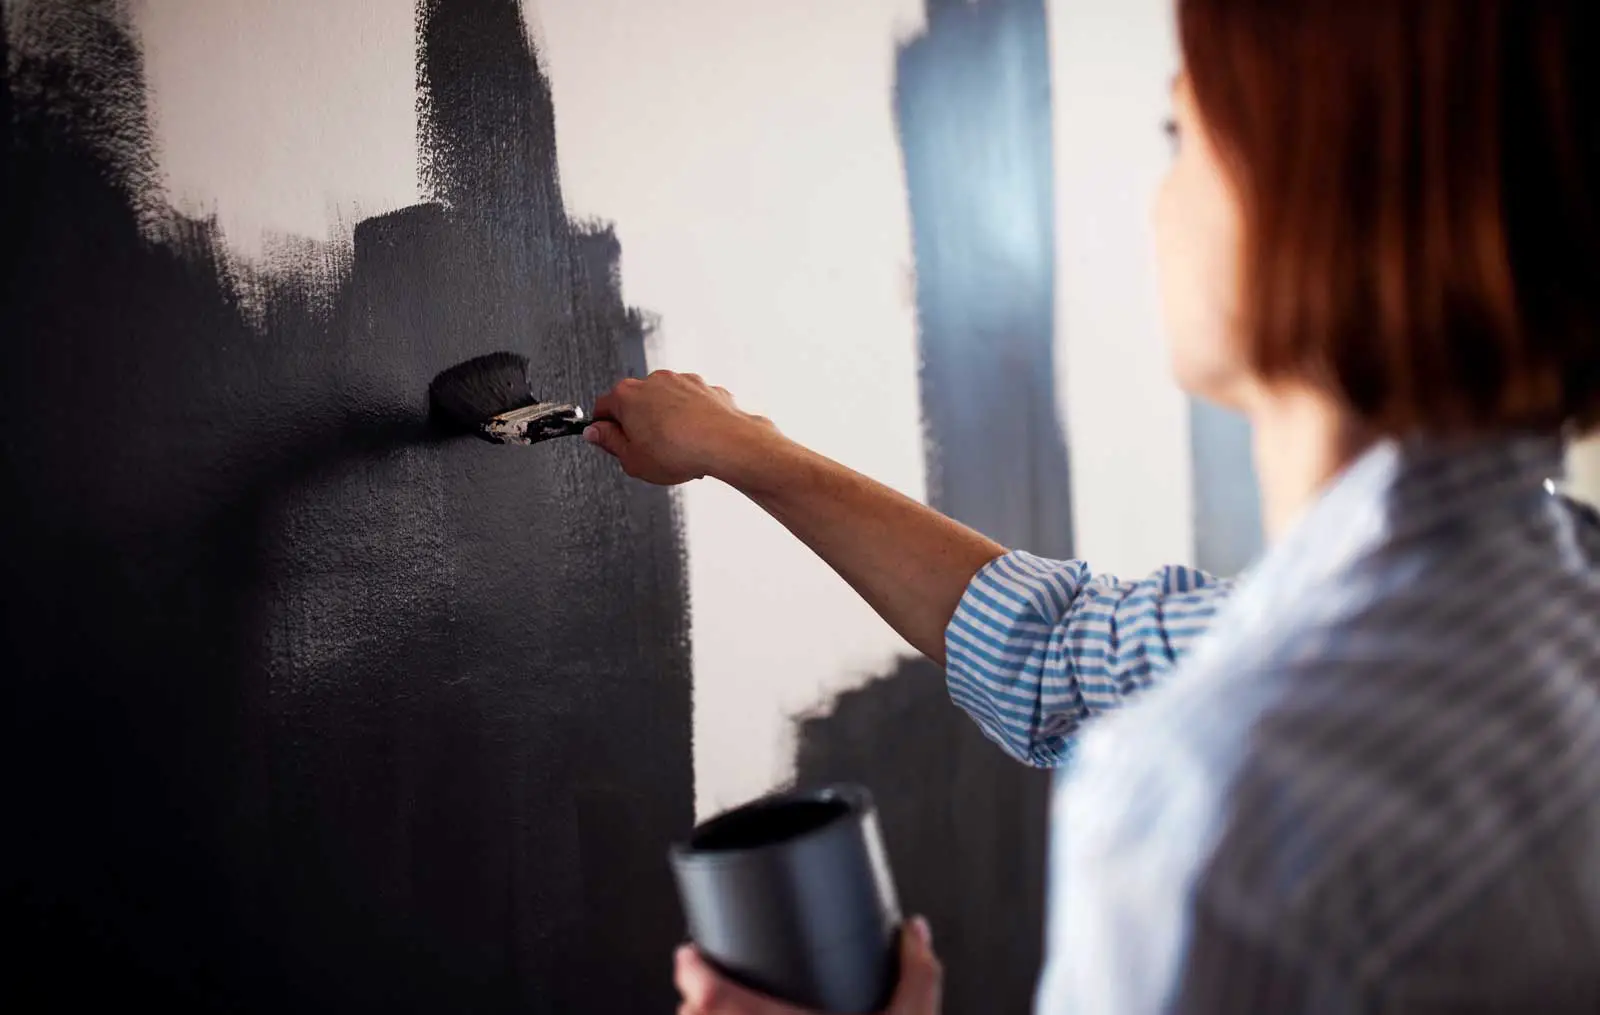
Tackling Dark Color Transitions with Primer
Let’s face it: Transitioning from a dark color to a lighter one can be tricky. But here’s the secret: Using a high-quality primer specifically designed for color transitions can save you time and effort. In most cases, applying multiple coats of primer, allowing each coat to dry, and following the recommended guidelines for dark color coverage will ensure a flawless, even result.
Paint and Primer Compatibility: The Perfect Pairing for Your Project
The secret to ensuring a successful, long-lasting paint job lies in pairing the right paint with the compatible primer. In this section, we’ll cover the essentials of paint and primer compatibility, including latex paint with latex-based primer, water-based paint with self-priming options, and the significance of top coat and base coat pairings.
The Ideal Match: Latex Paint with Latex-based Primer
Here’s the truth:
Combining latex paint with a latex-based primer is a winning formula.
Why?
Because these two products share similar properties, making them compatible for optimal adhesion, drying time, and overall performance. Simply put, using a latex-based primer with latex paint is your ticket to a seamless paint job.
Exploring Water-based Paint and Self-priming Options
Water-based paint and self-priming paint options are game-changers.
They offer convenience, efficiency, and environmental benefits. Water-based paints dry quickly, are easy to clean up, and produce fewer fumes.
On the other hand, self-priming paints save time and effort by combining primer and paint into one product. In short, these options provide versatility and ease for your painting projects.
Top Coat and Base Coat: A Dynamic Duo
Now, let’s dive into top coat and base coat considerations. The base coat acts as the foundation, providing coverage and a smooth surface for the top coat.
The top coat, in turn, enhances the color, adds durability, and ensures a uniform finish. By selecting compatible top and base coats, you’ll unlock the secret to a stunning, long-lasting paint job.
Working with Different Types of Surfaces: Unlock the Secrets to Flawless Primer Application
Let’s talk about the secrets to priming various surfaces, such as bare wood, interior walls, exterior surfaces, small areas, and the art of spray painting techniques.
Priming Bare Wood and Interior Walls: The Foundation for Success
Here’s the deal: Priming bare wood and interior walls is crucial for a smooth, long-lasting paint job. A high-quality primer seals the wood, preventing moisture and tannins from seeping through the paint. Likewise, priming interior walls creates an even surface for paint to adhere to, ensuring uniform color and texture. Remember, a well-primed surface is the key to painting success.
Preparing Exterior Surfaces for Painting: The First Step to a Durable Finish
Let’s be honest: Exterior surfaces face harsh weather conditions and require special attention. Thoroughly cleaning the surface, repairing cracks, and applying a suitable primer are essential for a long-lasting, weather-resistant paint job. In other words, investing time in surface preparation pays off in the long run.
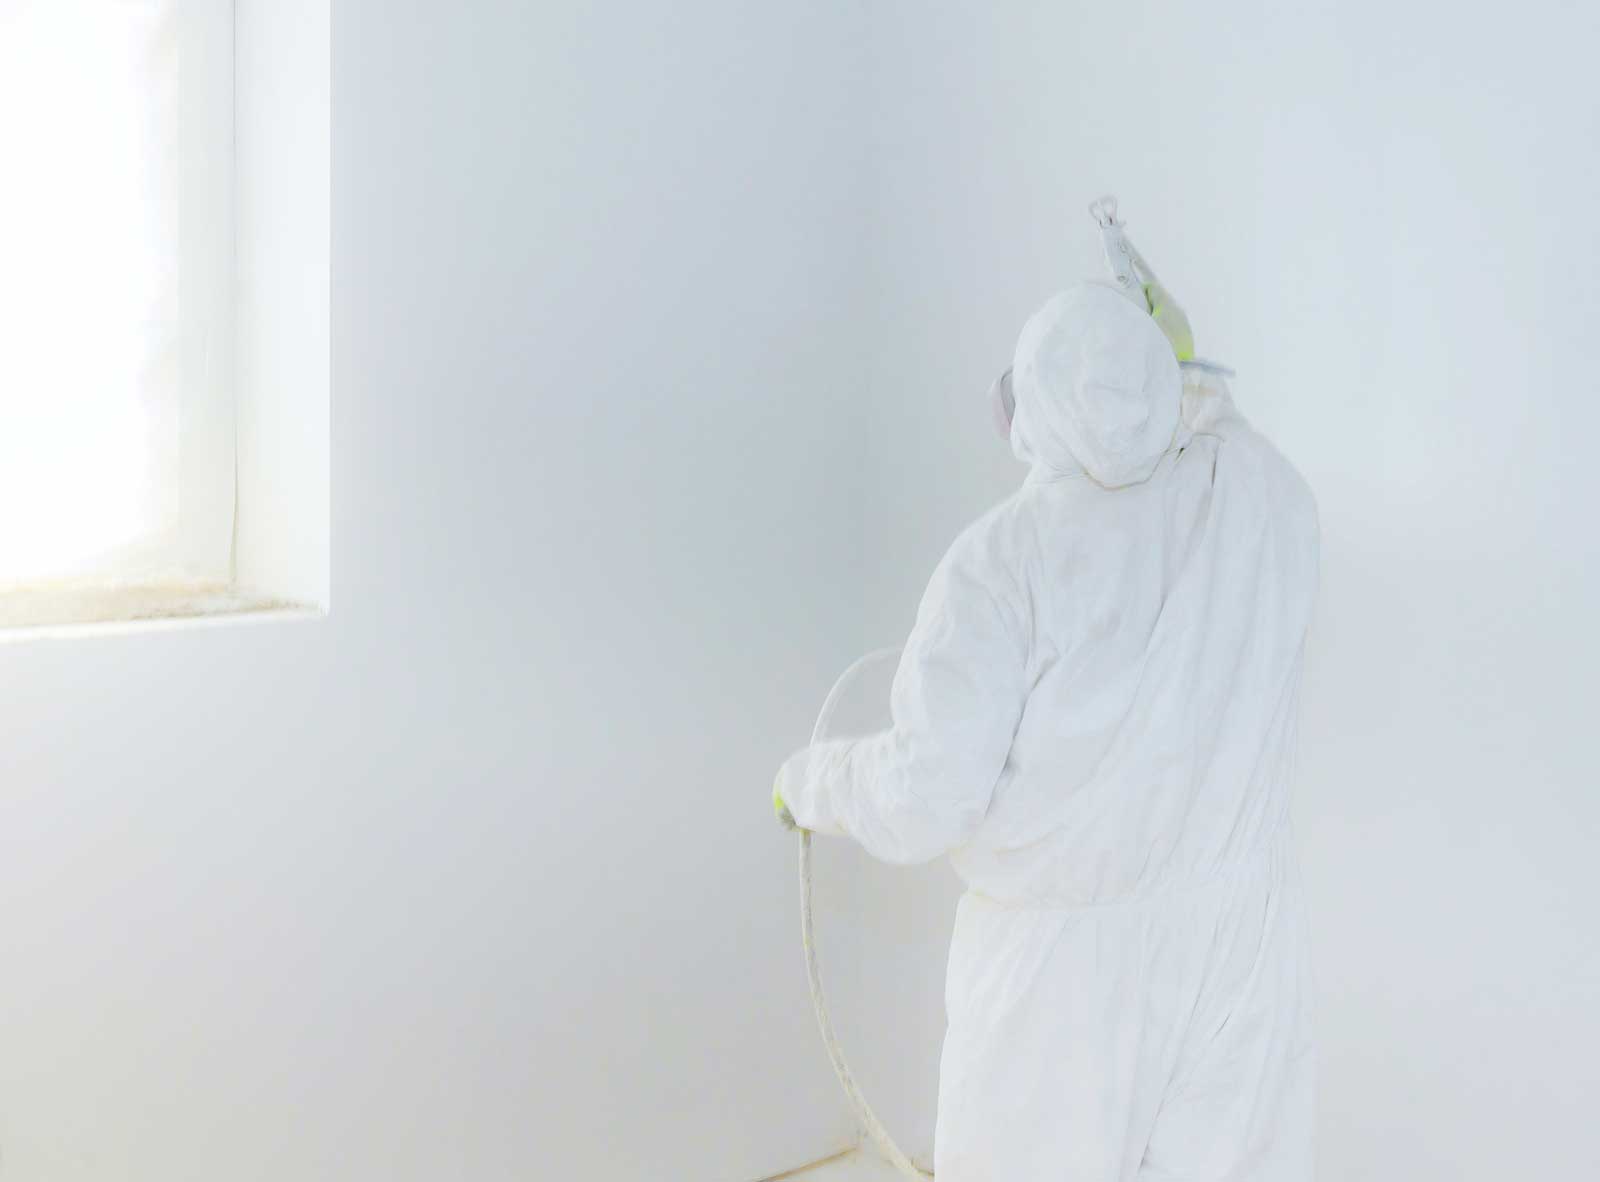
Small Areas and Spray Painting Techniques: Mastering the Art of Precision
When it comes to small areas and spray painting techniques, precision is paramount. Using a small brush or roller for tight spaces ensures proper primer coverage, while mastering spray painting techniques like overlapping strokes and maintaining consistent pressure results in an even, professional finish. In a nutshell, skillful application techniques transform your painting project from ordinary to extraordinary.
Optimizing Drying and Curing Time: Unlock the Full Potential of Your Primer
For a successful paint job, optimizing drying and curing time is crucial. Understanding these factors and making necessary adjustments can help unlock the full potential of your primer, resulting in a flawless finish that lasts.
The Importance of Manufacturer’s Instructions: The Key to Success
Let me be clear: Adhering to the manufacturer’s instructions is the foundation for a successful painting project.
These guidelines outline the recommended drying time, application methods, and ideal conditions for optimal results. Trust me, following these instructions can make all the difference between a paint job that shines and one that falls flat.
Different Dry Times for Different Types of Primers: Understanding the Variations
Fact is, not all primers are created equal.
Different types of primers have distinct drying times, ranging from a few hours for water-based primers to up to 24 hours for oil-based options.
Knowing the specific drying time for your chosen primer ensures proper adhesion and a smooth, even finish.
Cure Time and the Impact of Humidity and Temperature: Navigating Environmental Factors
Here’s the truth:
Humidity and temperature can significantly influence the cure time of your primer. High humidity can slow down the drying process, while extreme temperatures can cause uneven curing.
To put it simply, being aware of these environmental factors and adjusting your painting schedule accordingly can lead to a more successful and durable paint job.
Next Steps
Want to join others who are creating the most amazing home redesigns & renovations and get more tips, tricks and hacks on how to make your home the best it can be?
Join my brand new free private Facebook group, Remodel Reality to connect with other people like you to make your space the best!


