
How long does primer last? If you’re like me, you’ve got a few cans of paint and primer left over from your last painting job, and it’s always easier to use what you already have on hand instead of having to fork our more of your hard-earned money to buy more.
But how long is primer actually good for?
Primer can last for up to 2 years. The actual lifespan of the primer can vary significantly depending how well it’s resealed after use and whether or not it’s stored properly.
But what about different types of primer?
Do you need to finish painting immediately, or can you leave primer exposed for a while?
Can you use primer as ceiling paint?
These – and other questions like them – are common questions among DIY enthusiasts and even some professional painters alike. The answer depends on various factors, such as the type of primer, the surface it’s applied on, and the storage conditions.
Whether you’re a homeowner looking to touch up your walls or a professional painter working on a big project, this article will provide you with the information you need to make the most out of your primer.
 Shelf Life of Primer
Primer is an essential component in many painting projects. For those paints that don’t already have a primer included, it can make sure that you end up with a smooth, even surface and your paint has something to adhere to. However, its effectiveness and quality can be impacted by its shelf life, which varies depending on the type of primer and storage conditions.
Definition of Shelf Life
Shelf life refers to the length of time a product remains usable and maintains its quality while sitting unopened on a shelf. In the case of primer, its shelf life varies depending on the type of primer and the storage conditions.
Factors That Affect the Shelf Life of Primer
The shelf life of primer can be affected by a variety of factors. One important factor is exposure to extreme temperatures. Storing your primer in highly fluctuating or extreme temperature environments can cause it to degrade more quickly. Another significant factor is the seal on the container. If the container is not adequately sealed, air and moisture could enter, compromising the primer’s quality over time.
When it comes to different types of primer, face primer can last anywhere from 12 months to 24 months, and eyeshadow primers will usually last for about 6 months, with some even lasting up to 12 months (source).
How to Properly Store Primer to Prolong Its Shelf Life
To prolong the shelf life of your primer, follow these storage tips:
- Store the primer in a cool, dry place away from direct sunlight.
- Keep the container tightly sealed to prevent air and moisture from entering.
- Avoid exposing the primer to extreme temperature fluctuations.
- Check the label and follow any specific storage instructions provided.
Here’s a personal tip: I once had a can of primer that I forgot about in my garage. When I finally rediscovered it, I realized I hadn’t stored it properly, and the container had rusted (which is pretty easy to have happen here in Florida). The primer inside was ruined. From that hard lesson, I’ve learned the importance of following proper storage guidelines to avoid wasting primer.
 How Long Does Primer Last?
When considering the shelf life of primer, it’s essential to understand that different types of primer have varying expiration periods. Moreover, several factors can influence the longevity of your primer, such as storage conditions and whether the primer has been opened or not. In this section, we’ll explore the shelf life of different types of primer and how to determine if your primer has gone bad.
Different Types of Primer and Their Corresponding Shelf Life
There are several types of primer, and each has reasonably similar shelf life:
- Water-based primer: This type of primer can last up to 1-2 years if stored properly. However, once opened, it should be used within two years. (source)
- Oil-based primer: With a shelf life of up to 2 years, oil-based primer is quite durable. Yet, once opened, you should aim to use it within three years. (source)
- Latex primer: Latex primer can last up to 2 years when appropriately stored. (source)
It’s worth noting that proper storage plays a crucial role in the shelf life of your primer. To increase its longevity, store it at room temperature in a cool and dry space, away from direct sunlight, excessive humidity, or extreme temperatures.
How to Determine If Primer Has Gone Bad
Identifying a bad primer is relatively simple. Here are some telltale signs that your primer is no longer reliable:
- Consistency change: If the primer has become too thick or seems curdled, it’s likely past its prime.
- Unpleasant odor: A foul or sour smell indicates that your primer has gone bad.
- Separation: If the components of your primer have separated and no longer mix when stirred, it’s time to discard the primer.
One time I tried to force the issue and used an old primer that showed these signs, and it resulted in a terrible paint job. My wall looked patchy and uneven, and I ultimately had to redo the entire project. So, always check your primer’s condition before using it to save time, money, and frustration.
Keeping track of your primer’s shelf life and paying attention to its condition is crucial for achieving professional results in your painting projects. Proper storage habits will also prolong your primer’s usefulness.
 Factors Affecting Primer Shelf Life
I’ve realized that understanding the factors that affect the shelf life of primer products is crucial for getting the best results from my projects when i’m going into those old paint cans.
After all, you want to make sure you’re using the right primer to avoid any potential issues down the road. In my journey, I’ve discovered several external factors that can impact the shelf life of primer products, and I’d like to share them with you.
First and foremost, temperature fluctuations play a significant role in the shelf life of primer. Just like Goldilocks, primers have a “just right” temperature range they prefer. Store them in a cool, dry place, away from extreme heat or cold, to ensure they last longer.
Humidity is another crucial factor to consider. When primer is exposed to high levels of moisture, it can cause the product to break down or even become moldy. To prevent this from happening, always store your primer in a dry area with low humidity levels.
Lastly, exposure to sunlight can have a detrimental effect on the shelf life of primer products. The sun’s ultraviolet (UV) rays can cause the primer to break down, affecting its consistency and performance. So, keep your primer in a dark, cool place, away from direct sunlight.
In my experience, paying attention to these factors has made a world of difference when it comes to the longevity and performance of my primer products.
By being mindful of temperature, humidity, and sunlight exposure, you can make sure that your primer will remain in top condition for as long as possible, allowing you to focus on creating a masterpiece rather than worrying about whether your primer is still good to use.
Signs of Expired Primer
As someone who’s been through a fair share of DIY projects, I’ve learned that knowing when to let go of expired primer is just as essential as choosing the right primer in the first place. It’s not always easy to determine if a primer is past its prime, but I’ve discovered a few telltale signs that can help you identify when it’s no longer a good idea to use a particular primer product.
- Unusual Odor: If you open a can of primer and it emits a foul or off-putting smell, that’s a pretty clear indication that something’s not right. Good primer should have a mild, paint-like odor, so if it smells different, it’s time to discard it and get a new one.
- Separation of Components: Over time, the components in a primer can separate. A bit of separation is normal and can usually be fixed by stirring. However, if the primer has formed a thick, rubbery layer on top or has an oily substance floating around, it’s a sign that the primer has gone bad.
- Changes in Consistency: A good primer should have a smooth, even consistency, similar to that of paint. If you notice any lumps, clumps, or a gummy texture, it’s likely that the primer has expired and is no longer suitable for use.
- Poor Adhesion: If you’ve applied the primer to a surface and it’s not adhering properly or is peeling off, this could indicate that the primer is no longer effective. In such cases, it’s best to stop using the primer and invest in a fresh product.
 Types of Primer
When considering how long primer lasts, it’s essential to acknowledge that there are various types of primers, each with its unique characteristics and longevity. Let’s talk about the different types of primers to help you better understand their properties and determine which is best suited for your project.
Water-based Primer
Water-based primers are easy to clean and provide a mildew-resistant coating. They are well-suited for interior use over latex and oil-based paint. These primers have a quick drying time and allow for better adhesion of paint while also enhancing the overall paint durability. One of the limitations of water-based primers is that they tend to be less effective on stained surfaces as compared to oil-based alternatives.
Oil-based Primer
Oil-based primers are renowned for their excellent adhesion, stain-blocking capabilities, and durability. They are suitable for both interior and exterior use, and they can be applied to a wide range of surfaces, including wood, metal, and masonry.
Oil-based primers require a longer drying time before painting, but they provide an effective barrier for any existing stains, ensuring they won’t bleed through the topcoat. A downside of using oil-based primers is that they emit strong odors and require mineral spirits for cleanup.
Latex Primer
Latex primer, also known as acrylic primer, is water-based and offers excellent adhesion and durability. Latex primers dry quickly and are easy to clean up with water. They work well on most surfaces, including drywall, plaster, and even metal.
Latex primers have low odor levels, making them a more environmentally friendly and user-friendly option compared to oil-based primers. My personal experience with latex primer is that it worked amazingly well on my wooden interior doors, providing a smooth, even base for the paint.
Shellac Primer
Shellac primer is the most robust and powerful primer available, known for its ability to provide a superior barrier to water, smoke, and other stains.
It’s often used on challenging-to-paint surfaces such as knots and severe water stains. Shellac primer dries quickly, seals porous surfaces efficiently, and can be used under both water-based and oil-based topcoats. However, it does emit strong odors, and its clean-up requires denatured alcohol.
Urethane Primer
Urethane primer is typically used in automotive and industrial applications due to its strong bond and resistance to corrosion. It is ideal for metal surfaces, as it offers excellent durability and a smooth, uniform finish. Urethane primer is typically applied in multiple coats, requiring adequate drying time between each layer.
A potential downside to using urethane primer is that it may contain potentially toxic isocyanates, necessitating proper respiratory protection during application.
Knowing the different types of primers and their unique properties will help you choose the right one for your project. The longevity of a primer ultimately depends on its type, storage conditions, and the surface it is applied to. Always follow the manufacturer’s guidelines for your selected primer to ensure the best results and maximum longevity.
Latex vs. Oil-Based Primers: Understanding the Differences
When it comes to painting projects, choosing the right primer type is essential for achieving a long-lasting finish. Latex-based primers are water-based and have gained popularity due to their lower VOC content, making them more environmentally friendly.
They dry quickly, usually within a couple of hours, allowing for the next coat of paint to be applied sooner.
Additionally, latex primers are compatible with both latex and acrylic paint types, making them a versatile choice for various painting projects. They work well on surfaces like bare drywall and new wood, providing a smooth surface for paint to adhere to.
On the other hand, oil-based primers are known for their exceptional adhesion and stain-blocking properties. They’re particularly effective on surfaces such as bare wood and can prevent tannin bleed, which can cause discoloration in the paint.
Oil primers are also compatible with oil paints and can help create a long-lasting finish. However, they do come with some drawbacks, including longer drying times and a stronger odor compared to latex-based primers.
Good ventilation is crucial when using oil-based products to ensure safety and comfort.
In some cases, shellac primers may be the best alternative for specific scenarios, like dealing with stubborn stains or odors.
These primers are known for their excellent stain-blocking properties and can create a barrier that prevents stains from bleeding through the new paint.
 The Role of Primer Coats in Achieving a Smooth and Durable Finish
Primer coats play a pivotal role in ensuring proper paint adhesion, which is key to a long-lasting finish. They create a uniform, primed surface that allows paint to stick better, resulting in an even and well-bonded paint coat.
Selecting the right primer type, such as latex-based or oil-based, is crucial for compatibility with the chosen paint type. Using an appropriate primer ensures that the paint adheres well, providing a solid base coat for subsequent layers.
Applying a primer coat is also essential when working with dark colors or transitioning to lighter colors. It helps to mask the underlying color, thus requiring fewer paint coats to achieve the desired shade and uniform appearance.
Uneven surfaces can benefit from the use of primer, as it fills in small imperfections and creates a smooth surface for the paint. This results in a more professional-looking, aesthetically pleasing finish.
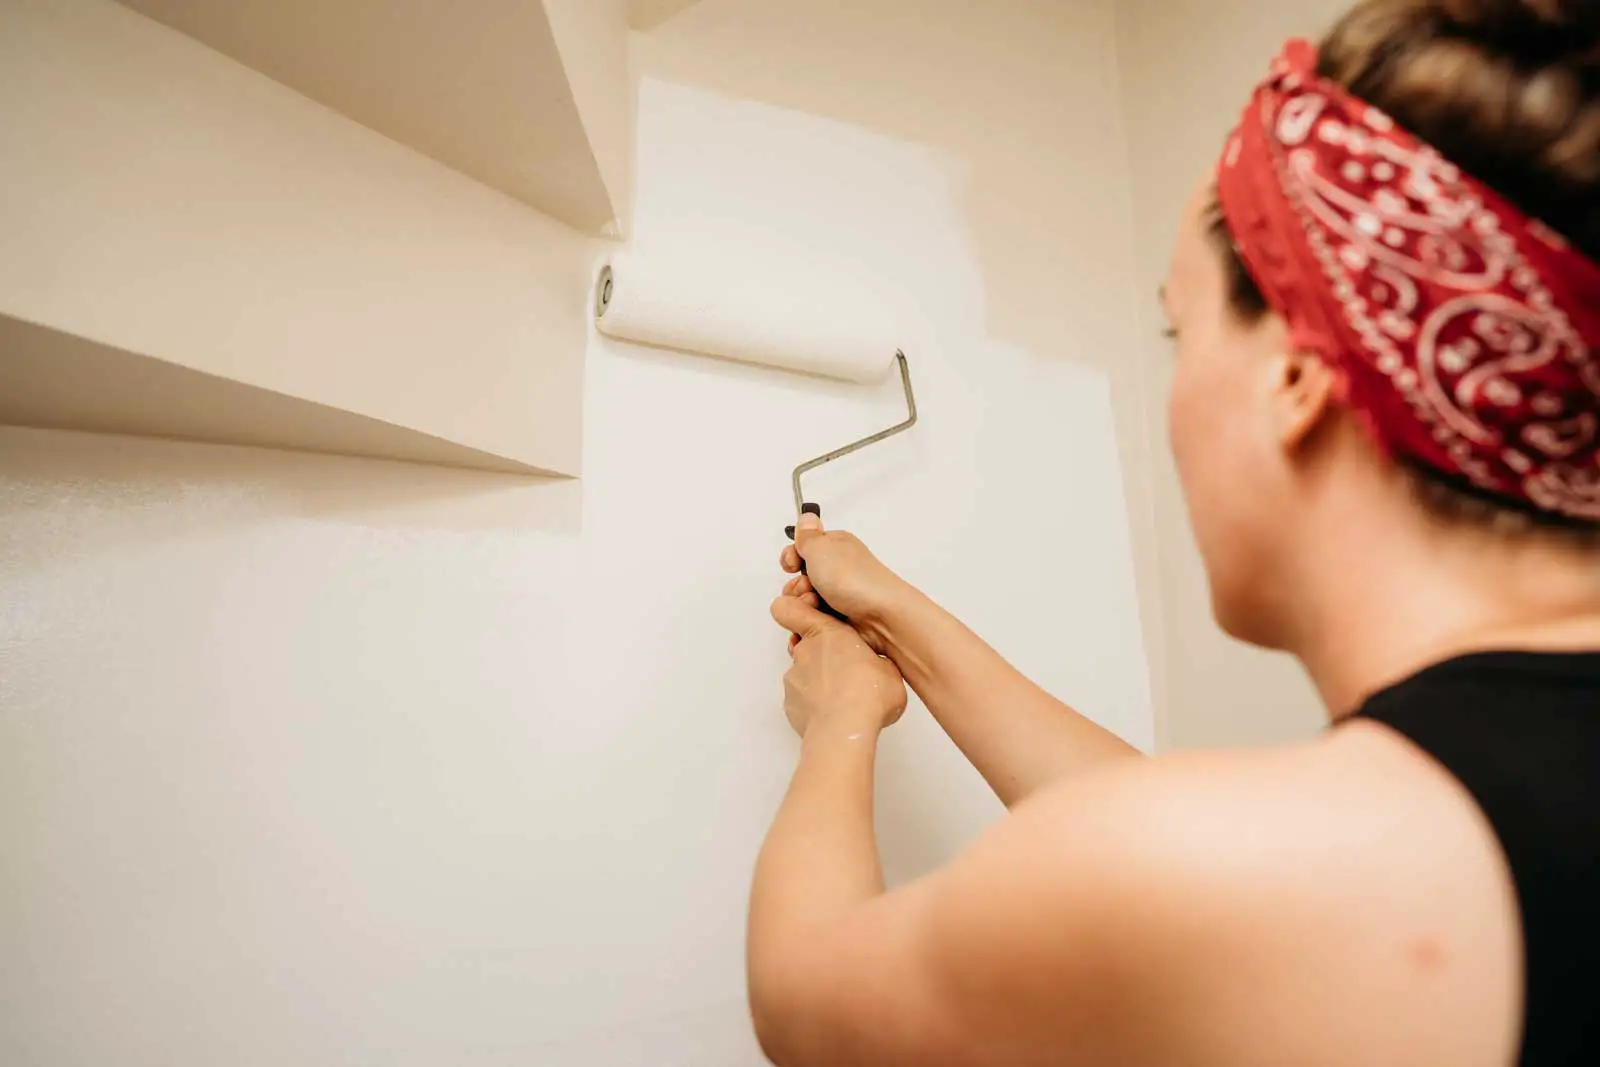
Thin coats of primer are highly recommended, because they allow for proper drying and avoid issues like tacky primer or uneven coverage. By using a spray gun or carefully applying with a brush or roller, you can achieve a thin, even layer of primer.
Allowing each coat of primer to dry thoroughly is of utmost importance. Proper drying times vary based on factors like temperature, humidity, and primer type. Adhering to the recommended drying times prevents issues like poor adhesion or peeling paint in the long run.
Best Practices for Using Primer
When it comes to using primer, following a few essential guidelines can result in a better-looking, longer-lasting paint job.
Applying the Right Type of Primer for the Surface to Be Painted
Ensure you select the appropriate primer for your specific project. For instance, water based primers work well on most surfaces, while oil-based primers are ideal for wooden or metal surfaces that require heavy-duty protection. Choosing the wrong primer can lead to poor adhesion, peeling, or a shorter lifespan for your paint job.
The Number of Coats of Primer to Use for Better Coverage
Most projects require at least one coat of primer, but applying two or more coats can improve coverage and help the paint adhere more effectively. For surfaces with heavy stains, uneven color, or drastic color changes, multiple coats of primer can greatly enhance the final outcome.
How Long to Wait Before Applying Paint Over Primer
Allowing sufficient time for the primer to dry is crucial. The wait time is determined by the type of primer used. Oil-based primers can last for up to 48 hours before painting, while latex primers should be painted over within 24 hours. Failing to give the primer enough time to dry can result in an uneven finish or a shorter paint lifespan.
Tips for Achieving a Smooth Finish When Using Primer
Here are some helpful tips for getting a smooth finish with primer:
- Prep the surface by cleaning it thoroughly and sanding to remove any bumps or rough spots.
- Use appropriately sized brushes or rollers for the surface being painted.
- Apply primer with a consistent pressure, evenly distributing the primer across the surface.
- Allow each coat of primer to dry completely before applying subsequent coats or paint.
Using these best practices for primer will help ensure your paint job lasts and looks superb. For example, one time when I was painting my living room, I applied two coats of primer, and fought my urge to keep pushing through and allowed each coat to dry completely. I was so glad that I did because it resulted in a fantastic, professional looking, even finish.
Frequently Asked Questions
How Many Coats of Paint after Primer?
Typically, two coats of paint are applied after the primer. However, specific paint and surface types may require more or fewer coats. Always refer to the paint’s instructions for the best results and optimal coverage.
Does Primer Make Paint Last Longer?
Yes, using a primer before painting can help the paint last longer. Primer seals the surface, ensuring better paint adhesion and durability. This can result in a more even and longer-lasting finish.
What Is the Purpose of Paint Primer?
The purpose of paint primer is to create a uniform and well-prepared surface for the paint to adhere. It helps in concealing imperfections, improving paint adhesion, and enhancing the durability of the paint job.
Is Primer Necessary for Painting?
While you can paint directly on some surfaces, using a primer is always recommended for a professional and long-lasting result. Primer prepares the surface and ensures proper adhesion and coverage of the paint.
How Many Hours Between Primer Coats?
It typically takes 1 to 3 hours for primer to dry, but make sure to check the instructions on your specific primer product. After the primer is dry, lightly sand the surface, and then you can apply the second coat or the paint.
Can I Use Primer as Ceiling Paint?
While primer can help prepare a ceiling for painting, it is not designed to be used as the finish coat. A specialized ceiling paint should be used after priming for a more durable and visually appealing result.
How Many Coats of Primer?
One or two coats of primer are usually enough, but it depends on the type of surface and primer you are using. Check the primer’s instructions, and remember that some surfaces may need additional coats for the best results.
What Happens If You Just Paint with Primer?
If you only apply primer and no paint, the finish will not be as durable or visually appealing as a proper paint job. Primer is designed to prepare the surface for painting, and using a paint finish ensures better adhesion, protection, and aesthetics.
On one of my first painting projects, I learned the importance of using primer the hard way. I skipped the primer and was disappointed when the paint didn’t really stick the way I thought it should, and the finish wasn’t as nice as I had hoped.
Now, I either use a paint that already has primer in it, or a separate coat of primer before painting, and I can see the difference it makes in the quality and durability of the paint job. So, when you embark on your next painting project, remember the benefits of using primer to ensure the best possible outcome.


