
Adjusting the door latch length might not sound like a thrilling task, but it’s a crucial one. Whether you’ve recently installed a new door or have an existing one that doesn’t quite close the way it should, adjusting the latch can make all the difference. Door latches are vital to maintaining security and privacy in our homes, and knowing how to adjust them is a handy skill that will save you time and headaches in the long run.
Most residential door latches are adjustable, making it possible to modify the backset – the distance between the edge of the door and the center of the doorknob or lock. With a little patience and the right guidance, you can expertly adjust your door latch to the perfect length, ensuring a smooth and secure closing experience. So, let’s dive right in and tackle this seemingly daunting task together, shall we?
Believe it or not, that time I installed a door for my man cave, I had trouble getting the latch to align just right (hey, nobody’s perfect). But fear not, I’ve since learned the tricks of the trade, and I’m here to share those valuable pearls of wisdom with you. In the upcoming sections, we’ll discuss the key components of door latches, the steps to follow for a successful adjustment, and a few helpful tips along the way. So, stay tuned, and let’s make your doors close like a dream!
Heads up! Before we get too far along here, if you want to connect with other homeowners, DIYers, and builders and get more great ideas for your home to make your space the best join my free private Facebook group, Remodel Reality here.

Identifying the Problem
Have you ever experienced a door that just doesn’t seem to close properly, even with a bit of force? It’s likely due to a misaligned door latch. No need to fret about it! In this section, we’ll delve into understanding door latch misalignment, testing door latch functioning, and the steps to fix that pesky problem.
Understanding Door Latch Misalignment
Door latch misalignment can occur due to a number of reasons—wear and tear, poor installation, or even changes in temperature and humidity. Regardless of the cause, it’s crucial to identify the issue not only to secure your home but also to prevent any further damage to your door and the lock itself (believe me, I’ve had my fair share of door lock issues in the past).
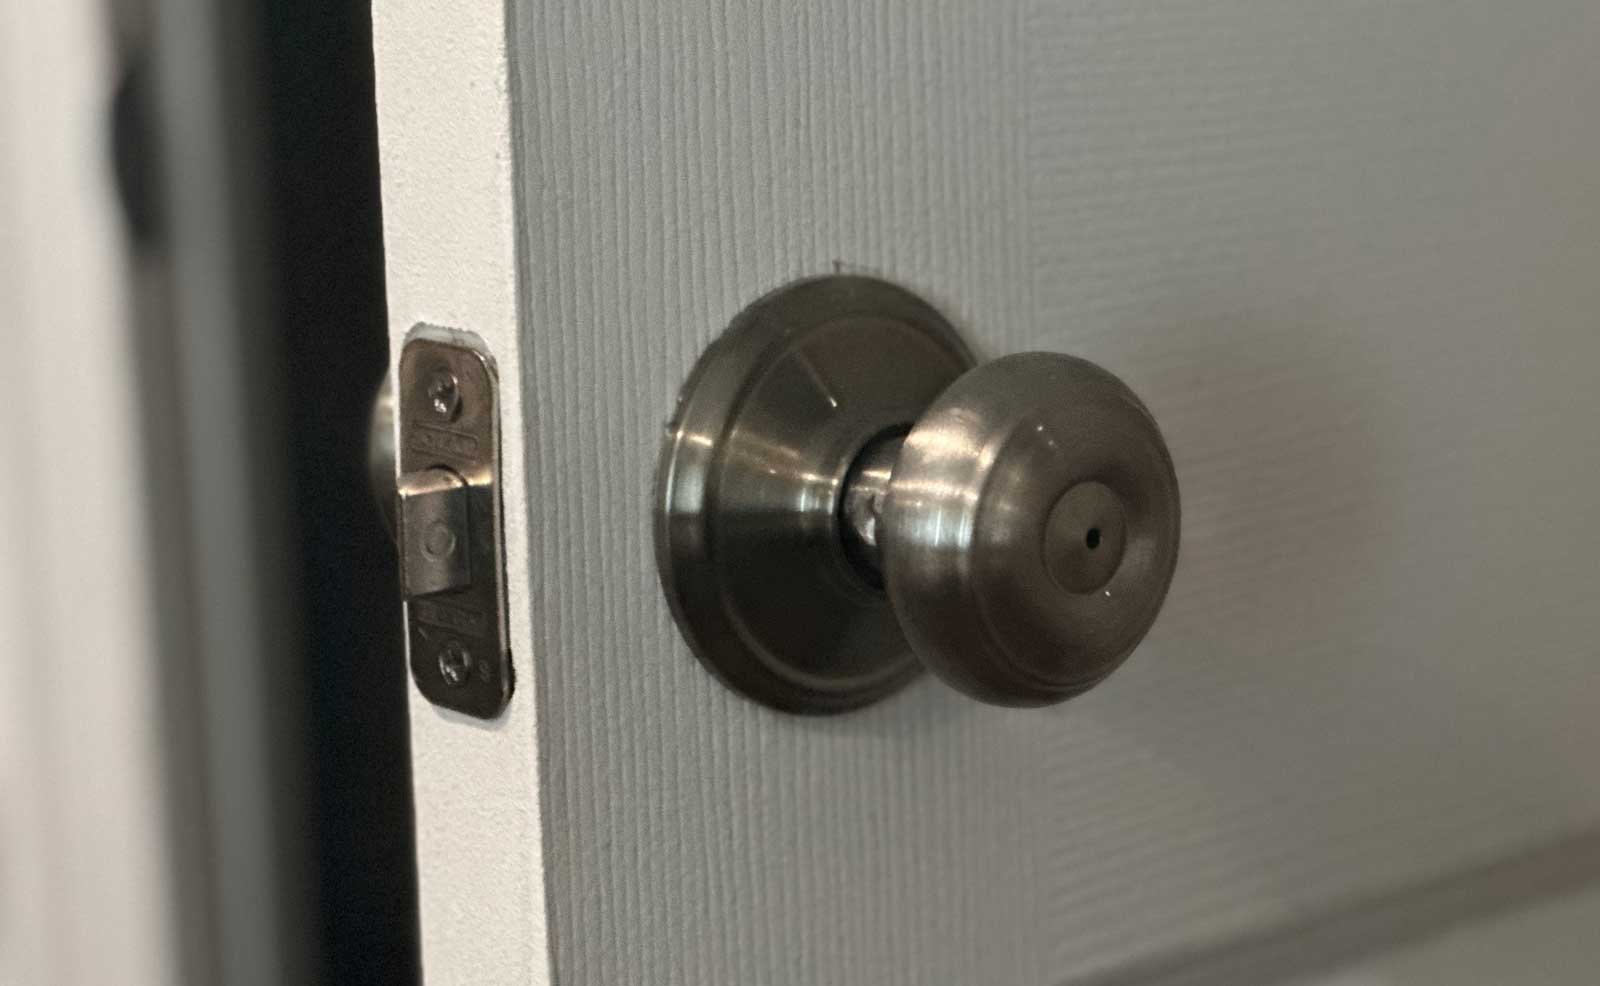
When your door latch is misaligned, it means that the length or position of the latch isn’t properly adjusted to fit into the strike plate—the metal plate on the door frame’s edge where the latch goes in when the door closes. As a result, you might find the door latch sticking, causing difficulty in opening and closing the door.
Testing Door Latch Functioning
Before diving into a DIY fix, it’s important to determine whether your door latch is functioning properly and if misalignment is the root issue. Here’s how to test it:
- Visual inspection: First, observe the latch and the strike plate. You might notice an uneven gap between the door and the frame or chipped paint around the latch or strike plate area, indicating a misalignment issue.
- Physical test: Open and close the door a few times. If it takes extra effort or force to turn the knob or latch, or if you hear clear scraping sounds, there’s a high chance that misalignment is your problem.
- The latch-bolt test: Open the door, extend the latch bolt by turning the knob or the handle, and then release it. This test helps you ensure that the latch is retracting and extending as it should, ruling out any mechanical issues with the latch itself.
Once you’ve established that your door latch misalignment is indeed the issue, adjusting the door latch length becomes vital. In the next section, we’ll discuss the steps to fix this problem and bring harmony back to your door-closing experience. Stay tuned and remember—a properly functioning latch is a happy latch.
Essential Tools Required
Before you dive into adjusting your door latch length, gather the essential tools to ensure a smooth and efficient process. In this quick guide, we’ll highlight the necessary tools, including door latch adjustment tools and safety and protection tools.
Door Latch Adjustment Tools
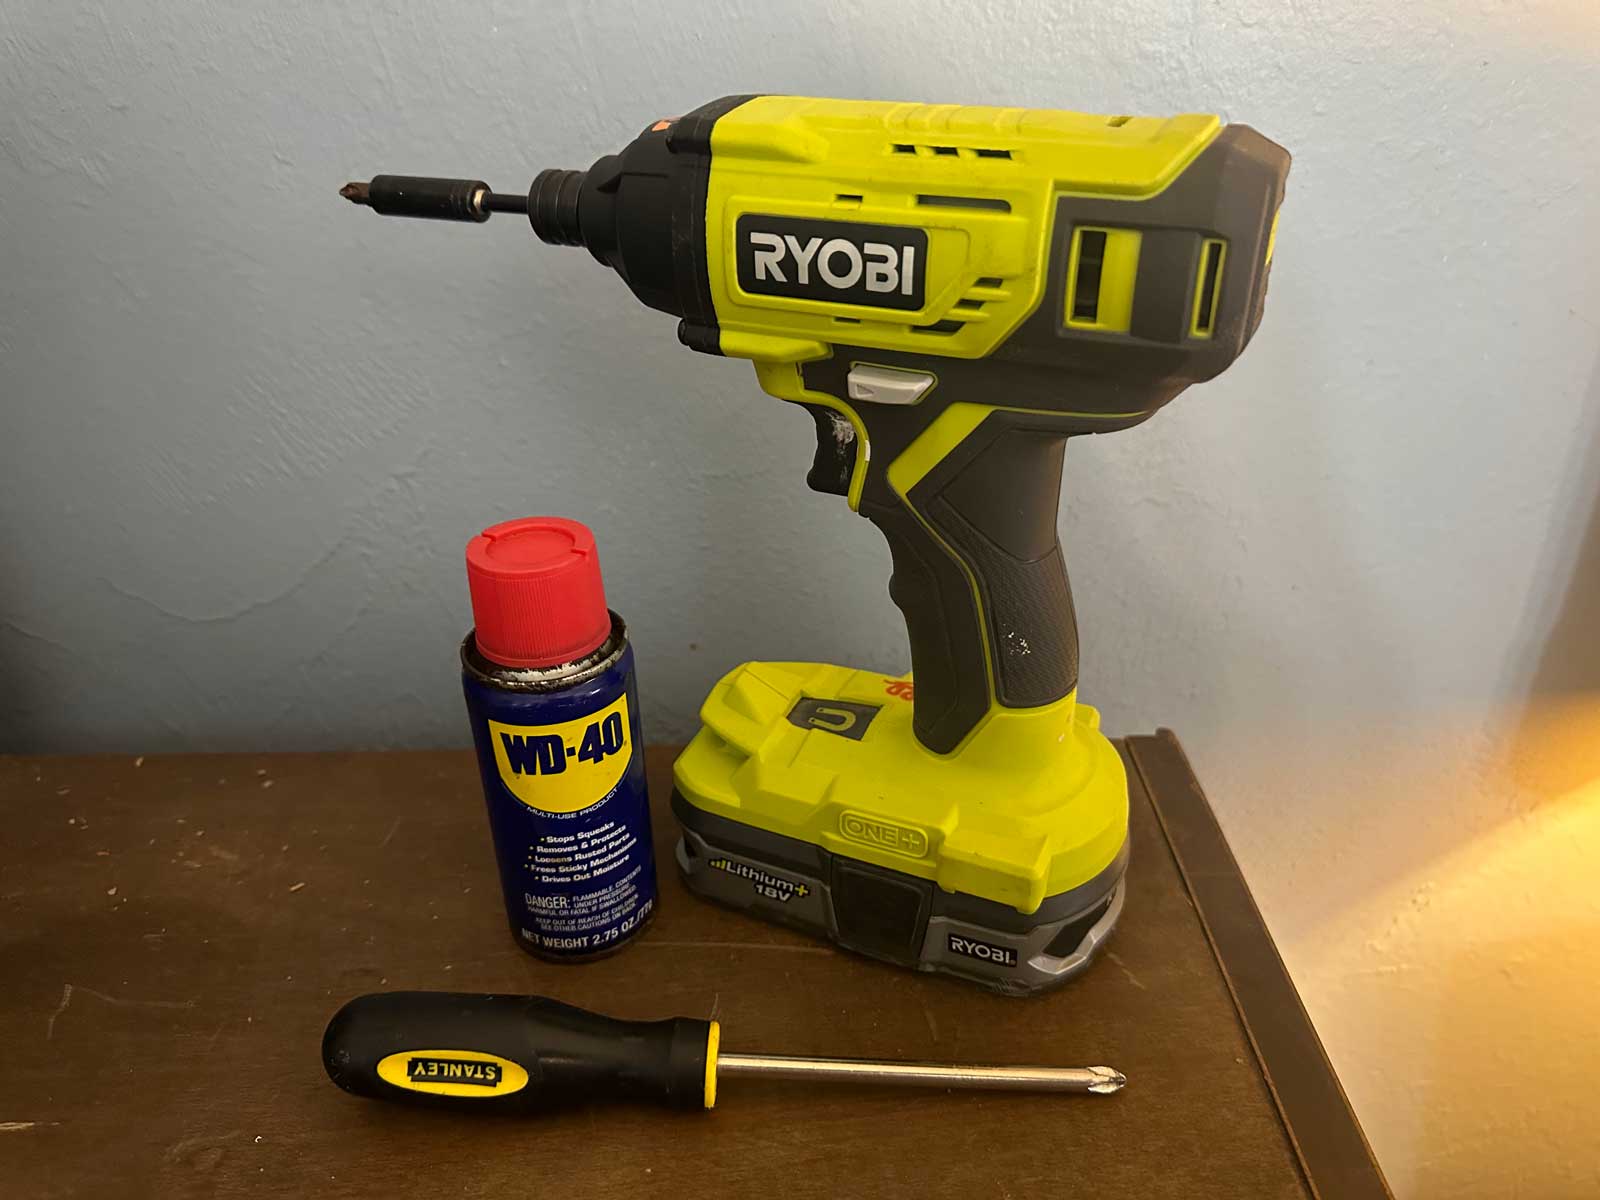
You’ll need some primary tools for adjusting your door latch. A screwdriver is the key tool for this task, but you might also want a drill in case you need to create additional holes. A trusty pair of pliers will make it easier to grip the latch, while a hammer can help lightly tap the latch into place if it’s slightly misaligned. Don’t forget a tape measure for precise measurements!
Funny story, when I first attempted this adjustment, I grabbed all the tools except the tape measure. You can imagine the results: doors that didn’t quite close! Lesson learned – measure twice, adjust once.
Safety and Protection Tools
Safety first, as they always say. Some essential protective gear can go a long way in ensuring you don’t hurt yourself during this DIY process. I’d recommend grabbing some safety goggles to protect your eyes from debris or stray hardware. A pair of gloves will keep your hands safe from any sharp edges or splinters.
To recap, here’s a quick list of recommended tools for adjusting your door latch length:
- Screwdriver
- Drill (optional)
- Pliers
- Hammer
- Tape measure
- Safety goggles
- Gloves
Now that you’ve got your toolkit ready, you’re all set to start adjusting your door latch length to perfection! Trust me—you’ll feel a sense of satisfaction every time you hear that effortless click as your door shuts just right. Now, let’s get to work and put those tools to use
Understanding the Different Parts of a Door Latch
When it comes to home security and functionality, the humble door latch plays a vital role. Let me walk you through its different parts and how they work together to keep your door secure and easy to use, just like the time I got locked out of my own house. However, that’s a story for another day!
Role of the Strike Plate
The strike plate is the metal plate attached to the door frame that guides and secures the latch when the door is closed. It’s crucial for a smooth and secure door operation. You might even call it the latch’s security blanket (but let’s not get too cozy).
The proper alignment of the strike plate ensures your door stays shut when you need it to. Bear in mind that a poorly aligned strike plate can cause your door latch to malfunction, making it feel like you’re trying to break into your own home (Yes, I’ve been there too).
Working of the Latch Mechanism
The main part of a door latch is the latch mechanism, which consists of a spring-loaded bolt. When your door is open, the latch bolt stays retracted, allowing you to swing the door freely.
Here’s where the magic happens: when you close the door, the latch bolt extends and engages with the strike plate, keeping your door securely closed. (How’s that for a smooth operation?)
Most door latch mechanisms are adjustable, meaning you can tweak the backset (the distance from the edge of the door to the center of the latch) to ensure proper alignment with the strike plate. You know, because doors come in different shapes and sizes, just like people!
Role of the Door Handle
Last but not least, let’s talk about the door handle. It may seem like a simple tool for opening and closing doors, but it plays a pretty important part in the door latch system.
When you turn the door handle, it disengages the latch bolt from the strike plate, allowing you to open the door. (It’s like a secret handshake between the handle and the latch mechanism.)
Ever tried opening a door with a broken handle? Frustrating, isn’t it? That’s because the door handle is directly connected to the latch mechanism, and when it doesn’t work, you’re left out in the cold – quite literally sometimes.
In conclusion (no, wait, I’m not allowed to say that), I hope this friendly, manly, and totally non-punny explanation of door latch components has given you a better understanding of what’s happening behind the scenes every time you open or close a door. Now, go forth and never take door latches for granted again!
Steps to Adjust Door Latch Length
If your door isn’t closing smoothly or you feel that there’s a bit of wobble, it’s time to fix that issue. In this guide, we’ll cover how to adjust your door latch length for optimal security and smooth operation. Don’t worry — it’s easier than it sounds. Grab your tools, and let’s get started!
Removing the Door Knob
You’ll first need to remove the door knob to access the latch assembly. Here’s how:
- Locate the small hole or slot on the side of the door knob (called the “access hole”).
- Insert a thin, straight object (such as a paperclip or the tip of a screwdriver) into the hole and push firmly to release the knob.
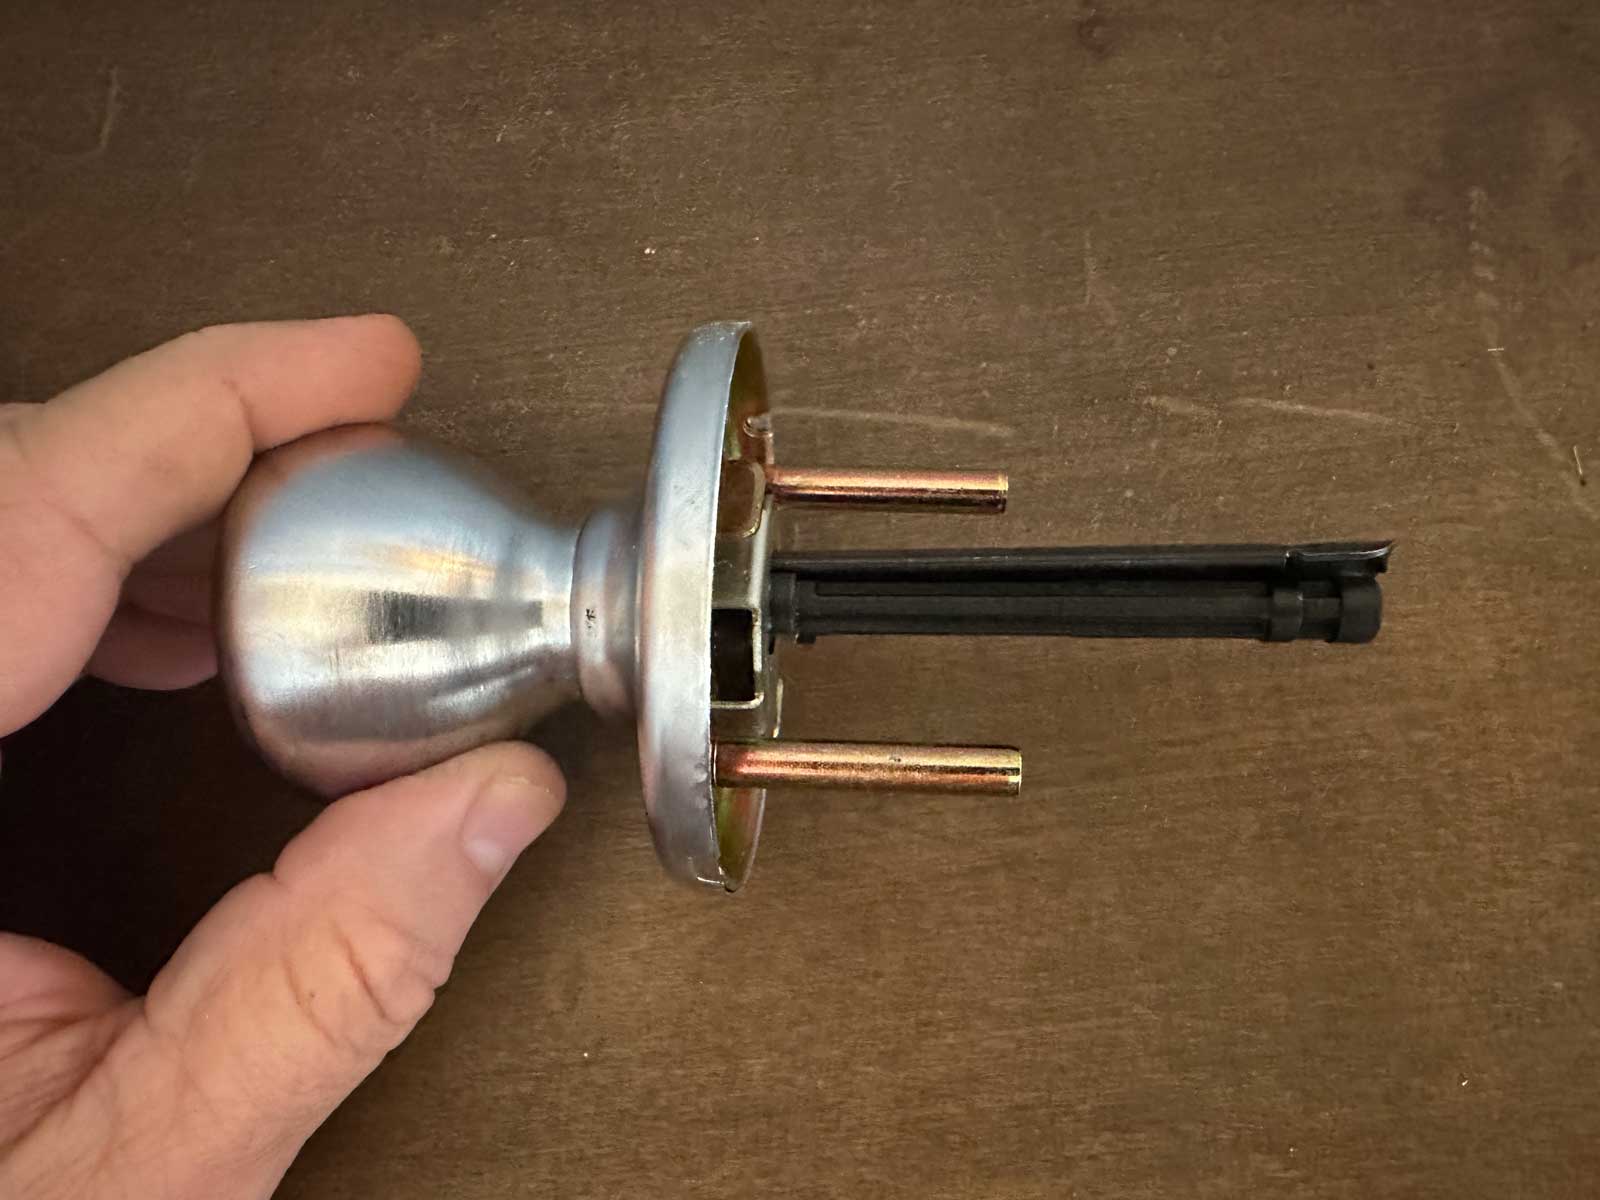
- Gently pull both sides of the knob away from the door to expose the latch assembly.
(Pro tip: Place the removed door knob parts in a small container to prevent them from rolling away or getting lost.)
Adjusting the Latch Length
Once the door knob is removed, it’s time to adjust the latch length according to your door’s specific measurements. Most latches are adjustable and can be set to either 2-3/8″ or 2-3/4″ backsets. Follow these steps:
- Locate the adjustable sleeve on the latch assembly (usually a rectangular metal piece with a Loctite mechanism).
- Hold the latch assembly firmly and slide the sleeve towards or away from the latch bolt (depending on your desired length).
- Once you’ve reached the correct length, release the sleeve — it should lock into place automatically.
- Double-check your latch length measurement to ensure that it’s correctly adjusted.
(Just a quick story: I once accidentally adjusted the latch too long and couldn’t close my door at all! A frustrating but ultimately laughable lesson in always double-checking measurements.)
Reinstalling the Door Latch
With the latch length properly adjusted, you can now reinstall the door latch assembly and the door knob:
- Slide the latch assembly back into the door’s edge, ensuring that the latch bolt is facing the right direction (the curved part should face the door jamb).
- Align the spindle on the inside knob with the hole in the latch assembly, pressing the knob back onto the door.
- Secure the outer knob by aligning its spindle with the hole in the latch and pushing firmly until it clicks into place, connecting both sides of the knob.
And there you have it! You’ve successfully adjusted the door latch length. Your door should now close more securely and feel sturdier. Give yourself a well-deserved pat on the back and celebrate your latest home improvement win.
Avoiding Common Mistakes and Pitfalls
When it comes to adjusting your door latch length, there are a few common mistakes that can easily be avoided to ensure smooth operation and long-lasting performance. In this section, we’ll discuss three key areas where you should pay extra attention: Over-Tightening Screws, Ignoring Proper Lubrication, and Mishandling the Latch Bolt.
Over-Tightening Screws
It’s a natural instinct to want to crank down those screws as tight as possible when making an adjustment. But hold on, cowboy! Over-tightening screws can lead to stripped threads and damaged materials. Instead, aim for a snug fit that secures the latch without causing stress on the components. A good rule of thumb is to turn the screw until it’s tight, and then back off a quarter turn. This will prevent the dreaded door latch mishap I experienced in my first apartment – trust me, you don’t need that headache.
Ignoring Proper Lubrication
A well-lubricated door latch is essential for smooth operation and a longer lifespan. However, it’s often neglected in the hustle and bustle of everyday life. Don’t make this mistake! Ensure your latch bolt is properly lubricated by utilizing a dry graphite or silicone spray at least twice a year (hint: add it to your daylight saving time to-do list). This small maintenance step can save you from frustrating jammed doors, unnecessary wear and tear, and the dreaded squeak that keeps you up at night.
Mishandling the Latch Bolt
Finally, we turn to the heart of the matter – the latch bolt. Pro tip: when adjusting the latch length, make sure to handle the bolt with care to avoid bending or misaligning it. A damaged latch bolt could result in an insecure door and make it difficult to lock or unlock properly. So take a deep breath, channel your inner Zen master, and treat that latch bolt with the respect it deserves.
By paying attention to these common mistakes and pitfalls, you’ll set yourself up for success in adjusting your door latch length. Now go forth, armed with your newfound knowledge, and make those adjustments with the confidence of a pro!
Additional Door Latch Maintenance Tips
As a homeowner, ensuring the safety of your abode is imperative. One often overlooked aspect of home security is the proper maintenance of door latches. In this section, we’ll dive into some helpful tips to keep your door hardware in top shape, increase the longevity of your door latches, and create a secure environment for you and your family.
First and foremost, it’s crucial to be familiar with the term “backset” – the distance from the edge of the door to the center of the lock. Adjusting the backset is necessary for smooth latch operation, which in turn, guarantees enhanced safety. Check out this video to learn how to adjust the backset on a door latch.
Now, let’s talk about adjustable door latch length. Door latches come in various sizes to accommodate different door thicknesses. Ensuring that you have the proper length latch for your door is essential for both safety and functionality. An ill-fitting latch can compromise the security of your home and cause unnecessary wear and tear on your door hardware.
Another vital component of door latch maintenance is periodic inspection and cleaning. Over time, dirt and debris can accumulate within the latch mechanism, affecting its operation. A quick clean with a damp cloth, followed by lubrication with a silicone or graphite-based lubricant, will keep your door latch working smoothly. Be careful not to use oil-based lubricants, as they can attract more dirt, creating a vicious cycle!
Safety is of the utmost importance, and one way to keep your door hardware secure is by checking for loose screws and fasteners. A quick tighten with the appropriate screwdriver can make a world of difference in both performance and safety.
As a personal anecdote, I once lived in an apartment where the door latch became misaligned, causing the door to jam and eventually fail to lock at all. A simple adjustment to the backset and tightening of the screws resolved the issue and gave me peace of mind knowing that my home was secure.
In summary, proper door latch maintenance involves attention to detail and a proactive approach. By following these tips and addressing any potential issues promptly, you can ensure that your door hardware remains in excellent condition and continues to provide a secure environment for you and your loved ones. So, don’t put it off any longer – it’s time to give your door latches some TLC!
Next Steps
Want to join others who are creating the most amazing home redesigns & renovations and get more tips, tricks and hacks on how to make your home the best it can be?
Join my brand new free private Facebook group, Remodel Reality to connect with other people like you to make your space the best!


