
Are you planning to install shoe molding in your home but not sure what size nails to use? Choosing the right size of nails is crucial to ensure the molding stays in place and looks great. In this article, we’ll explore what size nails are best for shoe molding and provide you with all the information you need to get the job done right.
So which one works best – what nail size should you use for shoe molding?
For attaching shoe molding, opt for finish nails that are 1 to 1-1/2 inches in length, ensuring they penetrate the shoe molding and a fraction into the baseboard or floor. A 18-gauge brad nailer offers a discreet nail head, providing a seamless finish. Place the nails approximately every 8 to 12 inches, securing at both ends and the center to ensure a consistent and sturdy fit.
Installing shoe molding is a great way to add a finishing touch to your home’s interior design. However, using the wrong size nails can result in a sloppy and unprofessional-looking job. To avoid this, it’s important to choose the right size nails for the job. In this article, we’ll cover the most common nail sizes used for shoe molding and provide you with tips on how to choose the right size for your project. So, whether you’re a seasoned DIYer or a beginner, you’ll be able to confidently tackle this project and achieve professional-looking results.
Understanding Shoe Molding
If you’re looking for a way to add a finishing touch to your baseboards, shoe molding is a great option. But what size nails should you use? In this section, we’ll explore everything you need to know about shoe molding, including the different types of materials, how to choose the right size nails, and tips for installing it.
Types of Shoe Molding
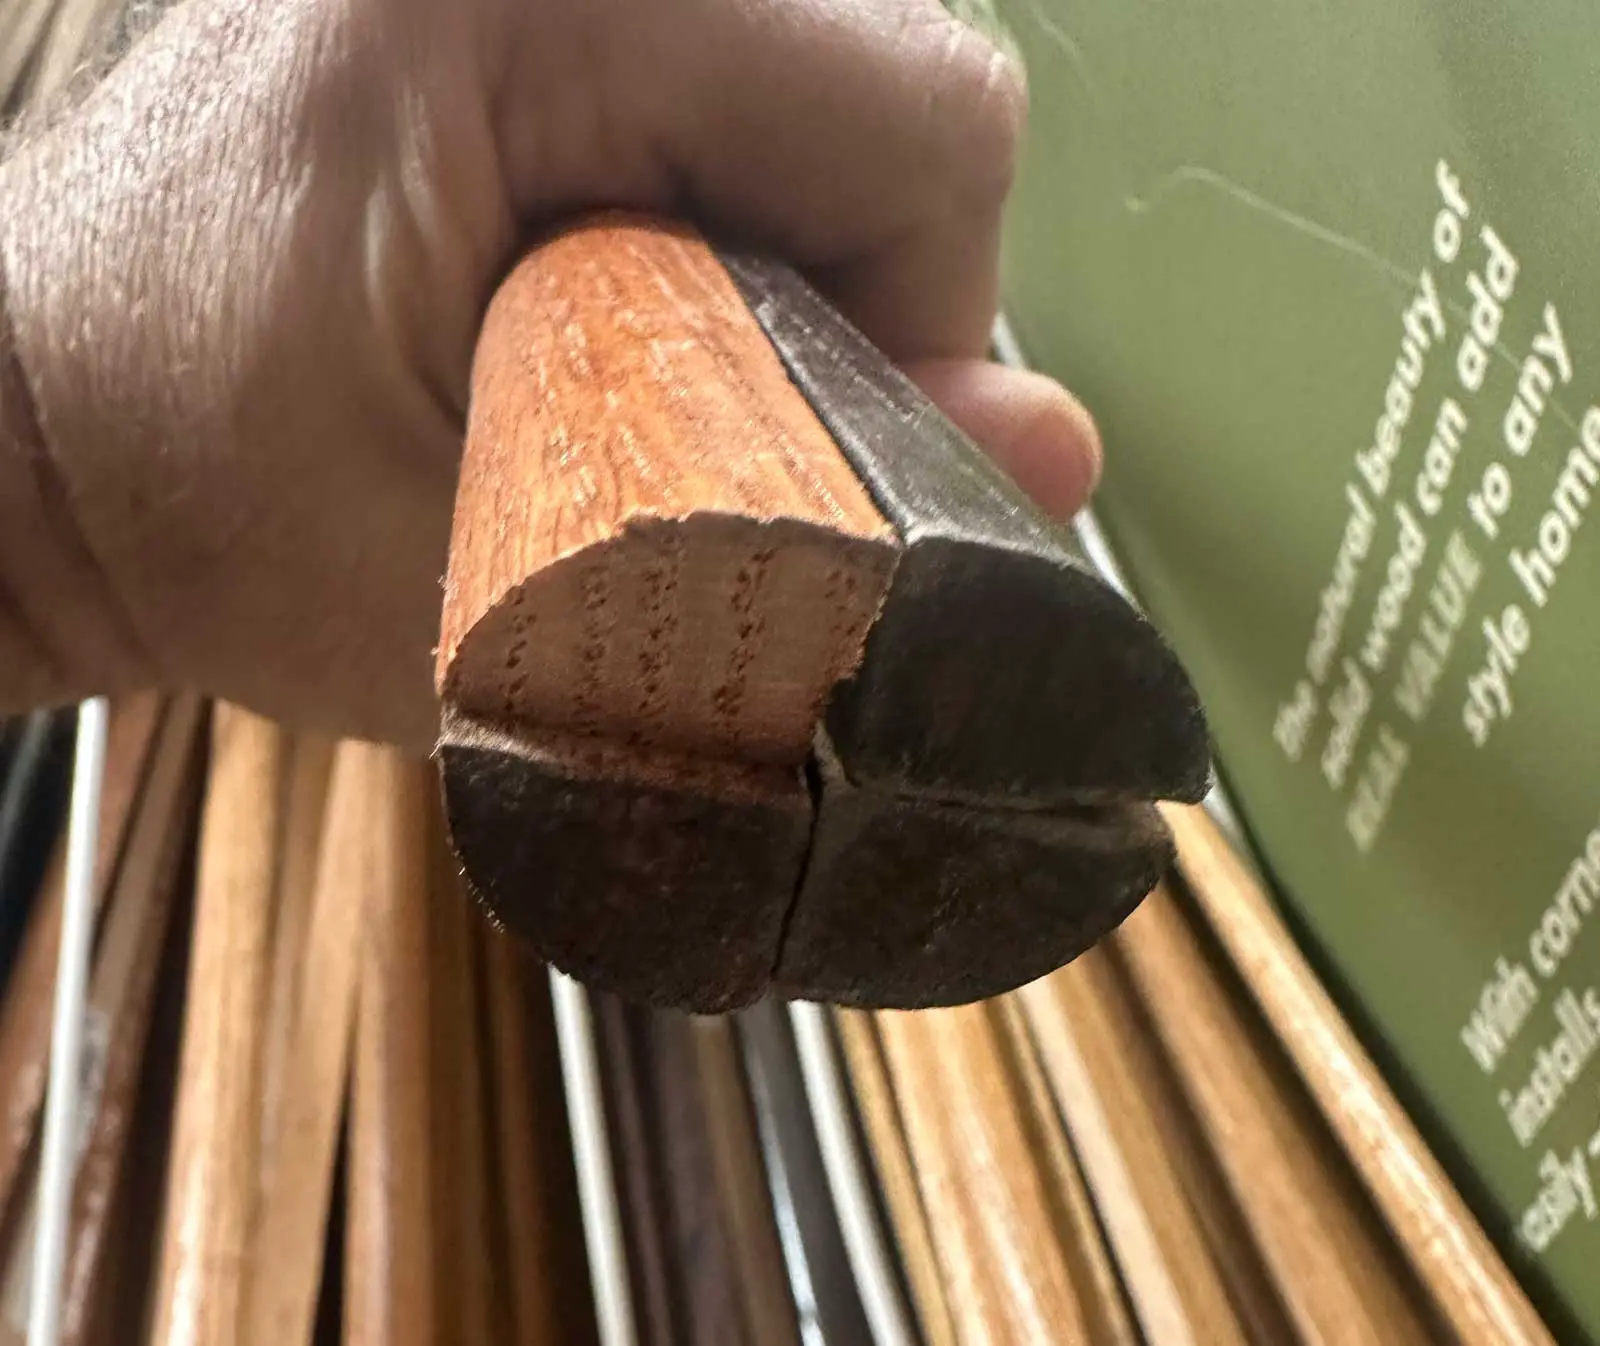
Shoe molding is a type of trim that is used to cover the gap between the baseboard and the floor. It’s available in a variety of materials, including oak, pine, MDF, and polystyrene. Each material has its own unique profile and characteristics, so it’s important to choose the right one for your project.
Choosing the Right Size Nails
When it comes to installing shoe molding, the size of the nails you use is important. If the nails are too small, the molding may not stay in place. If they’re too large, they could split the wood. The most common size nails for shoe molding are 1 1/4 inch or 1 1/2 inch finishing nails.
Tips for Installing Shoe Molding
Installing shoe molding can be a bit tricky, especially around corners and joints. Here are a few tips to make the process easier:
- Use a coping saw to cut the molding at inside corners, rather than trying to miter it.
- For outside corners, miter the molding at a 45-degree angle.
- Use a transition piece to connect two pieces of molding that don’t quite meet.
- Pre-drill the nail holes to prevent splitting.
Personal Anecdote
In my experience, installing shoe molding can be a bit frustrating if you don’t have the right tools or know-how. I found that taking the time to measure and cut the molding carefully, and using the right size nails, can make a big difference in the final result.
Whether you’re working with oak, MDF, or polystyrene shoe molding, following these tips and choosing the right size nails will help ensure a successful installation.
What Size Nails for Shoe Molding: Preparation for Installation
Are you planning to install shoe molding in your home? Before you start, it’s important to make sure you have all the necessary tools and materials. In this section, we’ll cover the preparation steps you need to take to ensure a successful installation.
Get the Right Materials
First things first, you need to gather all the materials you need for the installation. This includes the shoe molding itself, as well as nails and adhesive. You can find these materials at your local home improvement store or big box home improvement store.
When selecting your shoe molding, make sure it matches the baseboard trim in your room. It’s also important to consider the type of flooring you have. If you have hardwood floors, you may want to opt for a thinner shoe molding to avoid creating a noticeable gap between the molding and the floor.
Measure and Cut the Molding
Once you have your materials, it’s time to measure and cut the molding. In my experience, it’s best to measure each section of the room separately to ensure accuracy. Use a measuring tape to measure the length of each section and then add a few extra inches to account for any mistakes or miscalculations.
When cutting the molding, it’s important to use a miter saw to ensure clean and precise cuts. You’ll also need to make sure the angles are correct to ensure a tight fit against the baseboard trim and wall.
Nail or Adhesive?
When it comes to attaching the shoe molding to the baseboard trim, you have two options: nails or adhesive.
If you choose to use nails, it’s important to select the right size. In general, 1 ½ inch finishing nails are suitable for shoe molding installation. However, the size may vary depending on the thickness of your molding and baseboard trim.
If you opt for adhesive, make sure you choose a high-quality product that is specifically designed for shoe molding installation. It’s also important to follow the manufacturer’s instructions carefully to ensure a secure and long-lasting bond.
Safety First
Finally, it’s important to prioritize safety during the installation process. Wear protective gear such as safety glasses and gloves to prevent injury. Additionally, make sure you’re using the tools correctly and following all safety guidelines.
By following these preparation steps, you’ll be well on your way to a successful shoe molding installation.
Choosing the Right Nails for Shoe Molding
If you’re looking to install shoe molding in your home, one of the most important decisions you’ll need to make is choosing the right nails. Using the wrong size or type of nail can lead to a variety of issues, including splitting the wood or causing the molding to come loose over time. In this section, we’ll cover everything you need to know about choosing the right nails for shoe molding.
Size Matters: Choosing the Right Nail Size
When it comes to shoe molding, the most common nail sizes are 18-gauge and 16-gauge. 18-gauge nails are thinner and more flexible, making them a good choice for delicate trim work. 16-gauge nails, on the other hand, are thicker and stronger, making them a good choice for larger or more heavy-duty projects. In general, you’ll want to use 18-gauge nails for shoe molding that is less than 3/4 inch thick, and 16-gauge nails for shoe molding that is thicker than 3/4 inch.
The Right Tool for the Job: Nail Guns and Nailers
While it’s possible to install shoe molding with a hammer and nails, using a nail gun or nailer can save you a lot of time and effort. There are two main types of nail guns that are commonly used for shoe molding: brad nailers and finish nailers. Brad nailers use thin, 18-gauge brad nails that are ideal for delicate trim work, while finish nailers use thicker, 16-gauge finish nails that are better suited for larger projects.
Nail Length: How Long Should Your Nails Be?
When choosing the length of your nails, it’s important to consider the thickness of your shoe molding. In general, you’ll want to use nails that are long enough to penetrate the molding and the wall or baseboard behind it, but not so long that they poke through the other side. For shoe molding that is less than 3/4 inch thick, 1-inch nails are usually sufficient. For thicker molding, you’ll want to use longer nails, up to 2 inches in length.
The Right Gauge: Choosing the Right Nail Gauge
The gauge of your nails refers to the thickness of the nail shaft. In general, the higher the gauge number, the thinner the nail. For shoe molding, the most common gauges are 16 and 18. 16-gauge nails are thicker and stronger, making them a good choice for larger or more heavy-duty projects. 18-gauge nails are thinner and more flexible, making them a good choice for delicate trim work.
Conclusion
Choosing the right nails for shoe molding is an important part of any home improvement project. By considering factors like nail size, length, gauge, and the type of tool you’re using, you can ensure that your shoe molding is installed securely and looks great for years to come. In my experience, taking the time to choose the right nails can save you a lot of headaches down the line.
What Size Nails for Shoe Molding: Installation Process
Installing shoe molding is a great way to add a finishing touch to your baseboards and give your room a polished look. But, what size nails should you use for shoe molding? In this section, we’ll take you through the installation process and answer that question for you.
First, you’ll need to measure the length of the wall where you want to install the shoe molding. Use a tape measure to get an accurate measurement. Next, use a miter saw to cut the shoe molding to the correct length. If you’re installing shoe molding around corners, you’ll need to make miter cuts or cope the joints for a seamless finish.
Once you have your shoe molding cut to size, you can start installing it. Use finishing nails to attach the shoe molding to the wall. The size of the nails you use will depend on the thickness of the shoe molding and the studs behind the wall. Generally, 2-inch finishing nails will work for most shoe molding installations.
In my experience, it’s best to use a nail gun and compressor to make the installation process quicker and easier. But, if you don’t have access to these tools, you can use a hammer and nails instead.
For added stability, you can also use construction glue to attach the shoe molding to the wall. Apply the glue to the back of the shoe molding before nailing it in place.
After you’ve installed the shoe molding, use wood filler or putty to fill in any nail holes or gaps. Once the putty has dried, sand it smooth and paint or stain the shoe molding to match your baseboards.
In conclusion, installing shoe molding is a simple process that can give your room a finished look. Use 2-inch finishing nails to attach the shoe molding to the wall, and consider using construction glue for added stability. Don’t forget to fill in any nail holes or gaps with wood filler or putty for a seamless finish.
Post-Installation Finishing: How to Make Your Shoe Molding Look Its Best
You’ve just installed your shoe molding, and it looks great! But before you can sit back and admire your handiwork, there are a few finishing touches you need to make to ensure your molding looks its best. In this section, we’ll cover everything you need to know about post-installation finishing, from filling gaps to staining or painting your molding.
Filling Gaps and Nail Holes
Even the most precise installation can leave small gaps between the shoe molding and the baseboards or walls. To fill these gaps, you can use a caulk that matches the color of your molding. Simply apply the caulk to the gap and smooth it out with a caulk smoothing tool or your finger. Once the caulk has dried, you can sand it down to create a smooth finish.
If you have any nail holes in your molding, you can fill them with wood filler. Choose a filler that matches the color of your molding, and apply it to the hole with a putty knife. Once the filler has dried, sand it down until it’s flush with the surface of the molding.
Staining or Painting Your Molding
Now that your gaps and nail holes are filled, it’s time to decide whether you want to stain or paint your molding. If you’re staining your molding, make sure to choose a stain that matches the color of your baseboards or hardwood floors. Apply the stain with a brush or cloth, making sure to wipe away any excess.
If you’re painting your molding, choose a paint that matches the color of your baseboards or walls. Apply the paint with a brush or roller, making sure to cover the entire surface of the molding. You may need to apply multiple coats, depending on the type of paint you’re using.
Sanding and Finishing
Once your stain or paint has dried, it’s time to sand and finish your molding. Use a fine-grit sandpaper to sand down any rough spots or imperfections in the surface of the molding. Once you’ve sanded the molding, you can apply a clear coat of wood finish to protect the surface and give it a glossy finish.
In my experience, the key to a successful post-installation finishing is taking your time and paying attention to the details. By filling gaps and nail holes, staining or painting your molding, and sanding and finishing the surface, you can create a beautiful and polished look that will last for years to come.


