Is your grout making your tilework look like a dirty bathroom in a haunted house? Trust me, you’re not alone. Blackened grout is a homeowner’s nightmare, costing not just aesthetic points but its mere presence can make those of us concerned with cleanliness quite frustrated.
We’ve all been there: standing over floor tiles that should be pristine but instead are marred by grimy grout lines. You might think that your grout is destined to be a dark, dingy mess forever. But it doesn’t have to be. In this guide, you’ll learn how to clean grout that has turned black, bringing it back to life in no time at all.
But hang on a minute, what about:
- Does vinegar really work, or does it damage the grout?
- What’s the safest way to use bleach without ruining your tiles?
- Is hydrogen peroxide actually a miracle solution, or is it overrated?
- How do you seal your grout lines for long-lasting results?
- Is black grout bad for your health, and what does it say about your home?
All of these questions will be answered. So, whether you’re a homeowner, a DIYer, home improvement pro, or a savvy property investor, strap in. You’re about to turn your black grout white and your frown upside down.
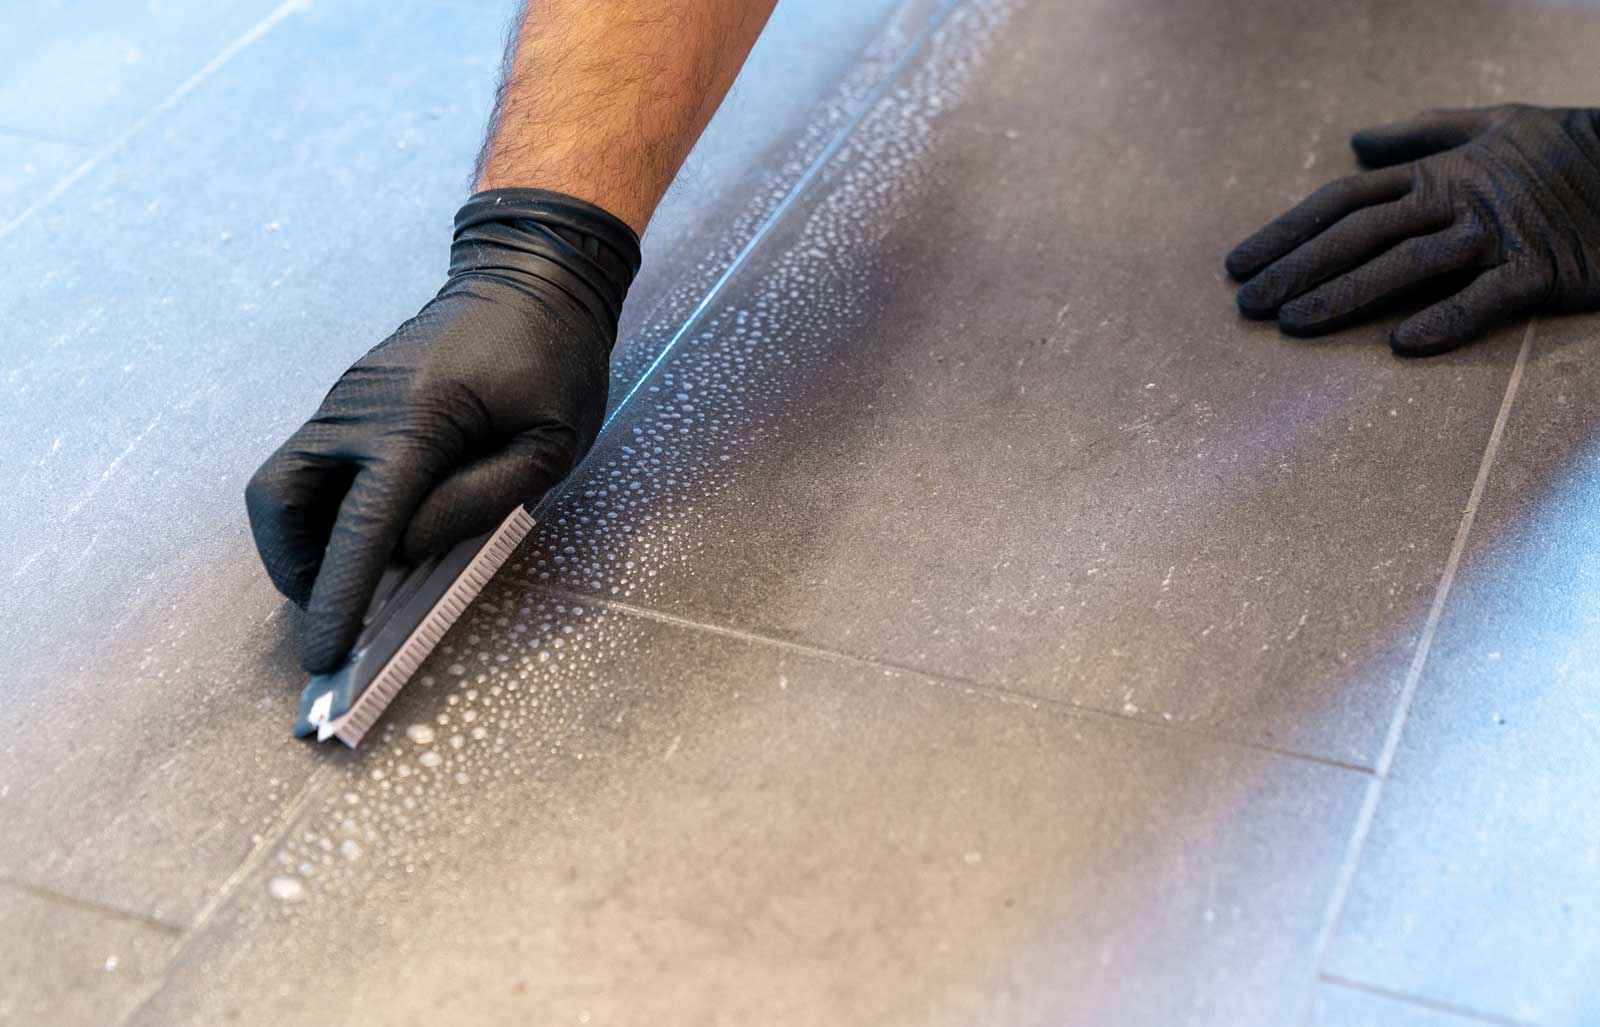
Methods for Cleaning Black Grout
Has your once sparkling grout turned black, leaving your tile floors and walls looking dull and dirty? Don’t worry, we have compiled a variety of methods to help you out. In this section, we will discuss several approaches to cleaning black grout using basic household items and commercial cleaners. Let’s dive in.
White Vinegar Method
A popular and eco-friendly option for cleaning black grout is using white vinegar. Simply mix equal parts of white vinegar and warm water in a spray bottle, and apply the solution to the affected grout lines. Allow it to sit for a few minutes, then scrub the grout using a stiff brush or an old toothbrush. Rinse the area with clean water and dry it using a clean cloth.
Hydrogen Peroxide Method
Another effective method to clean black grout is using hydrogen peroxide. Combine equal parts hydrogen peroxide and water in a spray bottle, then apply it to the grout lines. Let the solution sit for 10-15 minutes before scrubbing with a stiff brush or old toothbrush. Rinse with clean water and dry the area using a clean cloth.
Baking Soda and Lemon Juice Method
For a natural approach to cleaning black grout, try using a combination of baking soda and lemon juice. Make a paste by mixing baking soda with a small amount of water and lemon juice, then apply the paste to the grout lines. Allow the mixture to sit for a few minutes, then scrub with a stiff brush or old toothbrush. Rinse with clean water and dry the area with a clean cloth.
Commercial Cleaners
While common household products may work for some grout cleaning tasks, for stubborn stains or deeper cleaning, you might need a commercial cleaner specifically designed for grout. Be sure to follow the instructions on the product label and test it on an inconspicuous area first. Scrub the grout lines with a stiff brush or old toothbrush, then rinse with clean water and dry with a clean cloth.
Alkaline Cleaner Method
An alkaline cleaner is another option for cleaning black grout, especially in cases where soap residue or hard water deposits are causing the discolouration. Follow the manufacturer’s instructions for dilution, and apply the solution to the grout lines. Scrub with a stiff brush or old toothbrush, then rinse with clean water and dry the area with a clean cloth.
In conclusion, try any of these methods to restore your grout to its original appearance. Be persistent, and your floors and walls will look good as new before long.
Post-Cleaning Procedures
After you’ve successfully cleaned the black grout, it’s essential to take preventative measures to keep it looking pristine. In this section, we’ll discuss using a grout sealer for long-term prevention and the importance of daily cleaning and regular maintenance. By following these simple steps, you’ll minimize the risk of black grout recurrence.
Using a Grout Sealer for Long-Term Prevention
Applying a grout sealer can be your best defense against black grout. Grout sealers create a barrier that protects the grout from new stains, dirt, and moisture. This makes the surface easier to clean and maintain in the long run.
As a DIY enthusiast or home improvement professional, you know that selecting the right grout sealer is crucial. Here’s a quick list of attributes to look for in a reliable grout sealer:
- Water-based or solvent-based: Both types can be effective; however, water-based sealers are better for the environment and have less odor during application.
- Penetrating vs non-penetrating: Penetrating sealers offer better protection as they soak into the grout, while non-penetrating sealers form a barrier on the surface.
- Longevity: Aim for a sealer that provides protection for at least a year or two, depending on the area’s usage.
Remember to follow the manufacturer’s instructions when applying the grout sealer to ensure the best results.
Regular Cleaning and Maintenance to Avoid Black Grout
No matter how great your grout sealer is, daily cleaning and regular maintenance will always be essential. These practices prevent dirt and grime from building up and causing your grout to turn black again.
Start by wiping surfaces clean after each use, especially in the bathroom and kitchen where grime can easily accumulate. Not only is it the best thing for your grout, but it will also keep your tiles looking brand new.
Incorporate the following habits into your routine for effective grout maintenance:
- Sweep or vacuum tiled floors daily to remove loose dirt.
- Dry wet surfaces with a microfiber towel right after use.
- Use mild, non-abrasive cleaners during routine cleaning to avoid damaging grout and tiles.
- Regularly inspect grout for small cracks or signs of wear and repair as needed.
By taking these preventative actions, you can keep your newly cleaned grout looking pristine and avoid the backbreaking task of scrubbing black grout in the future. Now that you know how to maintain your grout, it’s time to explore other helpful tips and tricks for home improvement. Happy cleaning!
Why Does Grout Turn Black
You’ve noticed your grout turning black and you’re probably wondering why this is happening. In this section, we’ll discuss the main factors contributing to this issue and how it affects different areas of your home. By understanding these factors, you can better prevent and address the problem before it gets worse.
Contributing Factors Like High Humidity, Shower Walls, and Floor Tiles
High Humidity: One of the primary reasons for grout turning black is due to the high humidity levels often found in bathrooms. Humidity provides the perfect environment for mold and mildew to grow in your grout lines. Moisture can easily become trapped in these porous spaces, resulting in the darkening and staining of grout.
Shower Walls: Grout discoloration can be particularly problematic on shower walls. The constant exposure to moisture and steam combined with soap scum buildup creates an ideal breeding ground for mold and mildew. In addition, shower walls may also be more susceptible to excess water that can run down and collect in the grout lines, further exacerbating the issue.
Floor Tiles: Floors can also play a role in blackened grout. In high traffic areas, dirt and grime can accumulate on the floor, eventually making their way into the grout lines. Over time, this buildup can cause the grout to darken and appear black. Properly cleaning your grout can help prevent this problem and keep your floor looking fresh.
To combat grout darkening, consider implementing the following strategies:
- Use a squeegee to remove excess water from shower walls after each use.
- Regularly clean and dry floors to prevent dirt buildup.
- Ensure proper ventilation in your bathroom to reduce humidity levels.
Grout turning black can be an unsightly issue that affects the appearance of your bathroom and other tiled areas. By understanding the contributing factors and taking preventative measures, you can keep your grout looking clean and bright.
Additional Tips
Cleaning grout that has turned black can seem like a daunting task, but with the right tools and techniques, it’s easier than you think. In this section, we’ll discuss the best tools for the job and what not to use, ensuring your grout is clean and beautiful once again. Let’s dive in and explore the steps to keep your grout in top shape.
Discuss the Best Tools for the Job and What Not to Use
When it comes to cleaning grout, using the right tools is crucial. A grout brush, preferably one with stiff bristles, is essential for effectively scrubbing away dirt and grime. To clean on a daily basis, wipe down your tile surfaces with a cloth or sponge to prevent buildup.
For deep cleaning, there are several options to consider:
- Grout brush: A grout brush, such as an old toothbrush, is perfect for getting into the crevices of your tile and effectively removing dirt source.
- Baking soda and vinegar: Combine these two ingredients to create a paste that can be applied to your grout. The mixture works as a gentle, abrasive cleaner while the vinegar helps to disinfect and remove stains source.
- Oxygen bleach: A solution of oxygen bleach and water can be an effective method for cleaning stubborn grout stains. Apply the solution, let it sit, and then scrub with your grout brush source.
Remember to avoid using metal brushes or harsh chemicals, as they can damage the grout and surrounding tiles.
To keep your grout looking its best, incorporate these daily cleaning habits:
- Wipe down tiles after showering to prevent mold and mildew.
- Use a squeegee to remove excess water from tile surfaces.
- Regularly vacuum or sweep to remove dirt and debris.
Now that you know the tools and techniques needed to maintain clean grout, you’re well-equipped to keep your entire area looking fresh and new. In the next section, we’ll explore more tips and tricks for keeping your home in pristine condition.