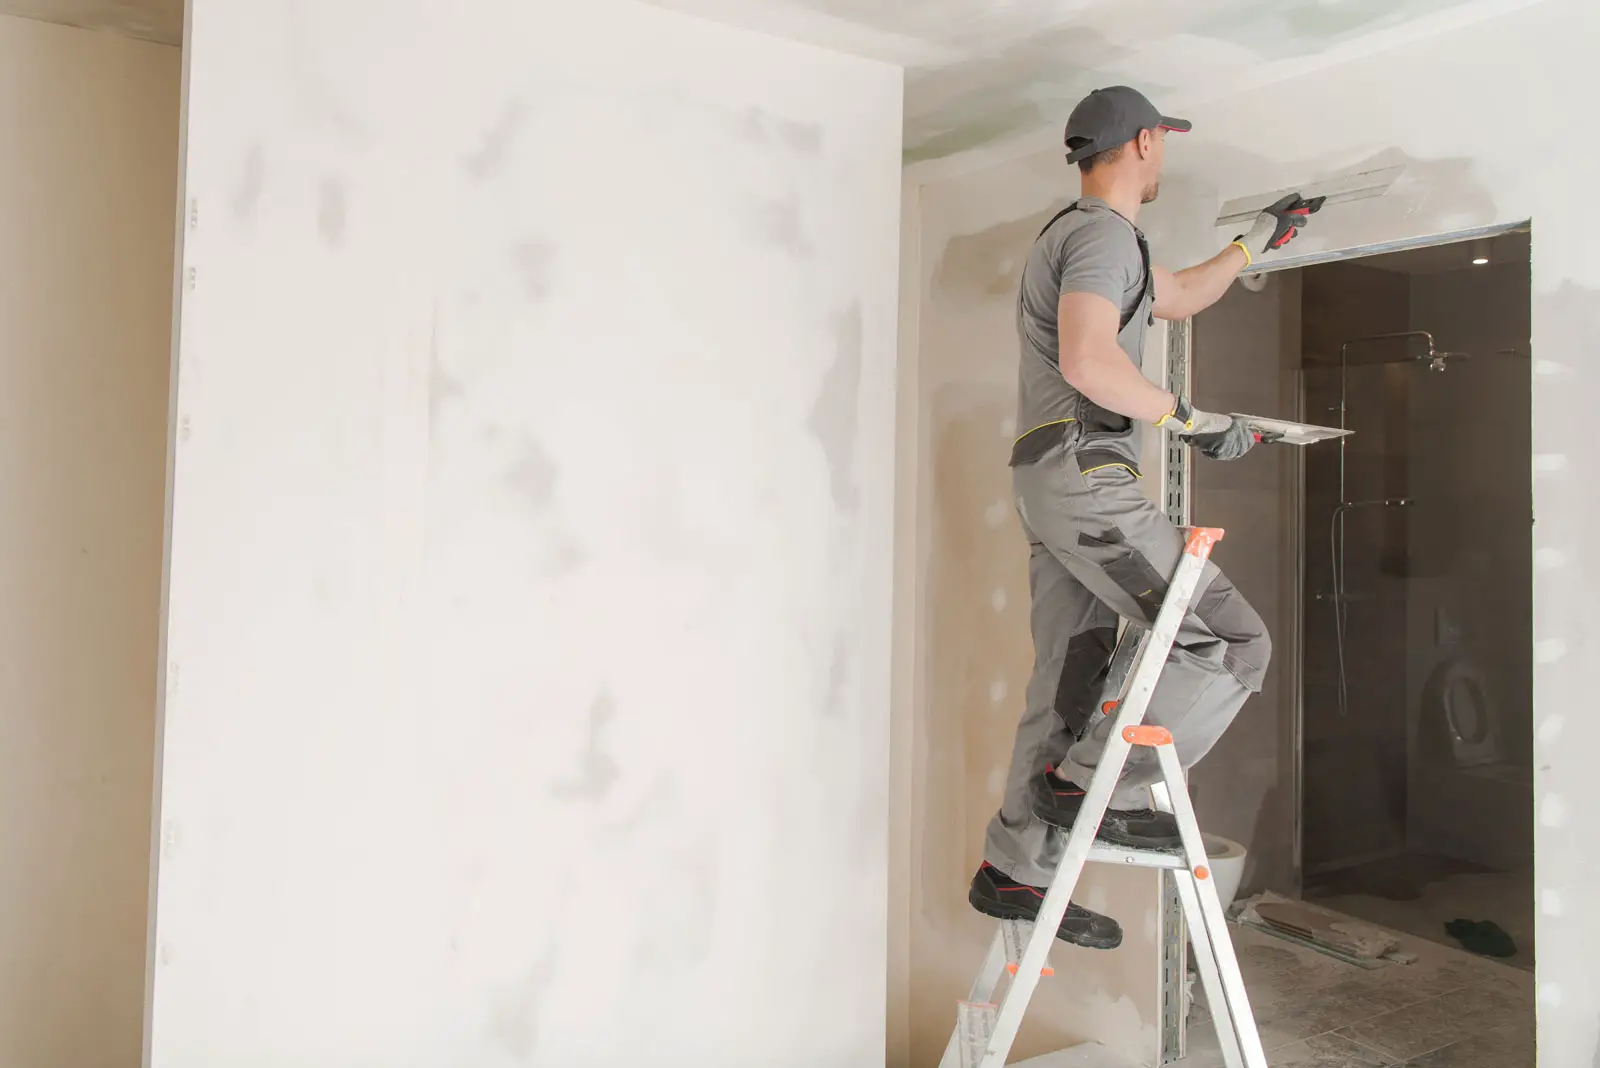
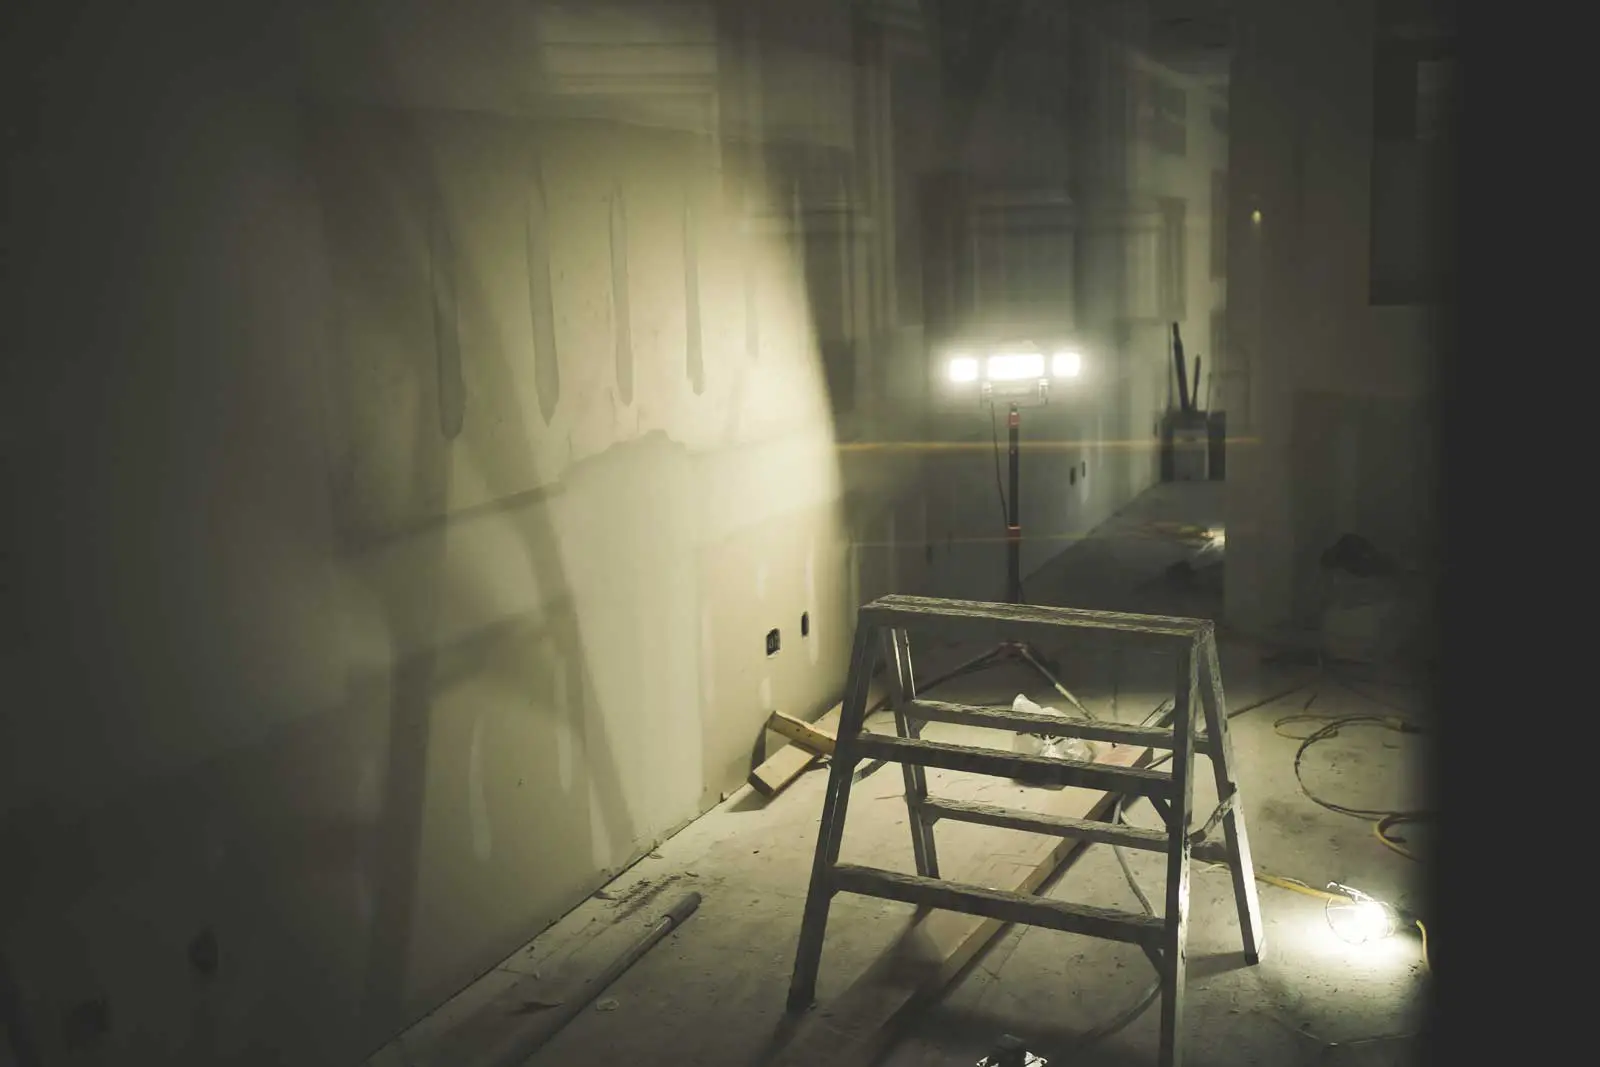
When we were going through our remodel there was dust everywhere and it got into everything. Sometimes it still feels like we’re finding spots where where dust from drywall and the construction activities are still popping up.
So if you have ever renovated a room (or a home) and then had to clean the aftermath, you know the feeling.
You know about that inches-deep layer of drywall dust on every surface. Even if you’re a clean and tidy worker, it’s impossible to keep wood floors clean during renovation projects.
But don’t worry, there are ways to clean off drywall dust quickly and easily. The trick is using the correct cleaning solution and following specific methods that will prevent from further damaging your flooring.
In this article, I’ll share my methods for removing drywall dust from hardwood floors. I will also discuss different cleaning solutions that are safe to use so your beautiful hardwood floors can shine again!
By the way – before we get too far along here, if you want to connect with other homeowners and builders and get more great ideas for your home to make your space the best join my free private Facebook group, Remodel Reality here.
 Here’s a list of supplies needed to clean drywall dust off wood floors
Drywall dust can be a real pain to clean off wood floors. Thankfully, there are a few simple steps you can take to make it easier. Here’s what you’ll need:
- Dust mask or respirator
- Drop cloth
- Broom and dustpan
- Vacuum cleaner with a brush attachment and HEPA filter
- Wet mopping cloths or microfiber cloth
- Hardwood floor cleaner or homemade non-toxic floor cleaner
- Stiff-bristled brush or toothbrush
- Plastic putty knife or plastic knife
- Damp towel or paper towels
- Adhesive remover (if dealing with dried drywall mud)
To tackle the most stubborn areas you may need something tougher than a mop such as a stiff-bristled brush, plastic putty knife, damp towel, or even an adhesive remover if necessary.
Sometimes you’re going to have to invest a little more elbow grease than you may have originally thought and get down on your knees to be able to get after stubborn spots. That’s why I included the toothbrush option in that list, because when we did our floors I found that this was the only way to get some of the dust to come off.
Just be sure not to damage your floors in this process!
 Preparing to Clean Drywall Dust off Wood Floors
Drywall dust can be a real pain to clean off wood floors. Thankfully, there are a few simple steps you can take to make it easier. Before you get started, here are some precautions you should consider:
- Wear a dust mask or respirator – Drywall dust is full of fine particles that can easily irritate your eyes and lungs. Protect yourself from potential adverse health effects by wearing the proper protective equipment while you clean.
- Increase ventilation in the room – Prolonged exposure to drywall dust could cause respiratory issues for some people, so ensure that you’re properly ventilating the room the cleaning process. Open doors and windows wherever possible and use fans or air purifiers while you work.
 Step-by-Step Procedure for Cleaning Drywall Dust Off Wood Floors
Cleaning drywall dust off of wood floors can be a tedious task, but follow these simple steps and you’ll have the job done in no time.
- Prevent What You Can – Lay a drop cloth on the floor before doing any renovation work to catch as much dust as possible.
- Sweep It Up – Clean as you go, and don’t walk over it if you can avoid it. Use a broom and dustpan to sweep up as much of the drywall dust as you can. Start at the edges of the room and sweep inward until you have created a pile in the center of the room. If there’s too much dust, spray a water mist first before sweeping. Give the dust about 15 minutes to settle before proceeding to the next step.
- Vacuum – Use a vacuum cleaner with a brush attachment and HEPA filter to remove any remaining drywall dust from your hardwood floors. Start by vacuuming along the edges of your space and then work your way inward, focusing on areas where the flooring meets walls and any cracks or crevices between boards.
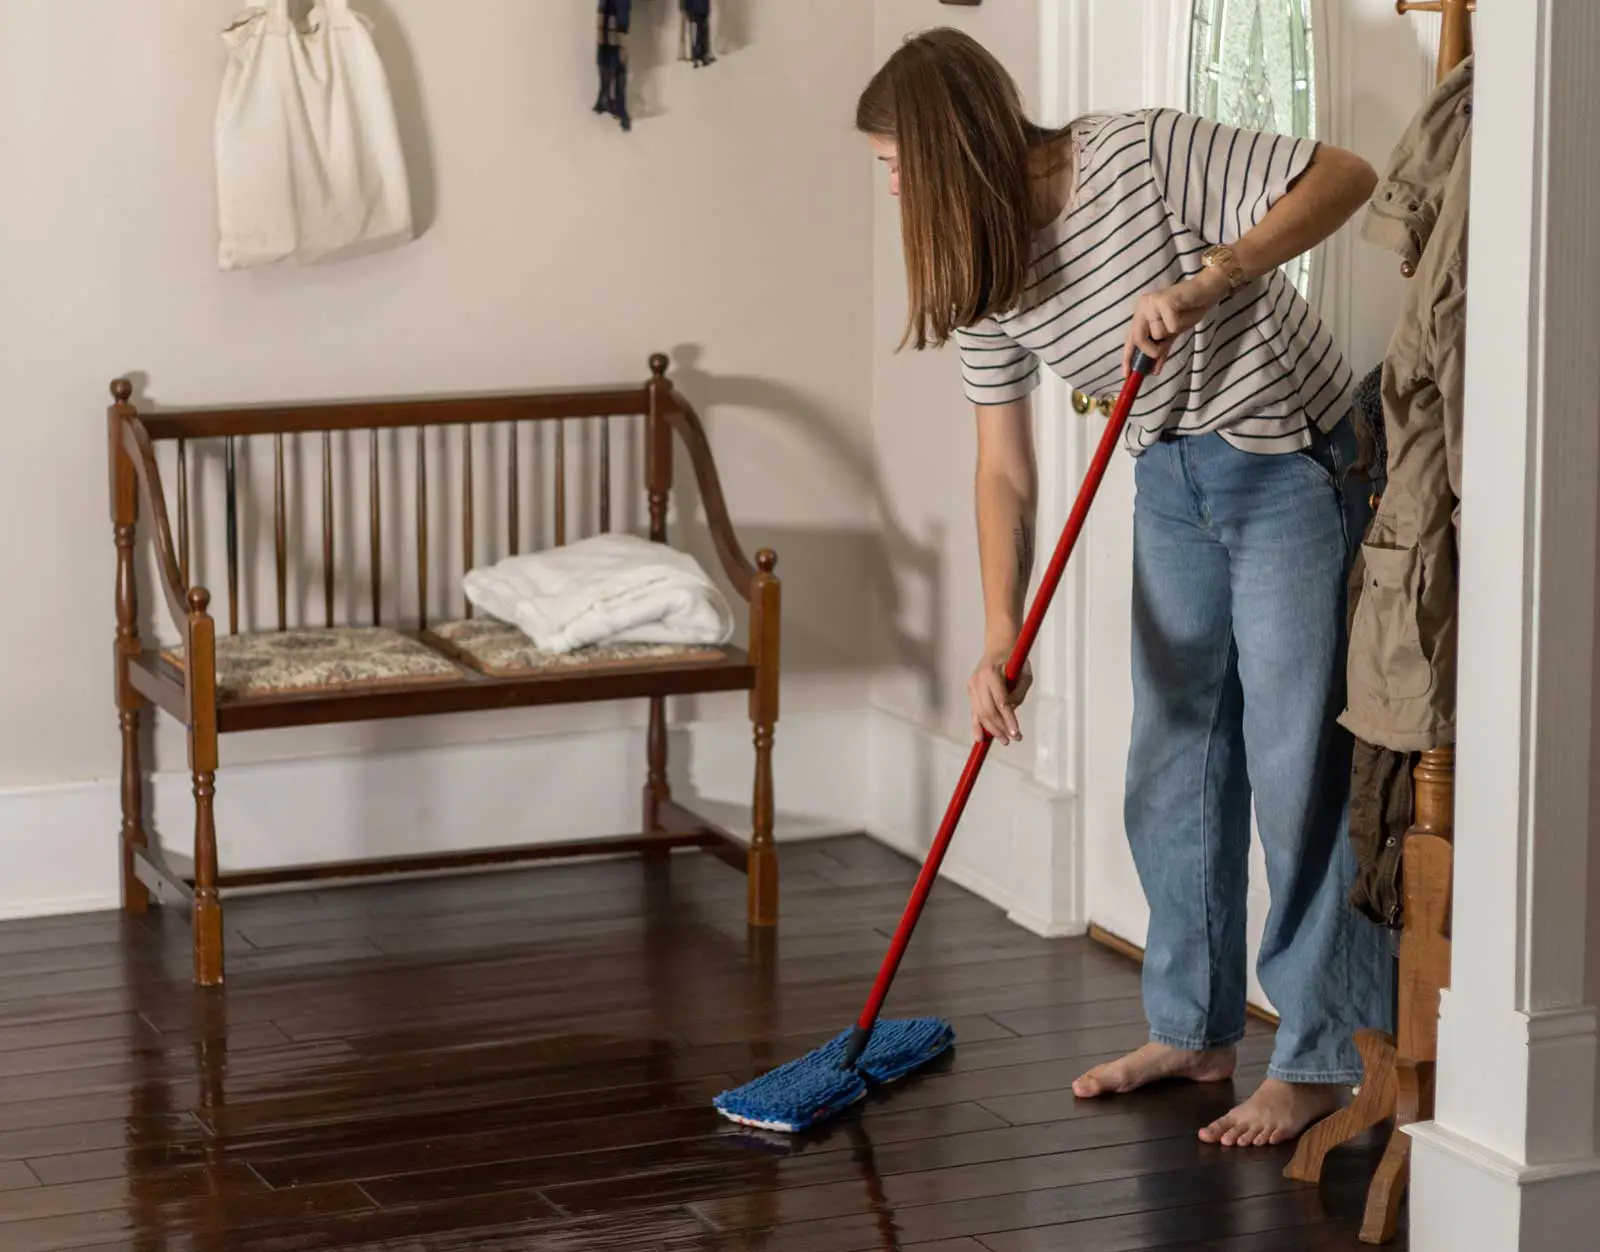
- Mop – Use either a damp microfiber cloth or wet mopping cloth to gently wipe down your entire floor, including the cracks and crevices where boards meet, as well as where flooring meets corner rounds or baseboards. For hardwood floors, use either microfiber cloths or mops; opt for cleaners that are safe for your type of flooring like hardwood cleaner or non-toxic/homemade solutions.
- Scrub Stubborn Spots – Remember that part about not walking on it above? This is why. You don’t want to grind it into your flooring by constant foot traffic. I found that if you try to do some reasonable cleaning up as you go, it can help a ton. If there are spots of stubborn drywall dust or dried mud, use a stiff-bristled brush (or toothbrush) to scrub gently at those areas; if needed, use plastic knives when scraping off dried mud from concrete floors.
- Wipe and Dry – Once you’ve finished cleaning, use either a dry towel or paper towels to wipe down any remaining moisture on the floor. I found that using a damp microfiber cloth is a fantastic tool for getting this part done. A little spray, a little scrub, and your floors will be cleaned up quickly!
- Ventilate The Room – Before you get started, make sure it is adequately ventilated so that any remaining particles in air won’t affect anybody in there! I’ve found that if you’re doing any kind of substantial drywall work that turning off your AC unit, opening a window, and using a shop fan to suck air OUT of the room can really help with ventilation. And don’t forget – make sure you’re wearing the proper protective gear such as dust masks/respirators during this process for safety reasons.
Cleaning Challenges and Approaches
Cleaning up drywall dust from wood floors can be a difficult task, but it doesn’t have to be. The key is to use the right methods and cleaning products to ensure that your hardwood floor remains undamaged and free of allergens.
A high-powered vacuum cleaner with a HEPA filter can help get rid of fine dust particles trapped in cracks and crevices. A microfiber mop or wet cloth like I mentioned before in combination with a homemade solution of water and white vinegar (or dish soap) will make it easy to lift up dirt and grime, leaving your floor looking like new.
When cleaning drywall dust from wood floors, you have to be careful, particularly with real, or engineered hardwood floors.
You want to avoid using harsh chemicals or abrasive tools that can cause damage to the floor finish, and always test any cleaning product on a small area first to make sure it won’t be damaging.
 Cleaning Different Types of Floors
Carpet floors must be given a thorough clean to remove all drywall dust. The best approach is to start with a stiff-bristled brush or broom, followed by vacuuming with a high-powered vacuum cleaner. Pass over the same area multiple times for complete removal, and for deeper cleaning results consider hiring a professional cleaning crew.
LVP (Luxury Vinyl Plank) floors are popular because of their easy-to-clean nature. Start with sweeping or vacuuming the dust, then mop using a mild non-abrasive cleaner. Scrubbing pads should be avoided as they can damage the floor surface – use a soft-bristled brush instead to tackle the tougher spots.
Tile floors can be kept looking great with regular sweeping or vacuuming, followed by a warm water and mild detergent mop. We’ve found that using our Shark vacuum cleaner does a fantastic job on our tiled areas. Use a soft-bristled brush or toothbrush to get rid of those hard-to-reach areas but avoid using harsh chemicals or abrasive sponges which may cause damage to the grout.
Cleaning concrete floors can be tricky because of their porous nature. Start with sweeping or vacuuming, followed by a wet mop – but for a more thorough clean, you may need to use a specialized concrete cleaner. Scrub those stubborn spots with a stiff-bristled brush, and remember to avoid using acidic or abrasive cleaners to protect the floor from any potential damage.
Next Steps
Want to join others who are creating the most amazing home redesigns & renovations and get more tips, tricks and hacks on how to make your home the best it can be?
Join my brand new free private Facebook group, Remodel Reality to connect with other people like you to make your space the best!