Have you ever wondered, how long does it take to drywall a house? If you’re like me, when you’re working on a remodeling or renovation project – or especially when you’re doing new construction – it’s easy to get impatient and want to see progress.
How much time does it really take?
The time it takes to drywall a house depends on factors such as the home’s size and complexity, ceiling height, type of drywall finish, crew size, experience, and weather conditions. Generally, drywall installation for an average-sized house can take anywhere from 1-3 weeks. The timeline might vary for new construction projects compared to renovation or remodeling projects. Additionally, the installation time could be shorter for DIY projects, but the quality and efficiency might be compromised without professional experience.
As someone who’s been there and done that, and dealt with all the headaches associated with it, I’m here to shed some light on how long it actually takes and what’s involved.
How much drywall do you actually need?
How do they hang ceiling drywall?
What additional factors come into play for a large drywall job? What about smaller rooms?
In this guide, we’ll explore the factors that influence drywall installation time and costs, giving you the insights you need to tackle your project with confidence.
From understanding the complexities of different home sizes and types to breaking down the costs associated with hiring professionals or going the DIY route, I’ve got you covered. So, let’s dive in and discover the answers to your drywall installation questions.
By the way – before we get too far along here, if you want to connect with other homeowners, DIYers, and builders and get more great ideas for your home to make your space the best join my free private Facebook group, Remodel Reality here.
 Crucial Factors Influencing Drywall Installation Time
As a homeowner, you might be contemplating the exciting yet daunting task of drywall installation in your house. But before we jump into the specifics, let’s pause and consider a few crucial factors that directly influence the time it takes to complete the drywall installation. Remember, the journey is as important as the destination.
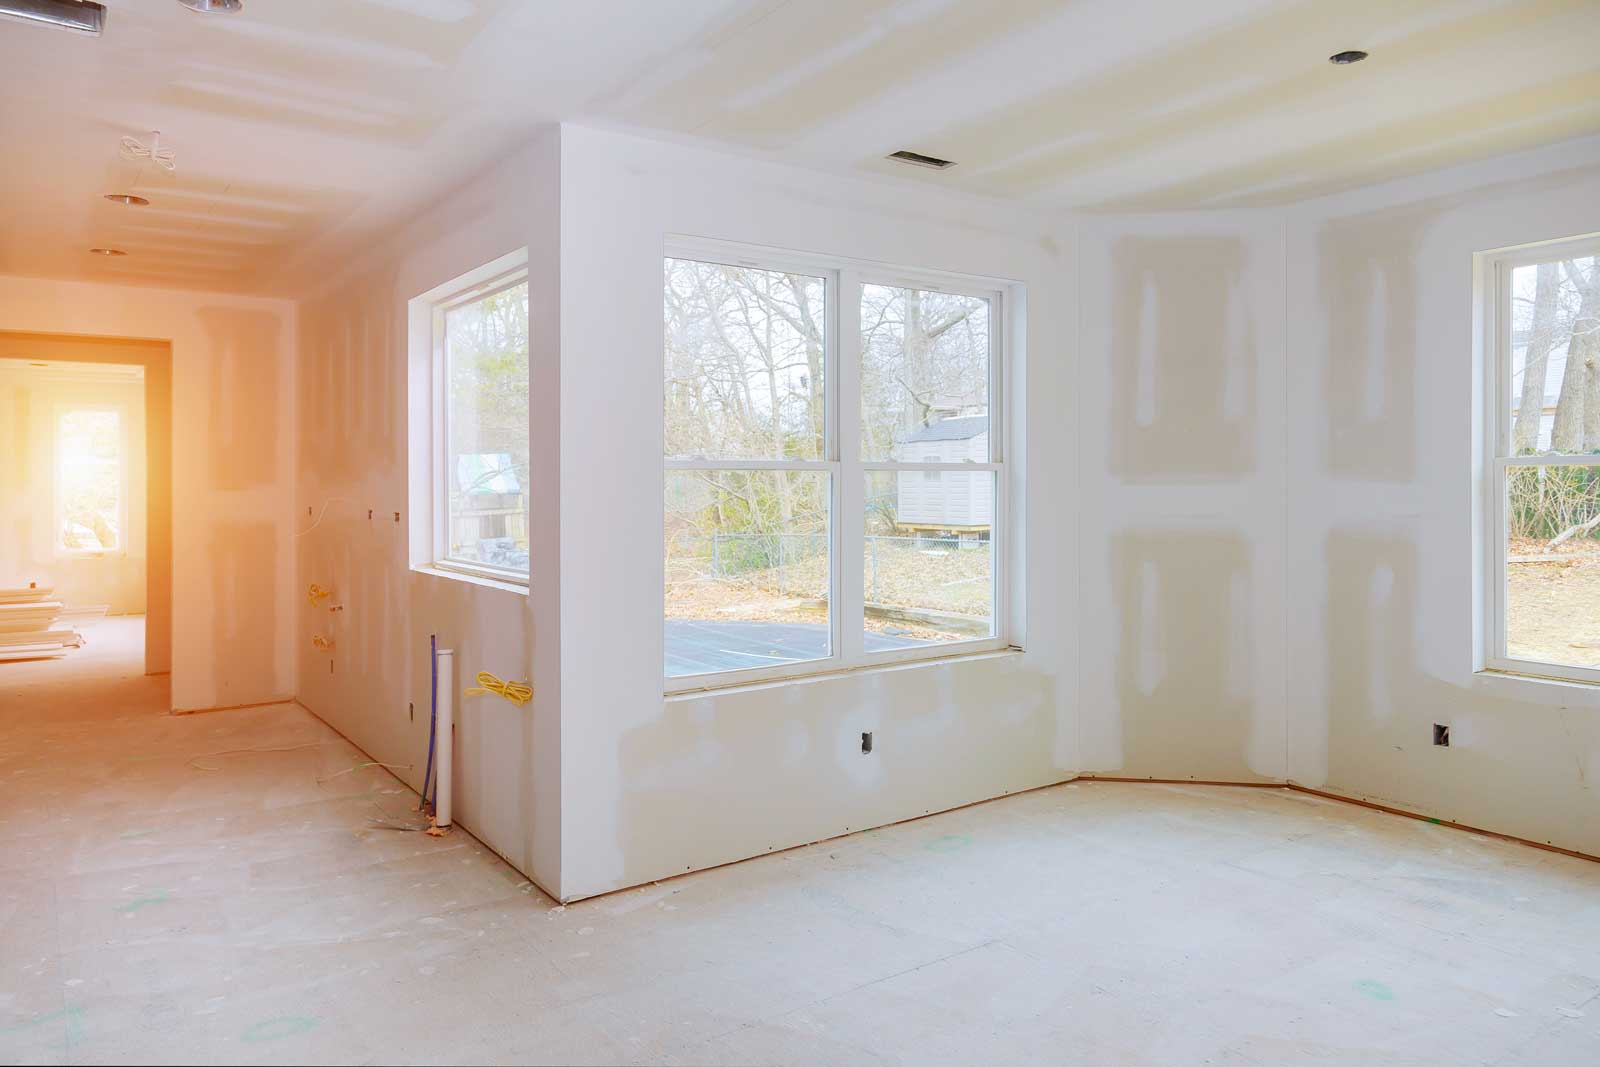
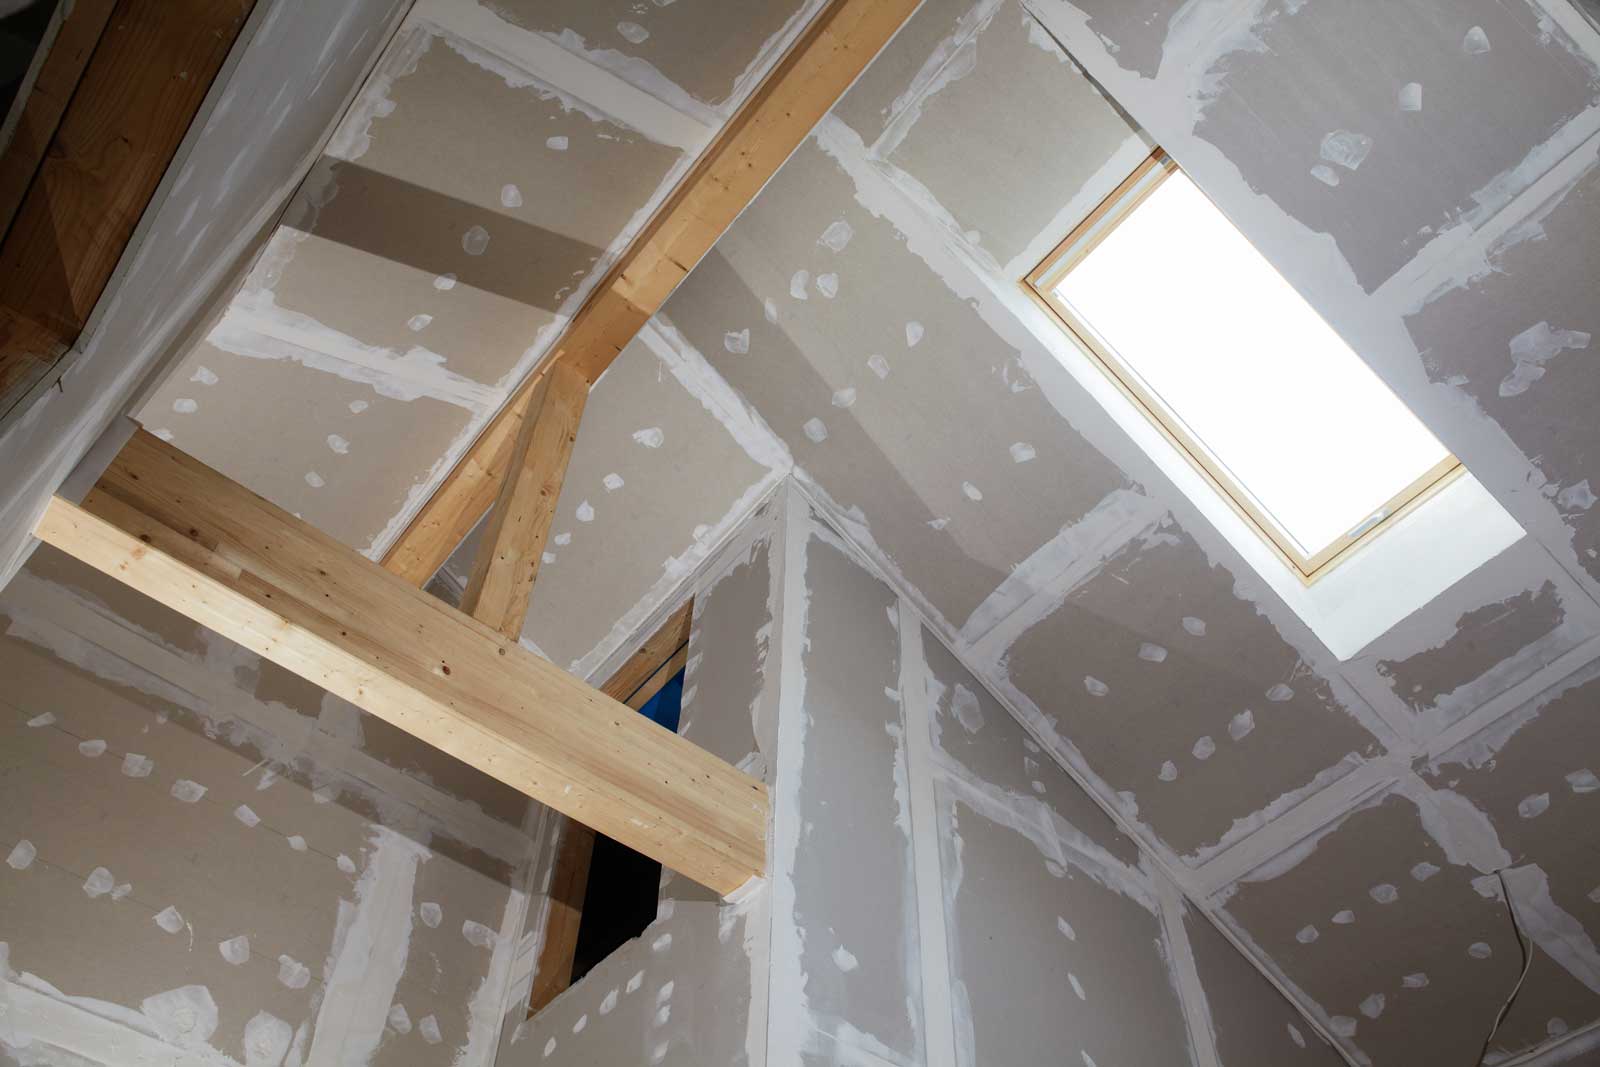
Home Size, Complexity, and Drywall Finish
When it comes to drywalling your home, the size and complexity of the job will determine how long it will take. Larger homes with intricate designs typically take longer to finish than smaller, simpler ones because they need more attention.
The type of drywall finish you decide on, as well as the ceiling height, will also affect the timeline.
For instance, achieving a smooth finish or installing a higher ceiling may add time to the process compared to applying a textured finish or sticking with standard height ceilings.
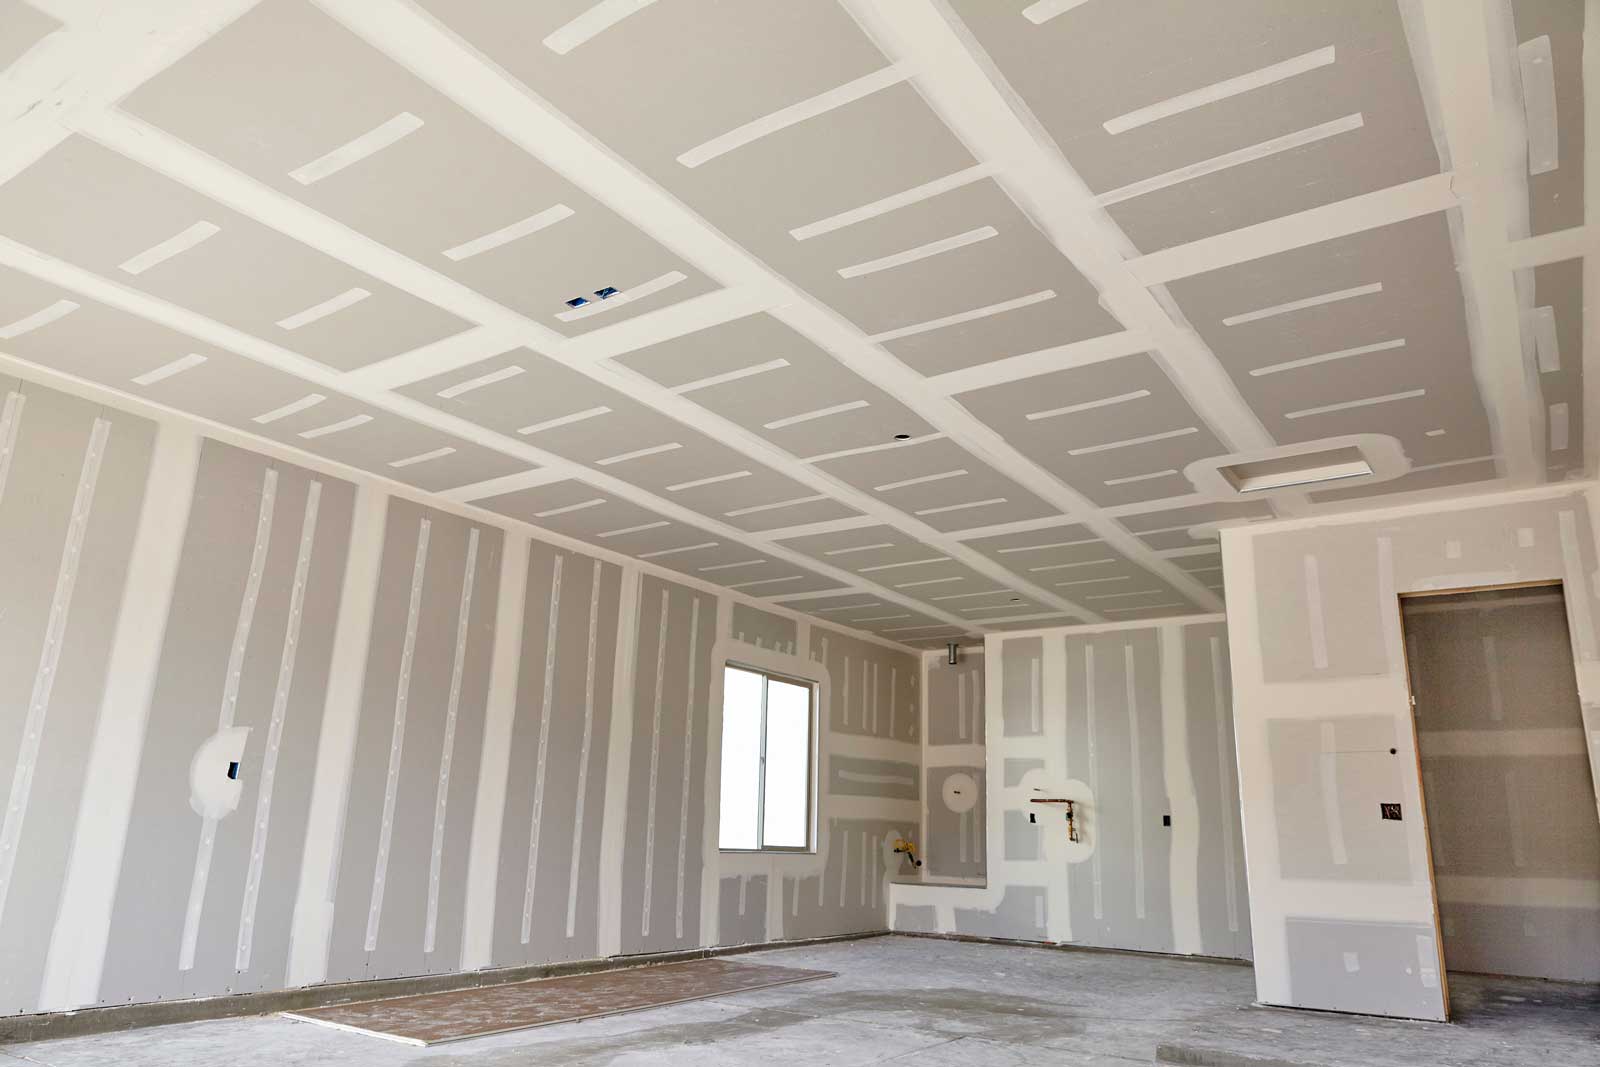
Other factors like plasterboard thickness, installation method in addition to any unforeseen issues that show up will also impact completion times too.
Crew Size, Experience, and Weather Conditions
Your crew size and level of experience can have a big impact on your project timeline. A larger, more experienced team will be able to move through the process quickly, while a smaller or less experienced team may take longer.
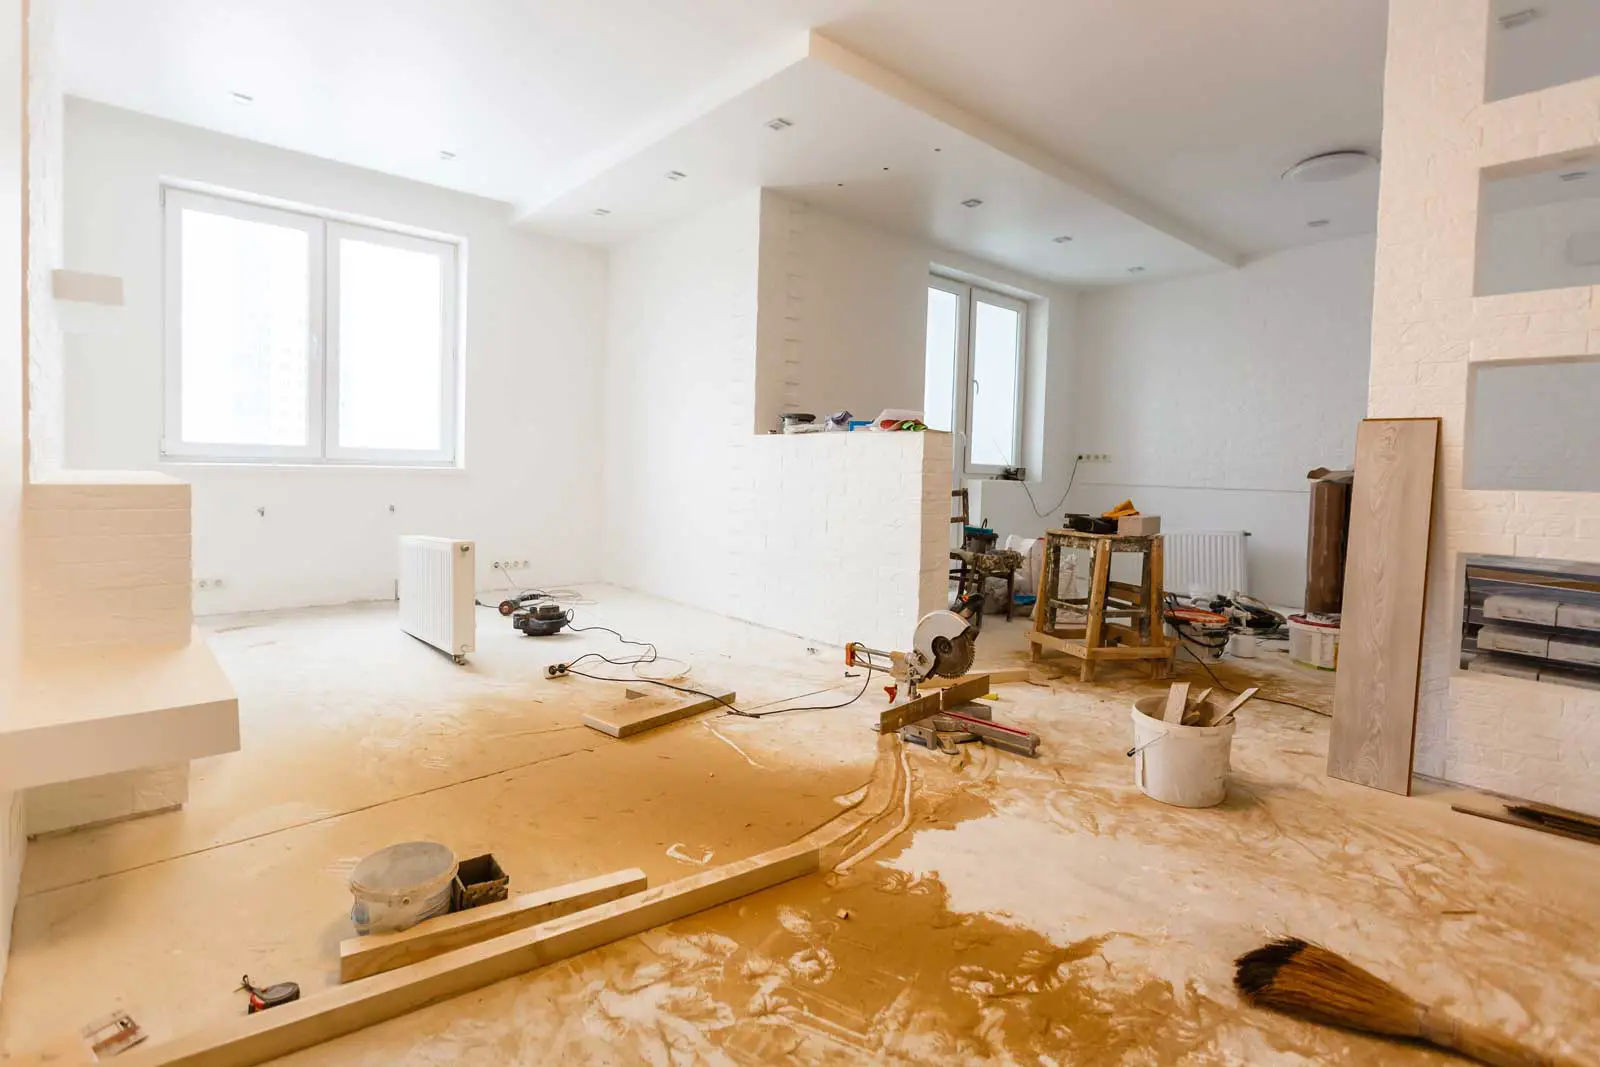
Remember that the weather and humidity can also affect the drying time of drywall mud – it takes longer for it to dry in humid conditions. Additionally, new construction projects generally take longer than renovation or remodeling projects. No matter what kind of project you’re undertaking, assessing your crew resources and understanding local weather conditions is essential in helping you plan an accurate timeline.
In general, it can take anywhere from a few days to several weeks to drywall an entire house. For smaller projects, like replacing or hanging drywall in just one or two rooms, it could take only a day or two. Larger projects may require more time and labor; for example, hanging drywall on the walls and ceilings of a three-bedroom house is likely to take at least.
 Drying Time and Environmental Factors: The Unsung Heroes of Drywall Success
We all know the excitement of embarking on a new home improvement project, but sometimes we tend to overlook the little things that can make a big difference. When it comes to installing drywall, there’s a hidden hero we need to pay attention to: drying time.
Humidity and Temperature: A Delicate Dance for Drywall
Believe it or not, drying time is absolutely crucial to the success of your drywall installation. Too little time between coats, and you risk compromising the integrity of your walls. Too much, and you could be wasting precious hours in your project’s timeline. One key factor to consider is the humidity in your space. High humidity can slow down the drying process, while low humidity can speed it up. Keep an eye on your local weather forecast and aim to work on your drywall during periods of lower humidity.
Temperature is another environmental factor that can impact the drying time of your drywall mud. Ideally, you’ll want to work in a space that’s between 55°F and 70°F, as this range allows for optimal drying conditions. If you’re working in an older home, be mindful of drafts and temperature fluctuations that could impact the drying process.
Ventilation: Let Your Walls Breathe
While it’s essential to maintain a comfortable temperature and humidity level, don’t forget about the importance of proper ventilation. Proper airflow helps to speed up the drying process and reduce the risk of trapped moisture, which can lead to mold and mildew problems. If you’re working in a space without windows, consider using a fan or dehumidifier to help circulate the air and keep humidity levels in check.
So next time you dive into a drywall project, remember that drying time and environmental factors are just as important as the installation itself. By paying attention to the little details like humidity, temperature, and ventilation, you’ll be on your way to a successful and satisfying result.
 The Impact of Drywall Finishing Techniques and Texture Application on Project Timeline
When it comes to drywalling a house, it’s essential to consider the various finishing techniques and texture applications, as they can significantly impact the overall timeline. Let’s dive into how these factors influence the amount of time it takes to drywall a house.
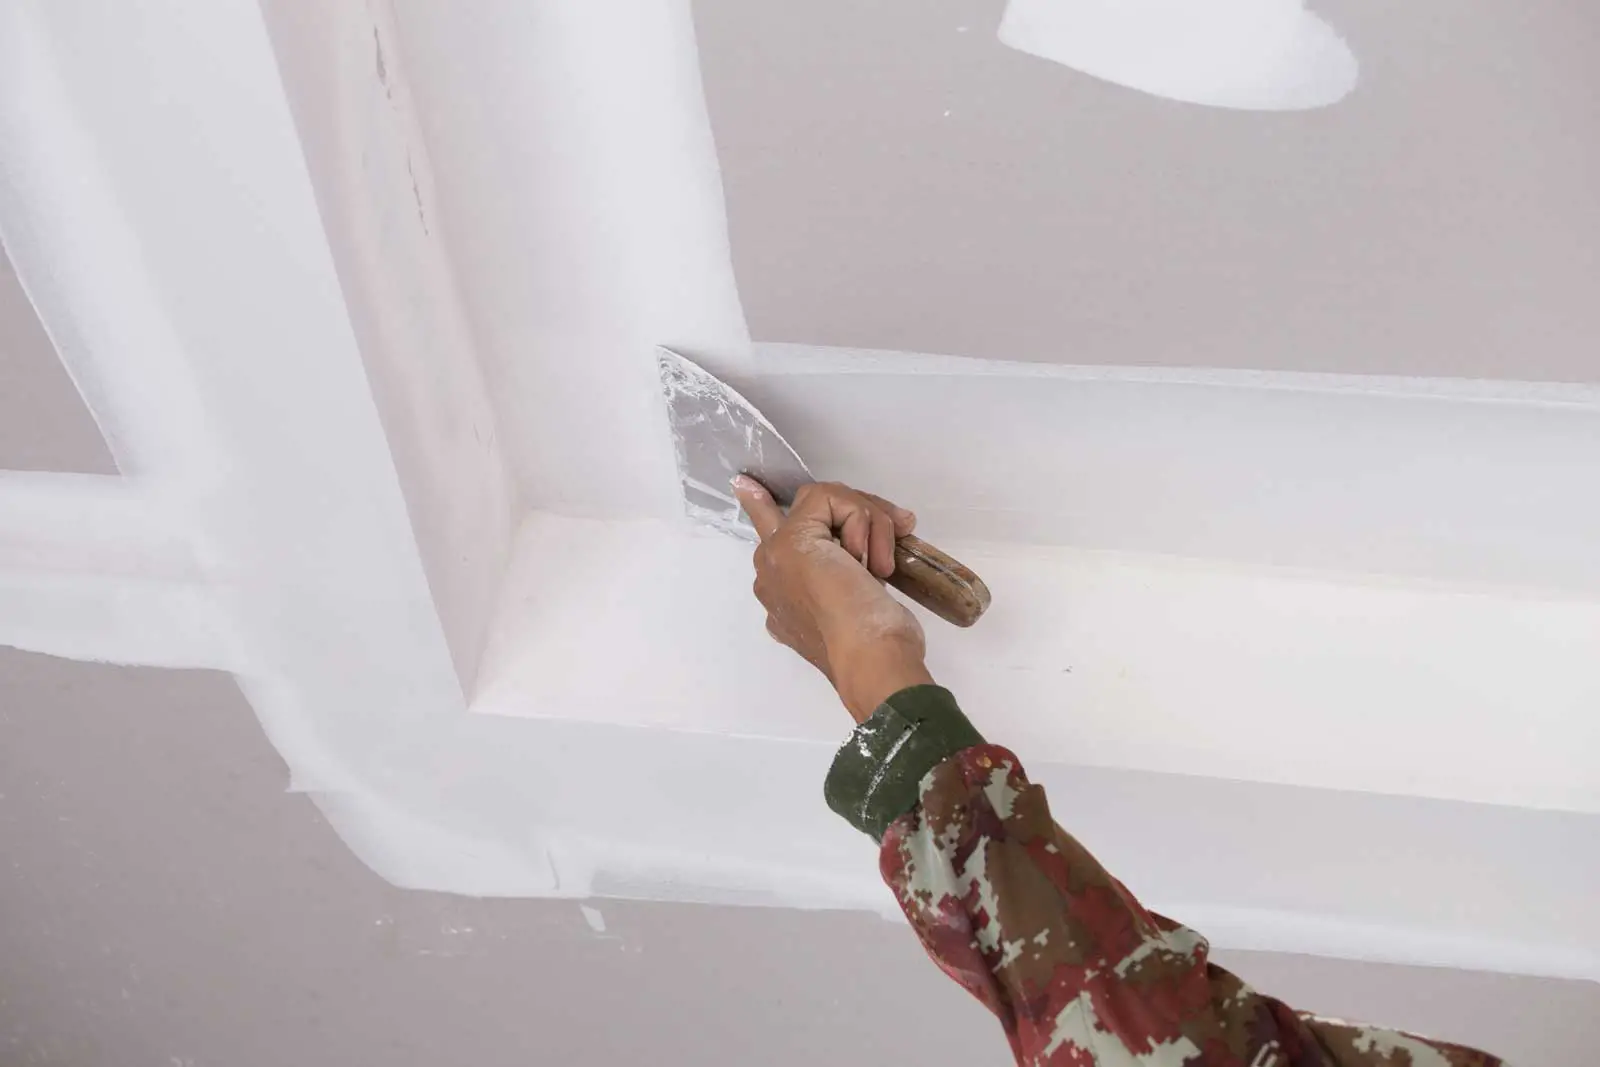
Drywall Finishing Techniques: Leveling Up
Drywall finishing involves a series of steps, each with its own time commitment. The industry uses a rating system known as “levels” to describe the degree of finish required, ranging from Level 0 to Level 5. As you progress through the levels, the complexity and time required for each step increase.
Level 0: The Bare Minimum
At Level 0, no finishing is done, which means no additional time is added to the project. This level is often used in temporary construction or areas where appearance doesn’t matter.
Level 1 to Level 3: The Middle Ground
Levels 1 through 3 involve progressively more finishing work, such as taping joints, applying joint compound, and sanding. As the level increases, so does the amount of time needed for the finishing process. Level 1 is the fastest option, while Level 3 requires more time for smoothing and sanding.
Level 4 and Level 5: The Pinnacle of Perfection
Level 4 and Level 5 finishes demand the most time and attention to detail. They include additional coats of joint compound, thorough sanding, and, in the case of Level 5, a skim coat of compound applied over the entire surface. These high-quality finishes extend the project timeline but result in a smooth, uniform appearance ideal for areas with critical lighting or high-end finishes.
Texture Application: Adding Character
Applying texture to drywall can also affect the project timeline. Different texture styles require varying amounts of time to apply and dry. Here are a few common texture types and their impact on the timeline:
Orange Peel and Knockdown: Quick and Easy
Orange peel and knockdown textures are relatively fast to apply using a spray gun and require minimal drying time. They can typically be completed in a day or two, depending on the size of the project.
Skip Trowel and Hand-Troweled Textures: Time-Intensive
Skip trowel and other hand-troweled textures demand more time and skill, because they’re applied manually with a trowel. These textures can take several days to complete, especially if multiple layers are required.
 Building Codes and Safety Considerations: The Backbone of Quality Drywall Installation
When it comes to drywall installation, it’s not just about the aesthetics and the material drywall cost. Ensuring that your project adheres to the proper building codes and safety considerations is vital.
Adhering to Building Codes During Drywall Installation: Safety First
Building codes exist for a reason: they ensure that your home is safe, structurally sound, and built to last. Adhering to these codes during your drywall installation is a non-negotiable aspect of the process. It not only protects you and your family but also safeguards your investment.
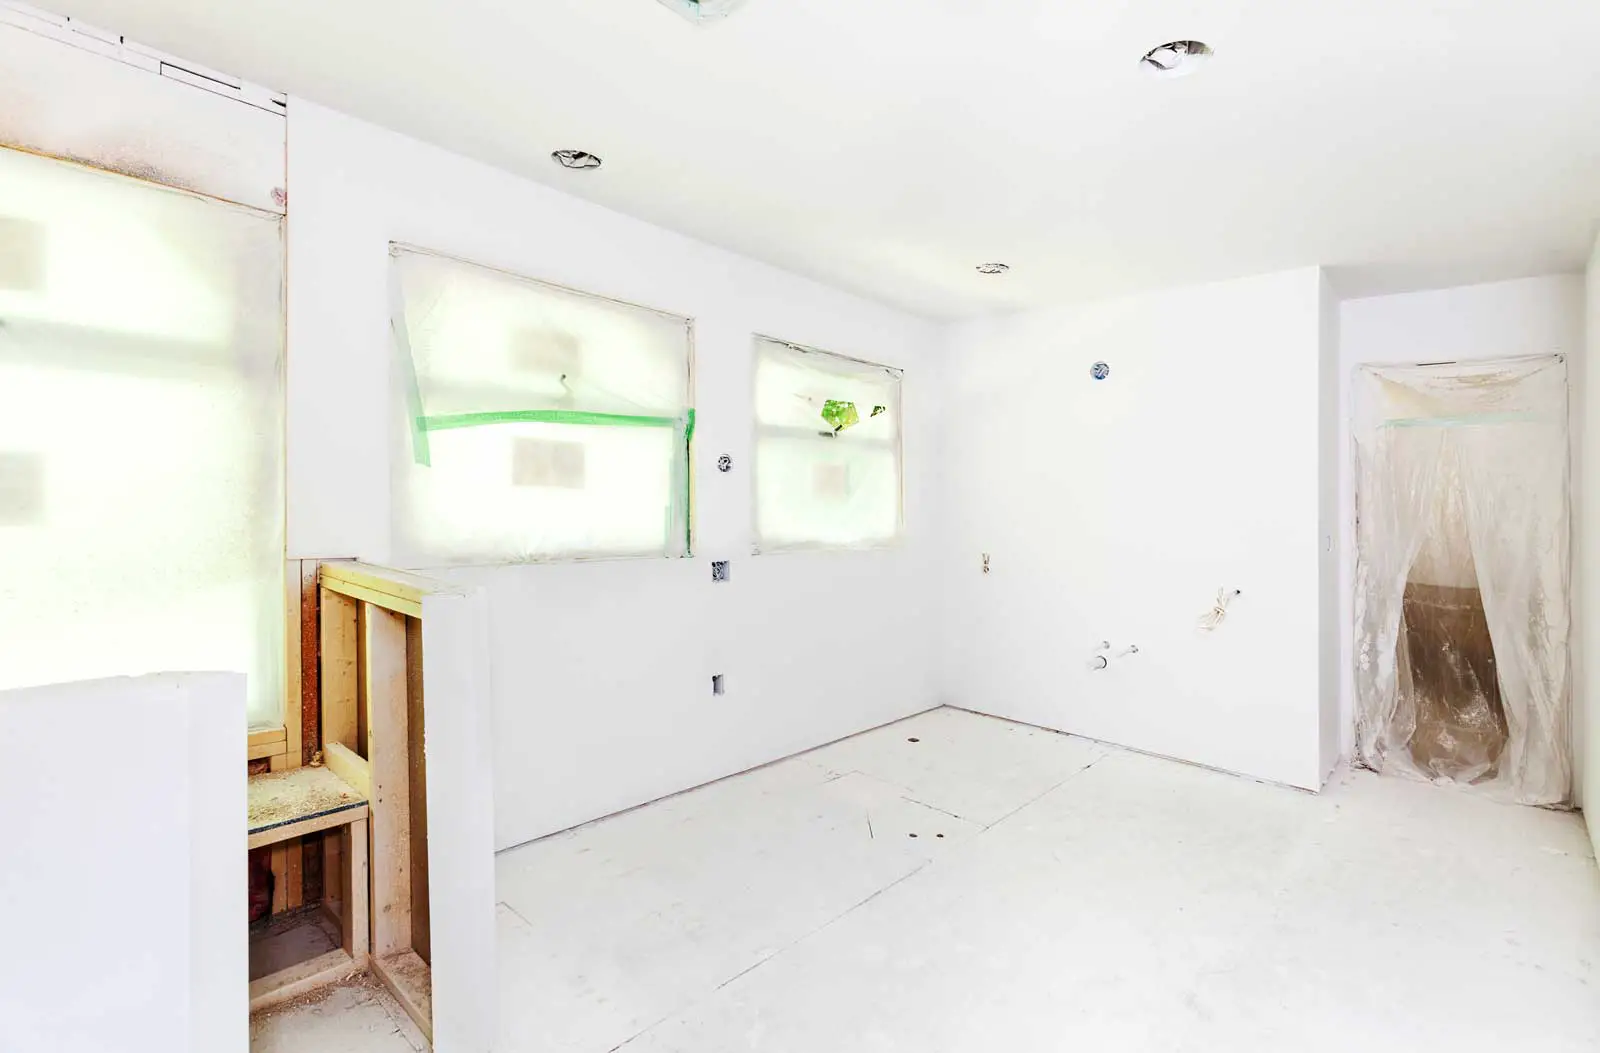
As you embark on your drywall journey, make sure to consult your local building department for the specific codes and requirements in your area. These may include fire-resistant drywall for specific areas, minimum thicknesses for different walls and ceilings, and proper spacing of screws or nails. By staying informed and following the rules, you’re laying the foundation for a successful and safe project.
Addressing Lead Paint Concerns in Older Homes: Out with the Old, In with the New
Older homes come with their own set of challenges, one of which is the potential presence of lead paint. If your home was built before 1978, there’s a chance that lead paint was used on the walls. When undertaking a drywall project in an older home, it’s essential to address this concern to protect your health and that of your family.
Before beginning your project, have a professional test your walls for lead paint. If it’s present, it’s crucial to remove it safely and dispose of it properly. This process may involve hiring a certified lead paint removal expert. By taking these precautions, you’re not only improving the aesthetics of your home but also creating a healthier living environment.
 The Role of Home Inspectors in Ensuring Proper Installation: A Second Set of Eyes
If you’re going the DIY route, while you might be confident in your drywall installation skills, it’s always a good idea to have a second set of eyes to ensure everything is properly installed.
This is where home inspectors come into play. Depending on where you live, and the local regulations regarding inspections you may be required by law to have an inspection, of your work in order to get sign-off on your building permit (if it’s required). In particular a pre-drywall inspection, can identify any potential issues before they become costly problems.
A knowledgeable home inspector will check for proper installation, adherence to building codes, and any safety concerns. They can also provide valuable advice on how to address any issues they find. By including a home inspector in your drywall project, you’re adding an extra layer of protection and ensuring the long-term success of your investment.
At the end of the day, your drywall project is about creating a space that is both beautiful and safe for you and your family. By adhering to building codes, addressing safety concerns like lead paint, and working with a home inspector, you’re setting yourself up for success. Embrace the process, learn from the experts, and enjoy the journey towards a safer and more stunning home.
 The Art of Choosing the Right Drywall: A Guide to Types and Sizes
How many square feet of drywall do you actually need? How many sheets is that? To keep your materials cost down, you’ve got to get get your drywall estimate right.
You have to know how much drywall you need and you have to choose right type of drywall for the right application. It can make all the difference in the world. But with so many options out there, how do you choose the right one for your project?
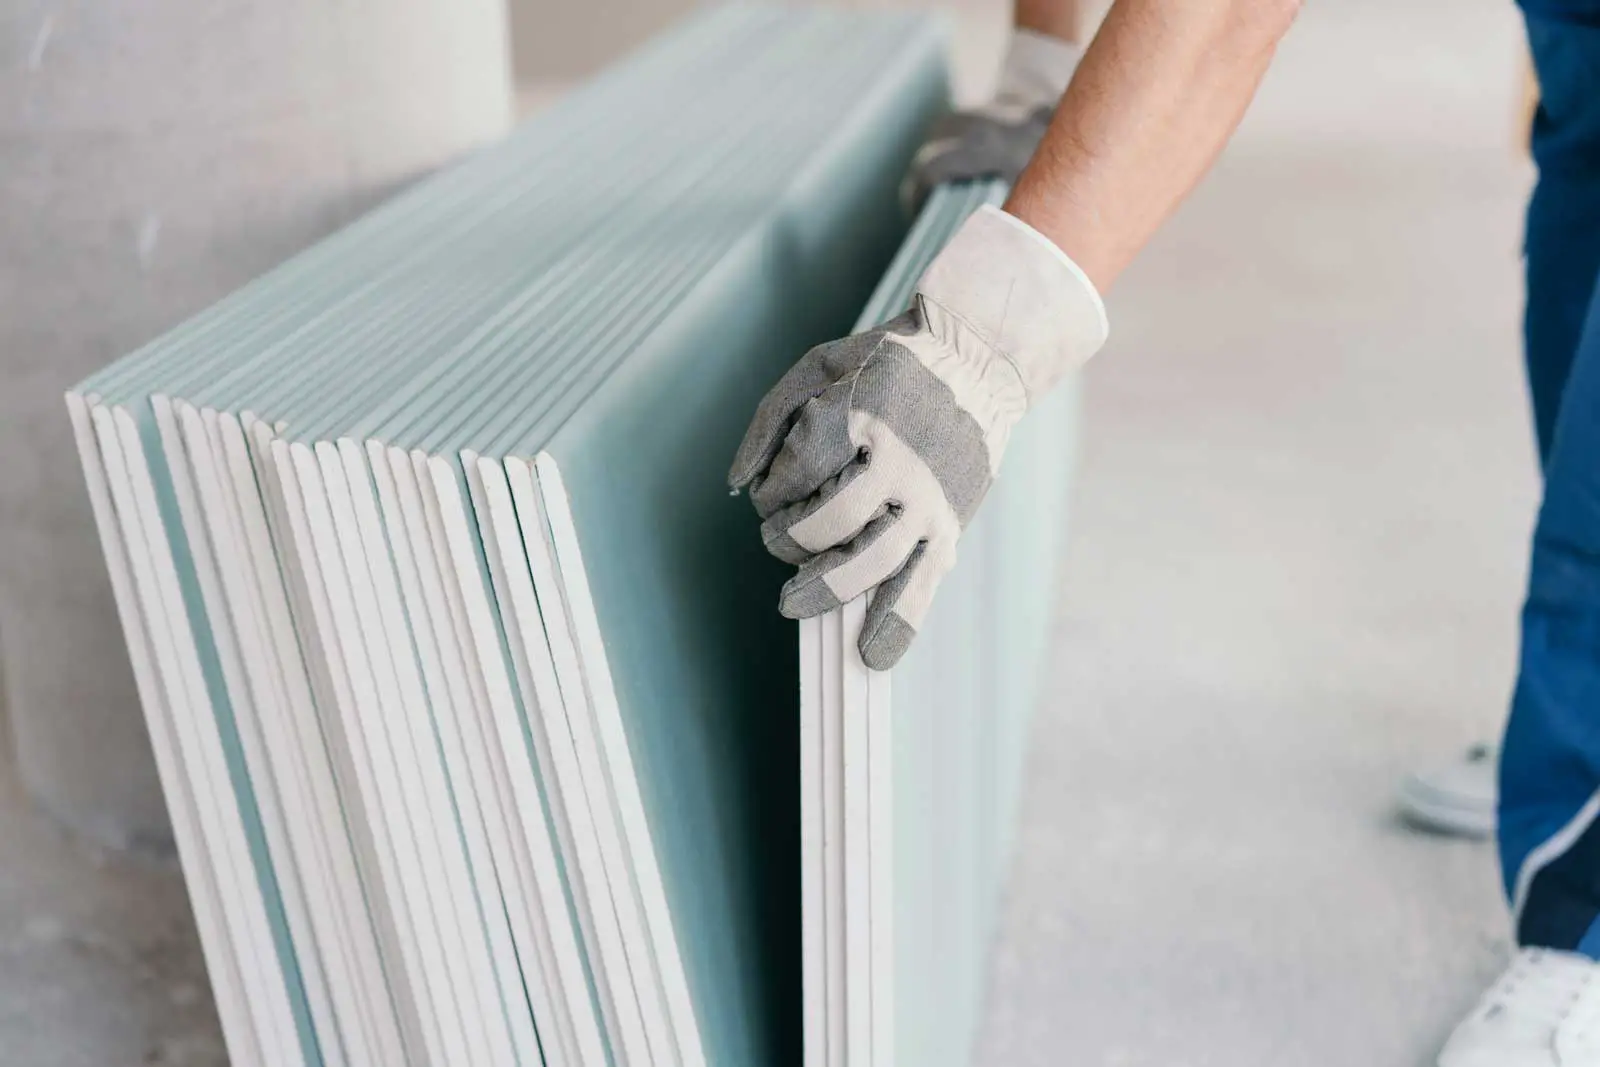
Standard Drywall: The Jack of All Trades
When it comes to picking the right drywall, you can’t go wrong with the classic: standard drywall. This versatile and budget-friendly option comes in a variety of sizes to suit any project. The most common size is the 4×8-foot sheet, but you can also find larger panels like 4×12 or 4×16 feet for those more expansive areas. Standard drywall is typically 1/2 inch thick, but 5/8 inch thickness is also available for a more robust and fire-resistant option.
Specialized Drywall: Meeting Your Unique Needs
Sometimes, your project calls for something a little more specialized. Green board drywall is moisture-resistant, making it perfect for use in bathrooms or kitchens where humidity levels are higher. For an even more water-resistant option, consider using purple board or cement board in areas prone to dampness, like basements or showers.
If you’re looking for a more eco-friendly option, consider using recycled-content drywall from manufacturers like CertainTeed. This type of drywall contains higher percentages of recycled materials, helping to reduce waste and lessen your environmental impact.
Navigating the Drywall Jungle: A Few Final Tips
Before you dive headfirst into your drywall project, take a moment to consider your specific needs. Do you need a more moisture-resistant option? Are you looking for a specific size or thickness? By taking the time to assess your unique requirements, you’ll be better equipped to choose the perfect drywall for your project.
Arm yourself with knowledge and get ready to tackle that drywall project with confidence. With the right drywall in hand, you’re one step closer to creating the perfect space that you’ll be proud to call your own.
 Helpful Tips for Homeowners on Drywall Installation
So, you’ve got the basics down and are ready to embark on this drywall installation journey. But before we set sail, let’s arm ourselves with some handy tips to ensure a smooth and efficient voyage. After all, a little preparation goes a long way in making the experience enjoyable and rewarding.
Preparing for Drywall Installation
First things first, make sure your workspace is clean and clutter-free. Clear away any debris, dust, or obstructions that might hinder the installation process. Additionally, double-check that your electrical, plumbing, and ventilation systems are in place and have passed inspections before starting with the drywall.
Addressing Common Concerns and Questions
As a homeowner, you may have some concerns and questions about drywall installation. Don’t hesitate to seek guidance from experienced professionals or do some research on your own. Knowledge is power, and understanding the process will help you make informed decisions and avoid common pitfalls.
Hiring a Drywall Contractor vs. DIY Approach
One of the most significant decisions you’ll make is whether to hire a drywall contractor or take on the project yourself. Both options have their pros and cons, and the choice ultimately depends on your budget, skills, and confidence level. If you’re a DIY enthusiast with some experience in construction or renovation, tackling the project yourself could be a rewarding and cost-effective endeavor. You can get a drywall lift relatively inexpensively and with a little time and effort you can go from first coat to final finish pretty quickly.
However, if you’re unsure about your abilities or lack the time and resources, hiring a professional contractor will likely save you headaches and ensure a high-quality result.
Remember, the key to a successful drywall installation lies in your preparation, understanding, and decision-making.
Understanding the Cost of Drywall Installation
Finally, let’s talk money. The cost of drywall installation consists of two main components: materials and labor. Materials typically include drywall panels, screws or nails, joint compound, and tape, while labor costs encompass the hours spent by the installers. If you’re considering a DIY approach, you might save on labor costs, but be aware that mistakes or damages during installation can lead to additional expenses. In contrast, hiring a drywall contractor might have a higher initial cost, but you’re more likely to receive a professional, polished result.
Ultimately, the choice is yours. Whether you’re rolling up your sleeves for a DIY project or enlisting the help of professionals, understanding the factors affecting the timeline and cost of drywall installation will empower you to make informed decisions and set realistic expectations.
Related Questions
Q: What is the average cost of installing drywall per square footage in a new home?
A. The average cost of installing drywall in a new home can range from $1.50 to $3.00 per square foot, depending on factors like the type of drywall used, labor costs, and the level of finish desired. This cost includes both materials and professional installation. Keep in mind that these costs can vary based on your location, the complexity of the project, and the quality of the materials used.
Q: How many sheets of drywall are typically required for an average-sized house, and how does it impact the total cost?
A: The number of sheets of drywall needed for an average-sized house depends on the total square footage of the walls and ceilings to be covered. To calculate the number of sheets required, divide the square footage by the coverage provided by a single sheet (typically 32 square feet for a 4×8-foot sheet). For example, a 1500-square-foot house might need around 47 sheets of drywall. The cost of materials will depend on the type and quality of the drywall, which can range from $10 to $20 per sheet. The total cost of the drywall portion of your project will be influenced by the number of sheets required, along with labor and finishing costs.
Q: Is it a good idea to use gypsum board for interior walls, and how does it compare to other drywall types in terms of cost and level of finish?
A: Gypsum board is a popular choice for interior walls due to its affordability, ease of installation, and versatility in terms of finishing options. It provides a smooth surface that can be painted or textured according to your preferences. In comparison to other types of drywall, like moisture-resistant or fire-rated drywall, gypsum board is typically less expensive. However, it may not be the best choice for areas with high moisture levels or specific fire-resistance requirements. Overall, gypsum board offers a cost-effective and customizable option for most interior walls.
Q: How do the square footage and complexity of a new house influence the duration and cost of a drywall project?
A: The square footage and complexity of a new house directly impact the duration and cost of a drywall project. Larger homes with more square footage will require more materials and labor, resulting in a higher overall cost. Additionally, complex designs with numerous corners, archways, or varying ceiling heights can increase the time it takes to complete the project and may necessitate specialized skills or tools, driving up labor costs. To ensure a successful outcome, carefully plan your project and consider working with a professional drywall contractor to account for these factors.
Q: What are some common challenges encountered in drywall jobs, and how can they be addressed to ensure a successful outcome?
A: Some common challenges in drywall jobs include cutting and fitting the drywall around outlets, windows, and doors; achieving a smooth finish with joint compound and tape; and preventing or repairing issues like cracks, nail pops, and seam visibility. To address these challenges, follow these tips:
- Measure and mark the drywall accurately before cutting to ensure proper fit around obstacles.
- Use a drywall T-square and a sharp utility knife for precise cuts.
- Apply joint compound and tape in thin, even layers, allowing each layer to dry before applying the next.
- Sand the seams and joints gently to create a smooth surface.
- Properly secure the drywall to the framing with appropriate screws or nails to minimize nail pops and cracks.
Next Steps
Want to join others who are creating the most amazing home redesigns & renovations and get more tips, tricks and hacks on how to make your home the best it can be?
Join my brand new free private Facebook group, Remodel Reality to connect with other people like you to make your space the best!