Why is it that your paint color appears darker or lighter when you paint it?
Sometimes it looks like the paint you just rolled onto your wall is a completely different color than what you saw on the color swatch when you bought it.
So why is that? Why does paint dry darker or lighter than its final color?
Paint can dry darker or lighter than its final color due to factors such as the type of paint used (oil-based vs. water-based), the type of light in the room, the number of coats applied, and the type of finish (glossy vs. flat). These factors can affect how the paint appears, resulting in a final color that is different from its original shade.
But then that leads to several more questions, like:
- What are the factors to consider when selecting the right paint color?
- What makes oil-based paints dry differently than water-based paints?
- How does the type of light impact the appearance of paint?
- What is the rule of thumb for using darker or lighter colors in a room?
- How can you test the color of your paint before applying it?
When painting, it’s essential to be aware that wet paint will always appear differently from how it will look once it’s completely dried if for no other reason that its state is different when wet than when it’s completely dry where you see the actual color.
In this article, I’ll explain why and how paint sometimes looks lighter or darker once its fully dried, and even provide some tips on how to avoid having unexpected results when painting your home.
By the way – before we get too far along here, if you want to connect with other homeowners and builders and get more great ideas for your home to make your space the best join my free private Facebook group, Remodel Reality here.
 Understanding The Color Of Paint
It’s very normal for paint colors to be different (sometimes even drastically) when they’re wet compared to when they have dried due to certain components evaporating during this time. As such, it’s important to take all this into consideration when picking out a color – by understanding how paint dries in comparison with its wet state you can guarantee that the end result will be exactly what you had in mind.
One of the most widely accepted rules regarding paint drying is that it usually tends to dry to a darker color than its wet state – by up to 1-2 shades depending on each individual pigment and its binding medium. Despite this general rule however, there are also other factors at play here such as light intensity / exposure (which can cause some colors such as white or yellow to become brighter when exposed) and other elements such as gloss level or thickness which can affect how paints appear both wet and when dried.
Different Types of Paint and How They Affect Color
When it comes to selecting the right type of paint for your project, color is often one of the most important considerations. But did you know that the different types of paint available can drastically alter the look and feel of your final result? In this article, we’ll be exploring the three most common paints – acrylic, latex, and oil-based paints – and how they affect color.
The Most Common Paints
When it comes to home renovation and decoration projects, paint is an important element to consider. There are several types of paint available – including enamel, acrylic, latex and oil-based – each with its own unique benefits and characteristics. It is essential to choose the right type of paint for your project in order to achieve great results.
Acrylic Paint
Acrylic paint (also known as water-soluble paint) is a great choice for interior walls or furniture pieces as it dries quickly and can be easily washed off with water. The pigments in this type of paint tend to remain true to their original shades when dry; plus, it’s relatively inexpensive compared to other options! With that said though, acrylics don’t generally hold up well against higher temperatures or direct sunlight so they may not be suitable for external use.
Enamel Paint
Enamel paint is a type of paint that offers long-lasting durability and glossy finish, making it perfect for high-traffic areas in the home. It is known for its resistance to scratches, scuffs, and stains, as well as providing excellent coverage in large surfaces; this makes it a cost-effective option to consider. Moreover, enamel paints come in various colors and sheens with options from flat to high gloss – allowing homeowners to choose one that best fits their design style. Furthermore, enamel paint is easy to clean and maintain which makes it ideal for busy families and spaces!
Latex Paint
Latex (or emulsion) paint is a water-based variety that’s usually considered much more durable than acrylic due to its resistance against high moisture levels. However, since many latex paints contain synthetic pigments which lose some intensity during drying time, they will tend to dry slightly darker than when wet – so make sure you take this into account when selecting your desired shade!
Oil-Based Paint
Last but not least is the oil-based variety which has been around longer than acrylic or latex paints but is slowly becoming less popular due to its weaker adhesion properties. Despite this however, certain applications may still benefit from an oil based approach such as trim work where greater strength might be required – once again though bear in mind that because these oils darken as they dry you may end up with a slightly different hue than expected!
 Why Paint Dries Darker
Painting is an enjoyable and rewarding task – but one of the most important things to know when tackling a project involving paint is that it will almost always dry darker than its wet state. In this article, we’ll be exploring why this happens, as well as taking a look at the different factors which contribute to a darker shade, plus how type and amount of light can affect color.
The Natural Drying Process
Paint typically contains some kind of evaporative agent which causes it to dry – and during this process pigments bind together with the binder medium which can darken slightly. This overall effect usually results in a slightly darker shade than when wet. How much each color will darken depends on a variety of factors including the type of paint being used, any additives such as gloss or matte compounds, its thickness / consistency, the amount of light it’s exposed to and others.
The Different Factors That Contribute To A Darker Shade
As mentioned above there are various contributing factors when considering how much a color will darken once completely dry. These include but are not limited to: choosing the right type of paint (e.g acrylic vs oil-based); for lighter colors selecting one with less pigment; adding or removing certain additives like gloss / matte finishes; altering the thickness / consistency of paint; and whether there is direct sunlight or strong artificial lighting present during painting / drying time.
How The Type Of Paint Affects The Color
When it comes to understanding what type of paint affects color differently, it’s generally accepted that water-soluble acrylic paints tend to remain true to their original shades even when fully dried – however, certain synthetic pigments found in latex (emulsion) paints may lose some intensity resulting in them appearing darker than they were before drying. On the other hand, oil-based paints have been known to darken more drastically during this process due to their higher pigment content and drier finish.
 When Paint Dries Lighter
The age-old question – “Does paint dry darker or lighter?” – is one that has been debated by DIY enthusiasts and professional painters alike for years. Many believe that it always dries darker, but in reality this isn’t always the case. In this article, we’ll be exploring why paint can sometimes dry lighter than expected, as well as taking a look at some of the potential contributing factors.
Reasons Why Paint Dries Lighter
So why does paint sometimes dry lighter than expected? The truth is there are numerous reasons which could have an impact – from improper mixing or lighting to the type of surface being painted on and environmental factors. Let’s take a closer look…
Improper Mixing
When working with paint, ensuring proper mixing of colors is paramount to getting the desired outcome; if certain colors aren’t mixed together correctly you could end up with a much lighter shade than intended. This will be especially noticeable when using colors like white or yellow. Make sure you spend enough time stirring until everything is properly blended before beginning your project!
Lighting
Another reason behind why paint can dry lighter (or darker) than expected is due to lighting conditions during the painting process itself – both natural sunlight and artificial lighting can both alter how a color looks once completely dried. Generally speaking, cooler lights such as LED ones will tend to make hues appear brighter while more traditional incandescent bulbs may darken them slightly; so if you’re unsure then experiment around with different levels of light before starting your job!
Porous Surfaces
The surface which you choose to apply your paint onto can also affect its appearance once dried. Highly porous materials like wood have the tendency to absorb some of the pigment into them resulting in a much lighter shade compared to what was originally applied – for example if you’re staining wood then chances are you’ll need multiple coats in order for it to look its best!
Environmental Factors
Finally, environmental conditions such as humidity and temperature can also play a role in how much paint dries in comparison to its wet state – generally speaking higher humidity usually results in lightening while lower temperatures tend to darken. So just keep these things in mind when deciding what type / shade of color would be best suited for your specific location.
Understanding the True Nature of Paint Color
Understanding the true color of paint is essential to achieving the desired look for any painting project. This means not only knowing the exact hue of your chosen color, but also how it appears differently in different settings and how it changes over time.
The true color of paint is determined by a variety of factors such as type, pigments and sheen. For instance, oil paints tend to be darker in color than water-based ones while flat finishes produce a chalky appearance compared to more glossy options.
In addition, some colors may appear lighter or darker depending on their original pigments as well as how much light they are exposed to. It is therefore important to pay close attention to the paint’s original shade before beginning your project in order to ensure that you get the perfect tone at the end.
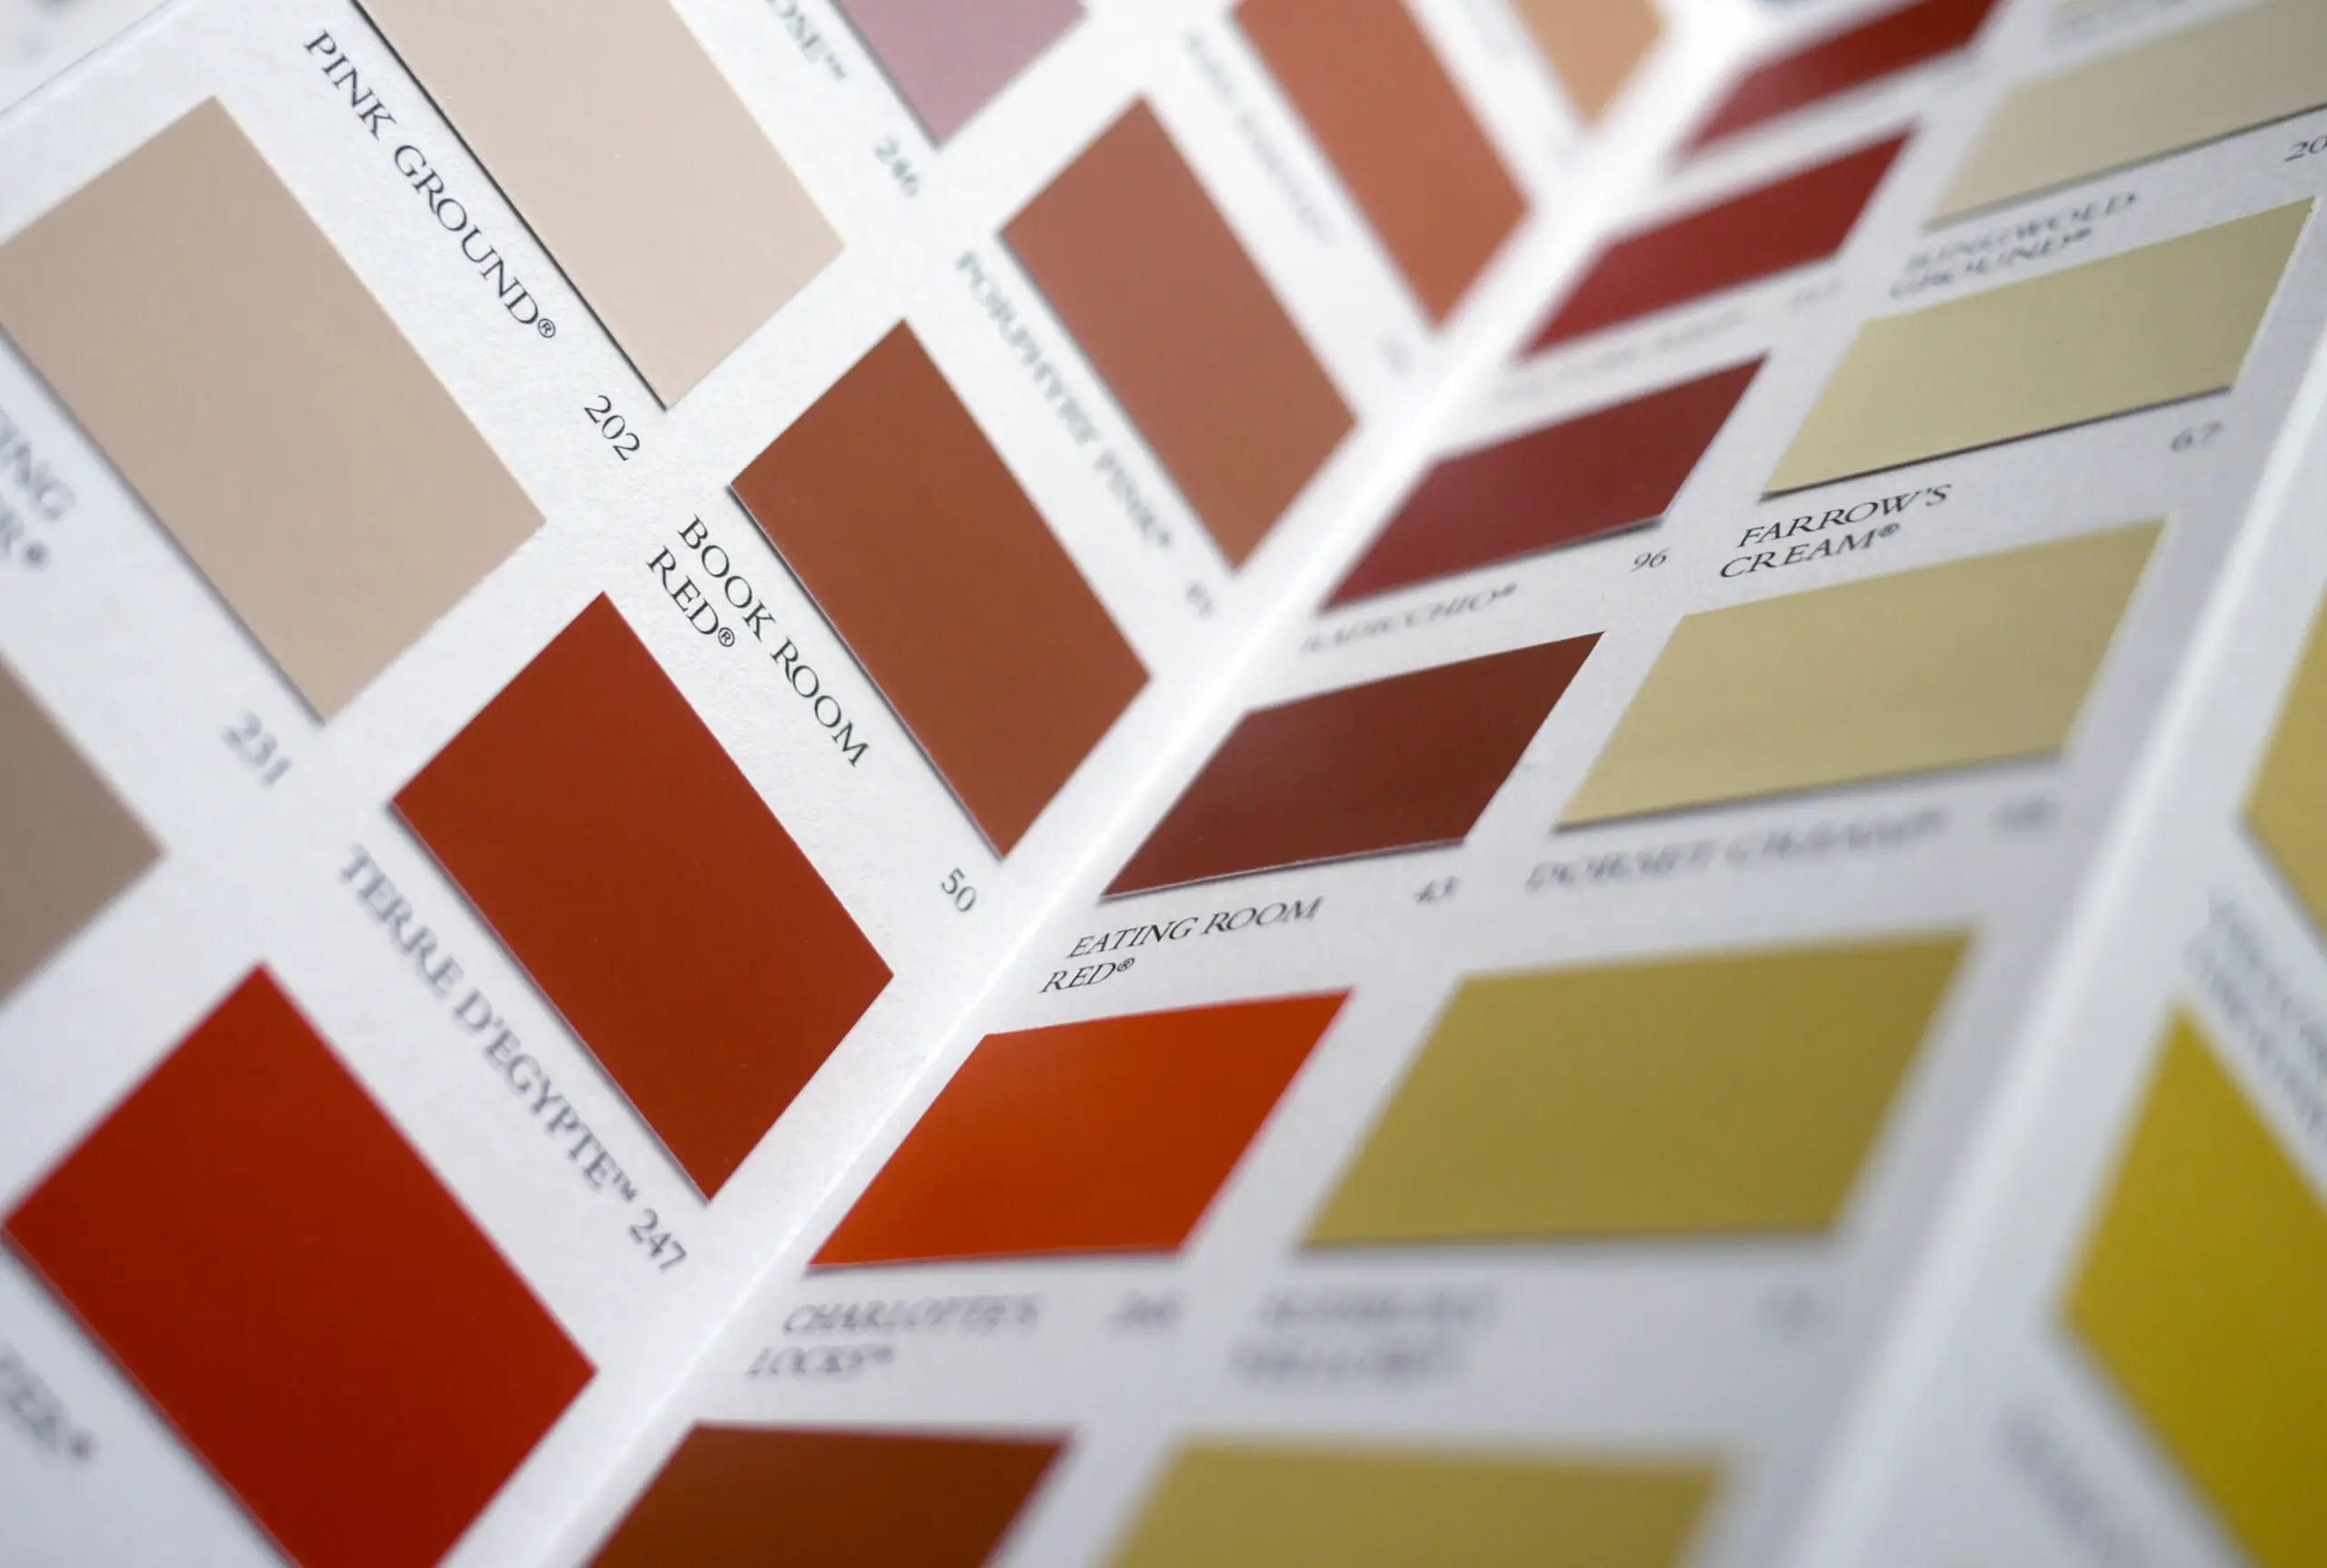
A good way to understand different shades of a particular color is to use a swatch or sample of it before committing yourself fully; this allows you to see just how much variation there can be between two similar hues when applied side-by-side and make an informed decision based on what works best for your project.
It is also important consider the source of lighting when assessing colors; warm tones may appear deeper under artificial light whereas fluorescent bulbs can make certain hues appear brighter than normal – creating an optical illusion in some cases!
Paint can change over time due to exposure from UV rays or simply from regular wear which can cause certain tones to become duller; using double coats may help keep these hues vibrant for longer whereas touching up cracked surfaces with new paint helps maintain a freshly painted wall despite wear and tear from everyday life.
Understanding both the true color of your chosen paint and its changing properties will lead you towards achieving better results for all painting projects – whether indoors or outdoors.
| Type of Paint | Type of Sheen | Effect on Perceived Color |
|---|---|---|
| Enamel | Flat | Darker and duller color due to less light reflection |
| Enamel | Eggshell | Slightly lighter color than flat, with a subtle sheen |
| Enamel | Satin | Light color with a moderate sheen |
| Enamel | Semi-Gloss | Lighter color with a high sheen |
| Enamel | High Gloss | Lightest color with the highest amount of light reflection |
| Oil-based | Flat | Darker color than latex or acrylic due to the oil content |
| Oil-based | Eggshell | Slightly lighter color than flat, with a subtle sheen |
| Oil-based | Satin | Light color with a moderate sheen |
| Oil-based | Semi-Gloss | Lighter color with a high sheen |
| Oil-based | High Gloss | Lightest color with the highest amount of light reflection |
| Latex | Flat | Darker color than oil-based paint due to a matte finish |
| Latex | Eggshell | Slightly lighter color than flat, with a subtle sheen |
| Latex | Satin | Light color with a moderate sheen |
| Latex | Semi-Gloss | Lighter color with a high sheen |
| Latex | High Gloss | Lightest color with the highest amount of light reflection |
| Acrylic | Flat | Darker color than oil-based paint due to a matte finish |
| Acrylic | Eggshell | Slightly lighter color than flat, with a subtle sheen |
| Acrylic | Satin | Light color with a moderate sheen |
| Acrylic | Semi-Gloss | Lighter color with a high sheen |
| Acrylic | High Gloss | Lightest color with the highest amount of light reflection |
| Primer | Flat | No effect on perceived color, used as a base for paint |
How Long Does Paint Take to Dry?
When painting, the amount of time needed for the paint to fully dry and be ready for use can depend on a variety of factors – from the type of paint being applied and environmental conditions, to the surface it’s applied on. In this article we’ll be exploring everything you need to know about paint drying times including an overview of different types, as well as explanations for their respective drying times plus any other factors that may affect them.
Different Drying Times For Different Types Of Paint
Broadly speaking there are three major types of paint which all have their own unique advantages – acrylic, latex and oil-based. Acrylic is typically used indoors due to its fast-drying time and superior adhesion qualities whereas latex is often employed outdoors because it’s more resistant to moisture and temperature fluctuations. Oil-based paints on the other hand are renowned for their beautiful high-gloss finish but can take longer to dry and set than either of their counterparts.
Drying Time For Acrylic Paint
If you’re working with acrylic paints then you should expect it to take approximately 1–2 hours before it’s completely dry, but this number can vary depending on how much was applied in each coat as well as surrounding environmental factors such as temperature and humidity (the higher they are, the longer drying will take). Additionally, during this period some colors may appear darker than when wet so make sure that you wait until after everything has set before taking a final look at your project!
Drying Time For Latex Paint
Latex paints tend to have a much faster drying time than oil-based ones; although exact figures will depend on various things such as color depth and how many coats were applied – usually it should take no more than 4–6 hours until the painted surface is ready for use. Keep in mind though that during this period some hues may lose some intensity resulting in them appearing lighter or brighter than they were before drying.
Drying Time For Oil-Based Paint
Oil-based enamels require much more time for setting properly compared to other painting mediums; typically requiring anywhere between 6–8 hours until completely dry – again though these numbers could vary depending on certain elements such thickness / application technique etc… One thing worth noting however is that during this period certain colors have been known to darken slightly so if you’re unsure then allow additional time for yourself!
Other Factors That Affect The Drying Time
Cure times aren’t solely based on type alone however – other factors such as surface texture also play a role here too (smoother surfaces will generally tend towards quicker drying results); additionally if temperatures outside/in your workspace drop below freezing then you’ll need additional time here as well since colder climates can cause paint not only to become harder but also reduce overall adhesiveness once dried – so be sure plan accordingly when tackling any kind of job involving outdoor work.
Factors that Affect the Appearance of Paint
When it comes to painting, the appearance of paint can be affected by a variety of factors such as temperature, lighting, airflow, surface material and sheen. Let’s take a look at each of these in more detail.
Temperature
Temperature is one of the most important factors due to its influence on how paint behaves when applied to surfaces. High temperatures can cause cracking or crystallizing in the paint while cooler temperatures can make it brittle and prone to breaking. It is therefore important to consider what kind of environment you’re painting in before starting your project.
Lighting
Lighting can also have an impact on the outcome of your job as it affects how shadows appear and how reflections are seen in different parts of the room. Different types of bulbs can bring out different aspects of a color making it appear brighter or darker depending on its position relative to that light source.
Airflow
Airflow is another factor that can affect painting as it determines evaporation rates which are slower at lower temperatures and faster when more heat is present in the environment. This affects drying times as well as the texture and appearance of the finished product so should not be overlooked when planning your paint job.
Surface Material & Different Sheens
Surface material also plays an essential role in bringing out different colours in a space; for example materials like wood, metal or concrete all reflect light differently thereby changing how a colour appears from one surface to the next. Additionally, different sheens offer additional options for painting with glossy finishes appearing more vibrant than matte finishes while flat finishes tend to be less reflective and absorbent than other varieties.
Psychological Factors
There are psychological factors that come into play when considering the appearance of paint; for instance color psychology tells us that certain shades or hues can induce different emotional reactions depending on our past experiences with them such as feeling relaxed or energized after seeing certain colors used within a room setting.
Quick Tips for Achieving the Best Results
When it comes to painting, achieving the desired color can be a challenge if you’re not familiar with the right techniques or don’t have the right tools. Here are some tips for getting the best results:
- Start by using high-quality paint that is designed for the specific environment you’re painting in. This will ensure that your colors last longer and remain vibrant over time.
- To get an accurate representation of how a color will look before starting a project, use either a paint sample or paint swatch. This can help you decide which color works best and also avoid any costly mistakes once you begin painting.
- Natural light is one of the best sources when attempting to match colors since it provides a natural source of illumination that allows you to accurately assess how your chosen hue will look when applied to surfaces within a room setting.
- When applying multiple coats of paint it’s important to apply them evenly across all areas; this helps achieve an even finish and prevents any issues with fading or discoloration over time due to exposure from sunlight or other environmental factors.
- Once your initial coat has been applied, adding an additional layer can help bring out even more depth and vibrancy in colors as well as helping seal any cracks or crevices that may have appeared after drying cycles were completed during the first application sequence.
- Lastly, using touch-up paint when necessary helps maintain freshness over time as small scuffs, scratches or chips can accumulate on walls due to regular wear and tear; having a ready supply of touch-up paint nearby ensures quick fixes without disrupting the entire process of repainting an area again from scratch.
Next Steps
Want to join others who are creating the most amazing home redesigns & renovations and get more tips, tricks and hacks on how to make your home the best it can be?
Join my brand new free private Facebook group, Remodel Reality to connect with other people like you to make your space the best!